Boy was I wrong.
As it turned out, each student was required to produce their own parts and build their own motor. After getting over the slight shock, I realized this would be an excellent opportunity. I had been interested in motors for quite a while, especially those produced by Chrysler. After reading several articles on how many gearheads were taking regular small blocks and producing high power monsters out of them simply by lengthening the crankshaft stroke, I decided to build my own 360 stroker motor. After purchasing a book on rebuilding small block Mopar engines, and a book dedicated to building stroker small blocks, I set to finding a used 360 block in the nearby junkyards.
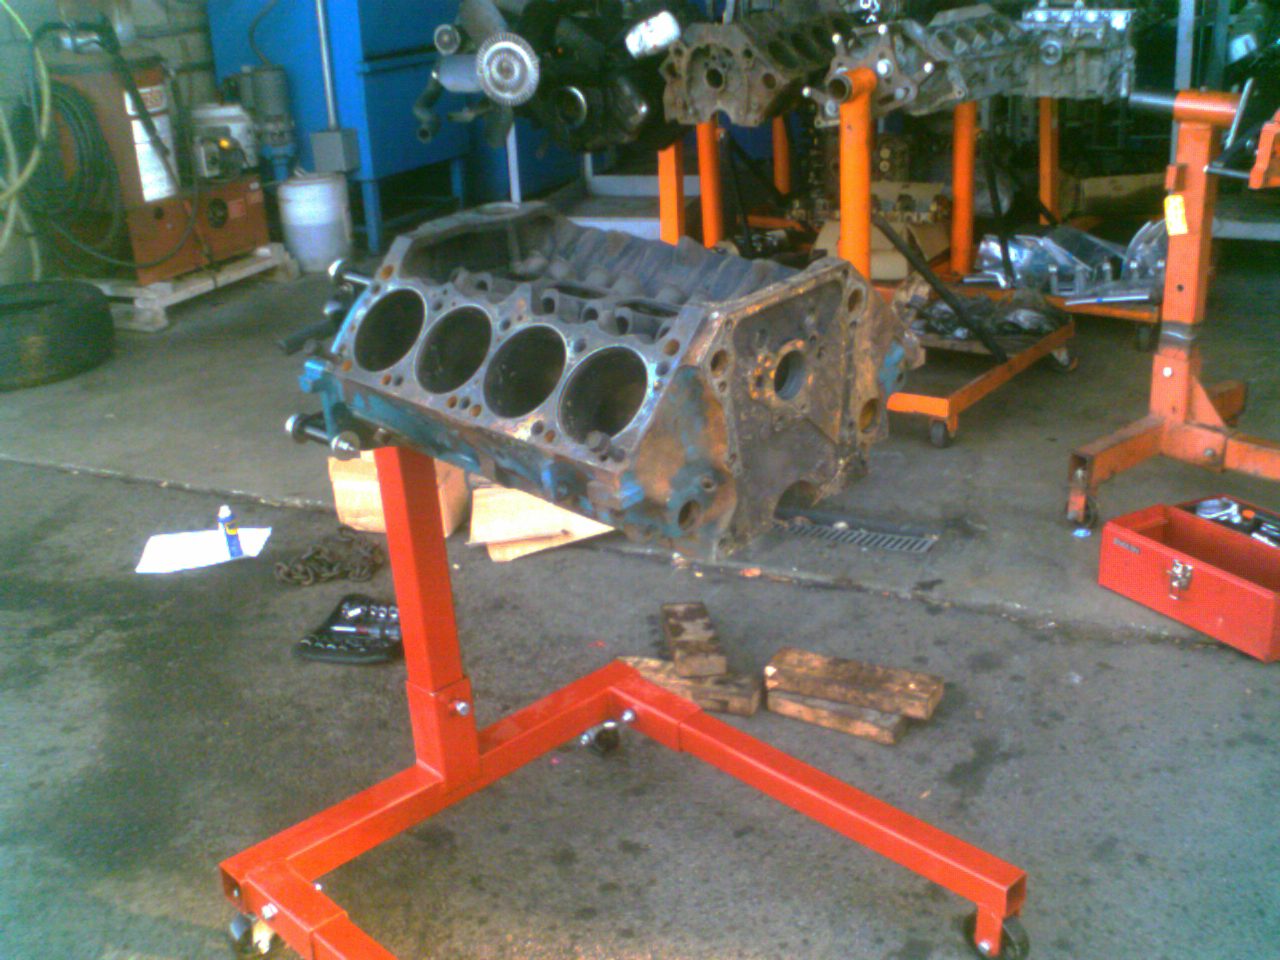
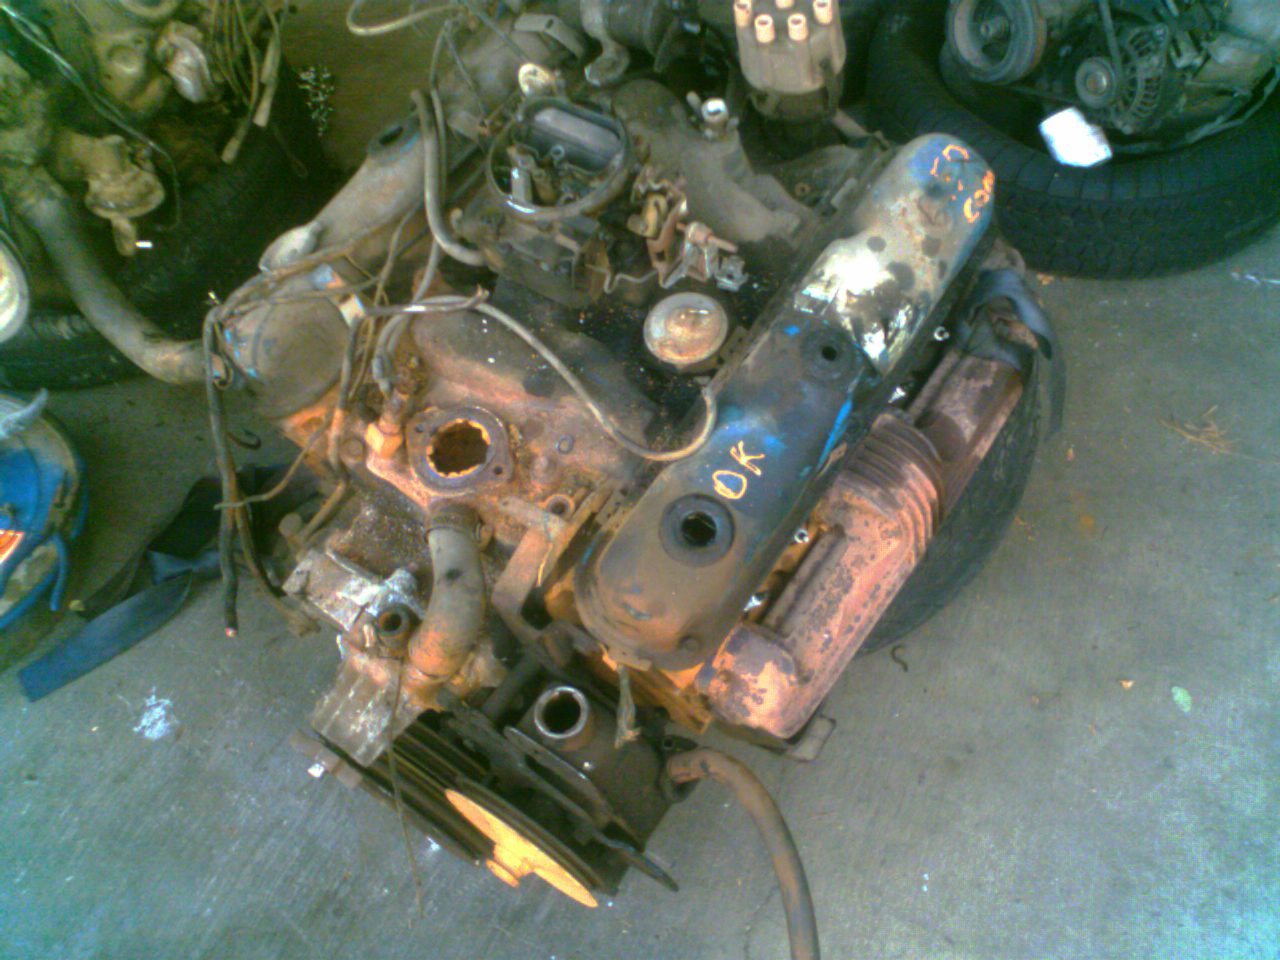 Freshly delivered from the junkyard, the old, well used 360 long block awaits teardown. |
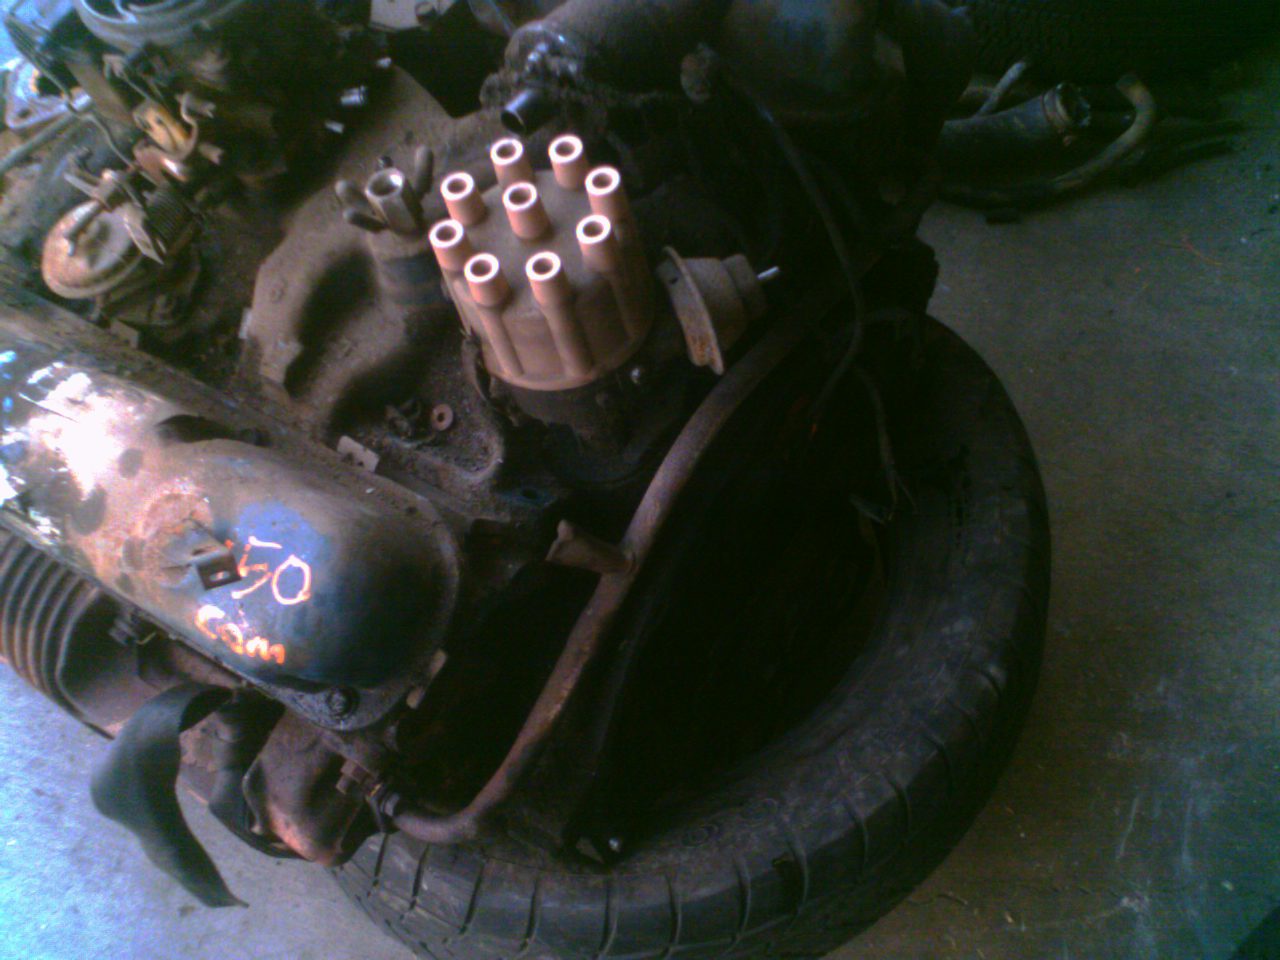 The backside of the long block. |
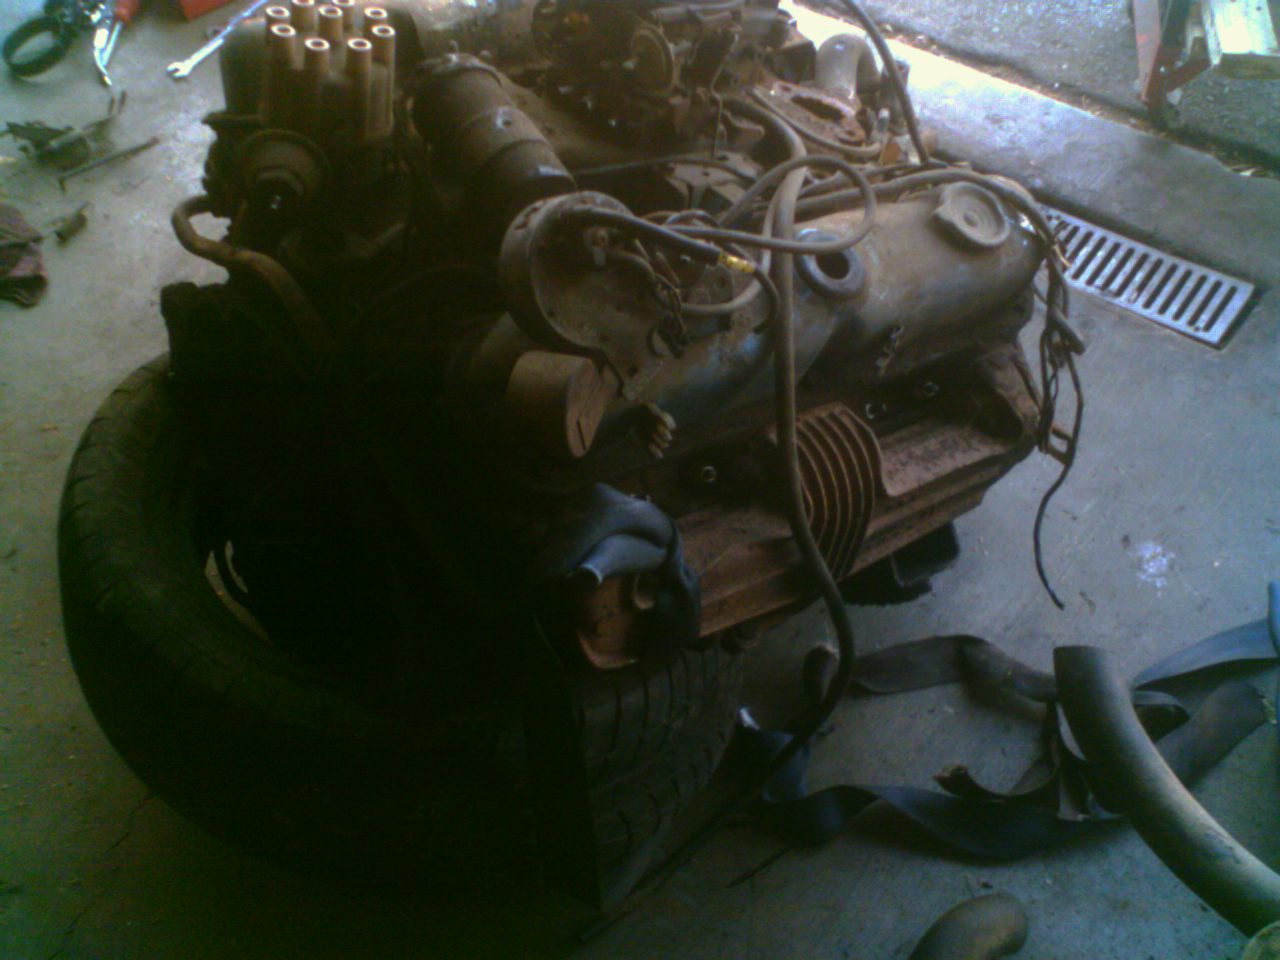 Passenger side. |
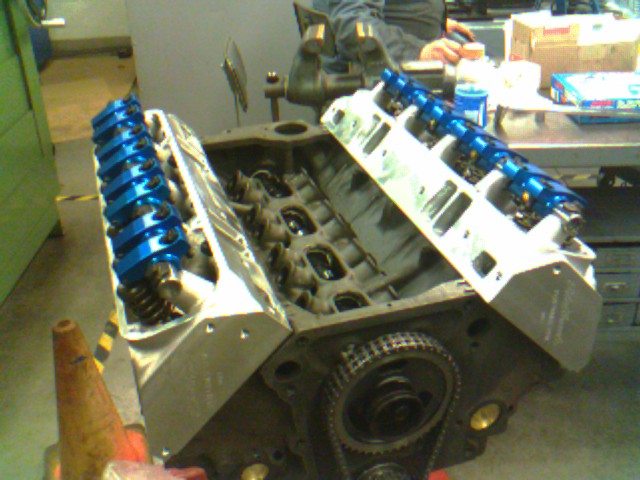
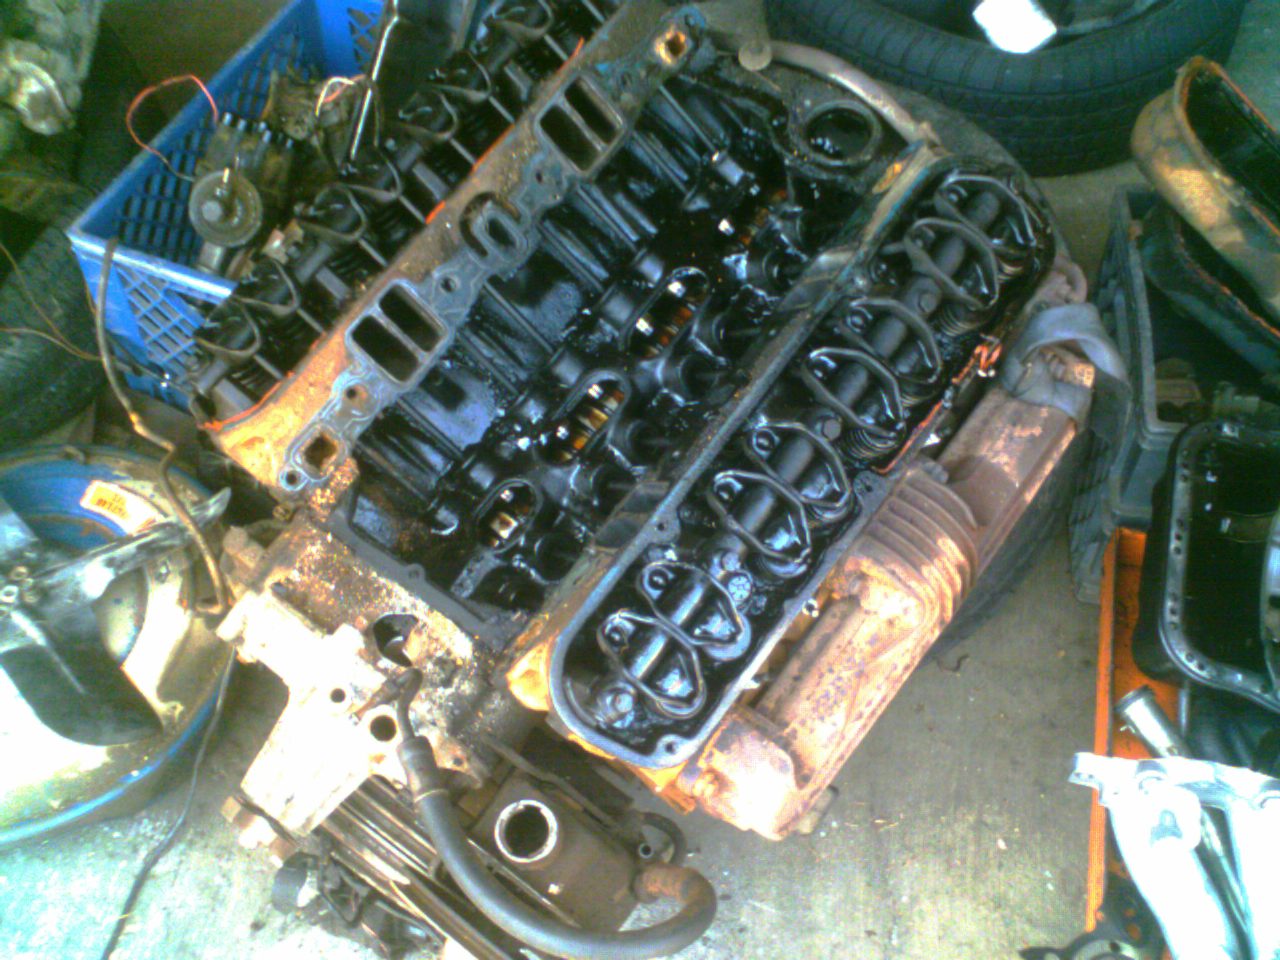 The intake manifold and valve covers are removed, to expose the gooey center. |
 Close up of camshaft, lifters, and pushrods. |
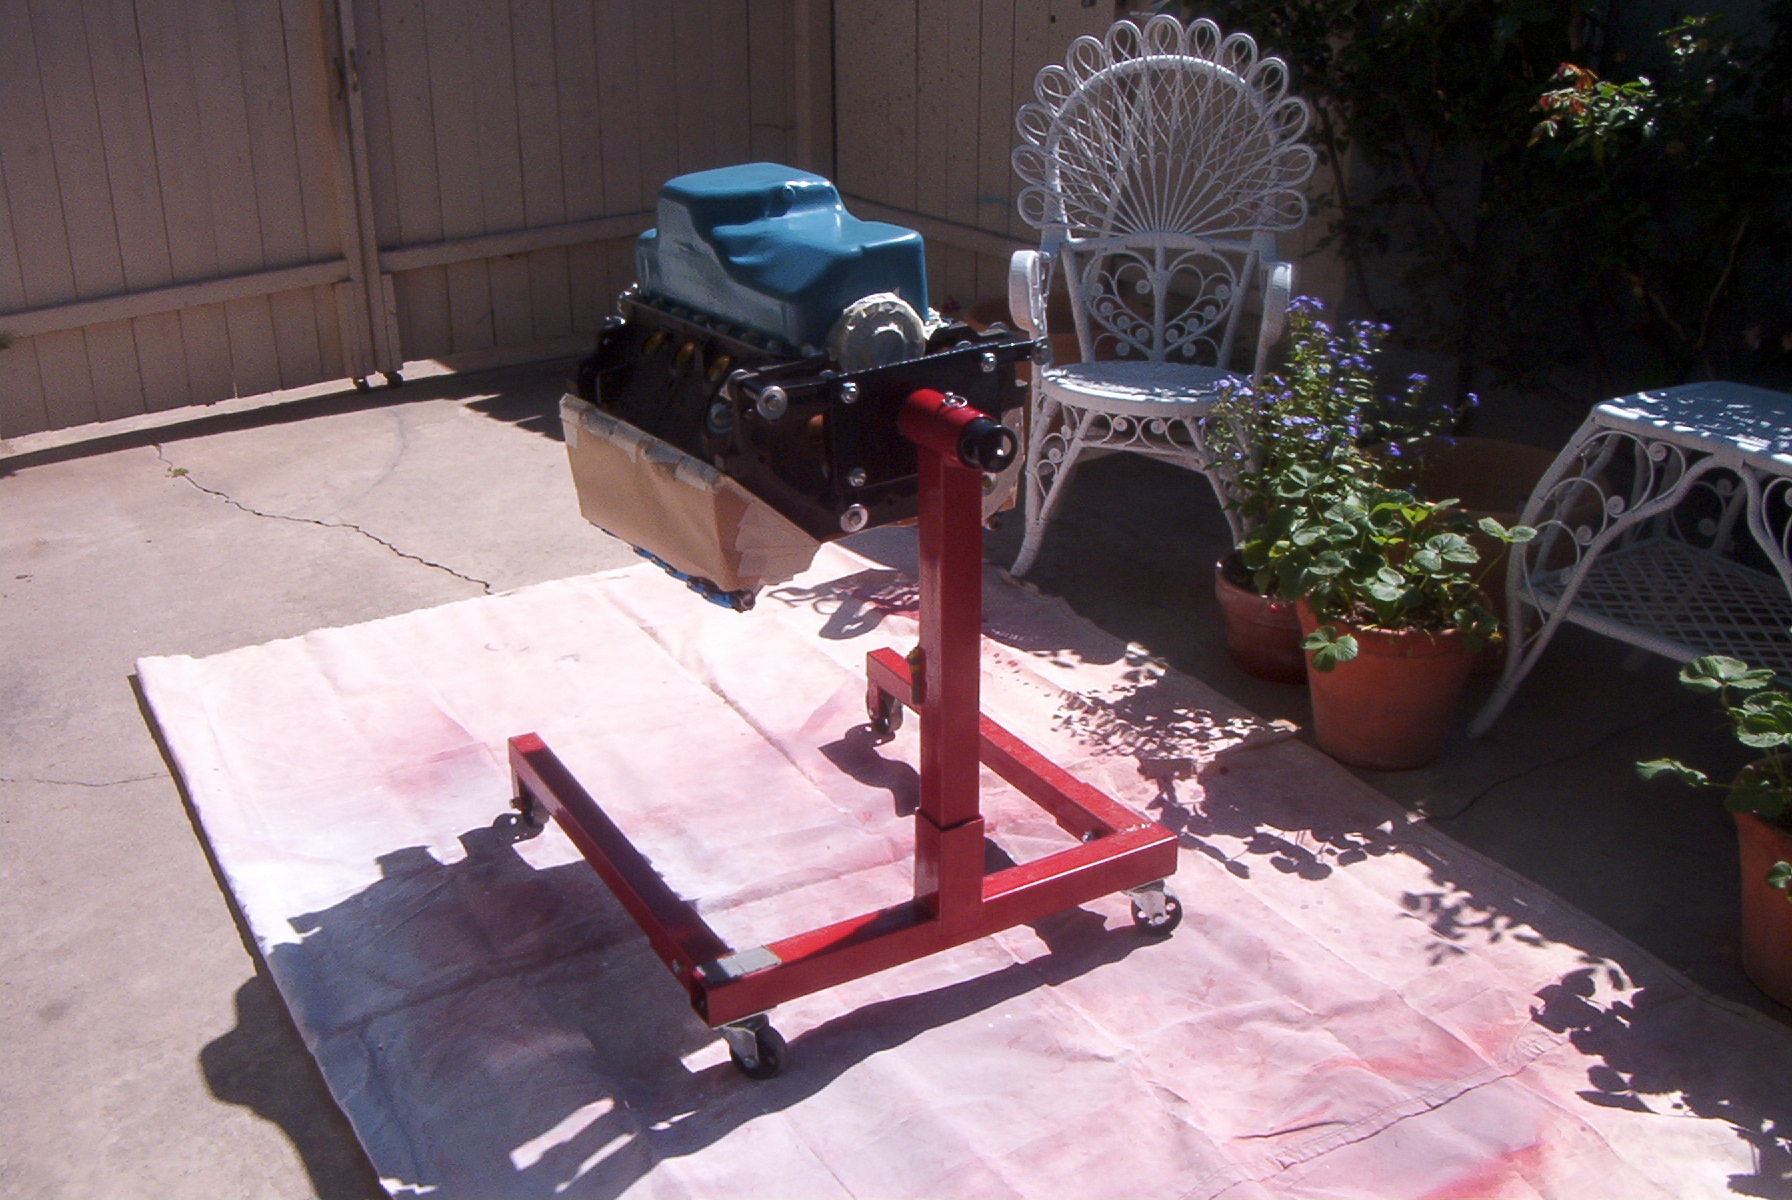
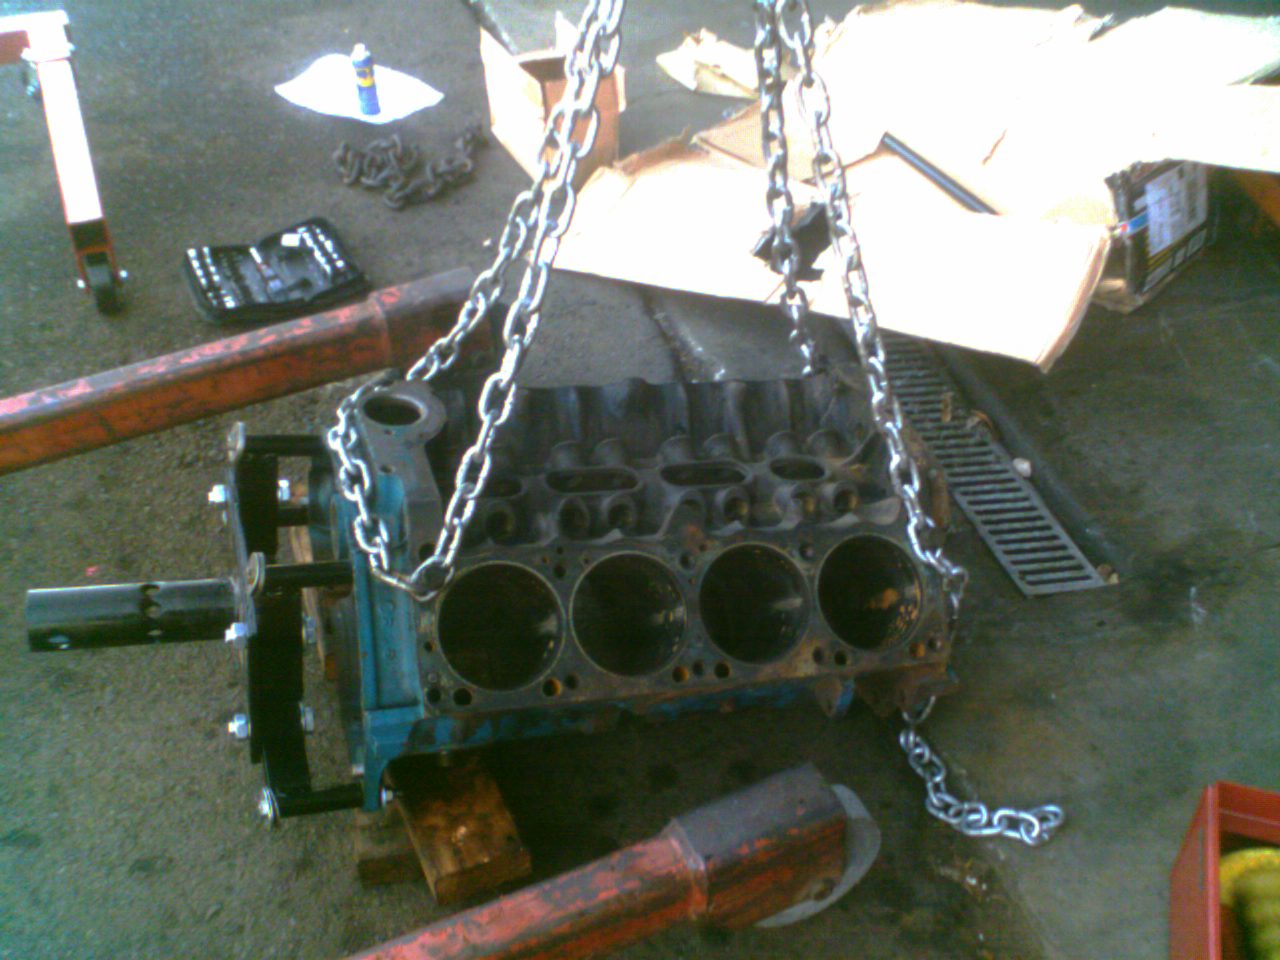 1000 pound test chain is bolted to the block and attached to the hoist. |
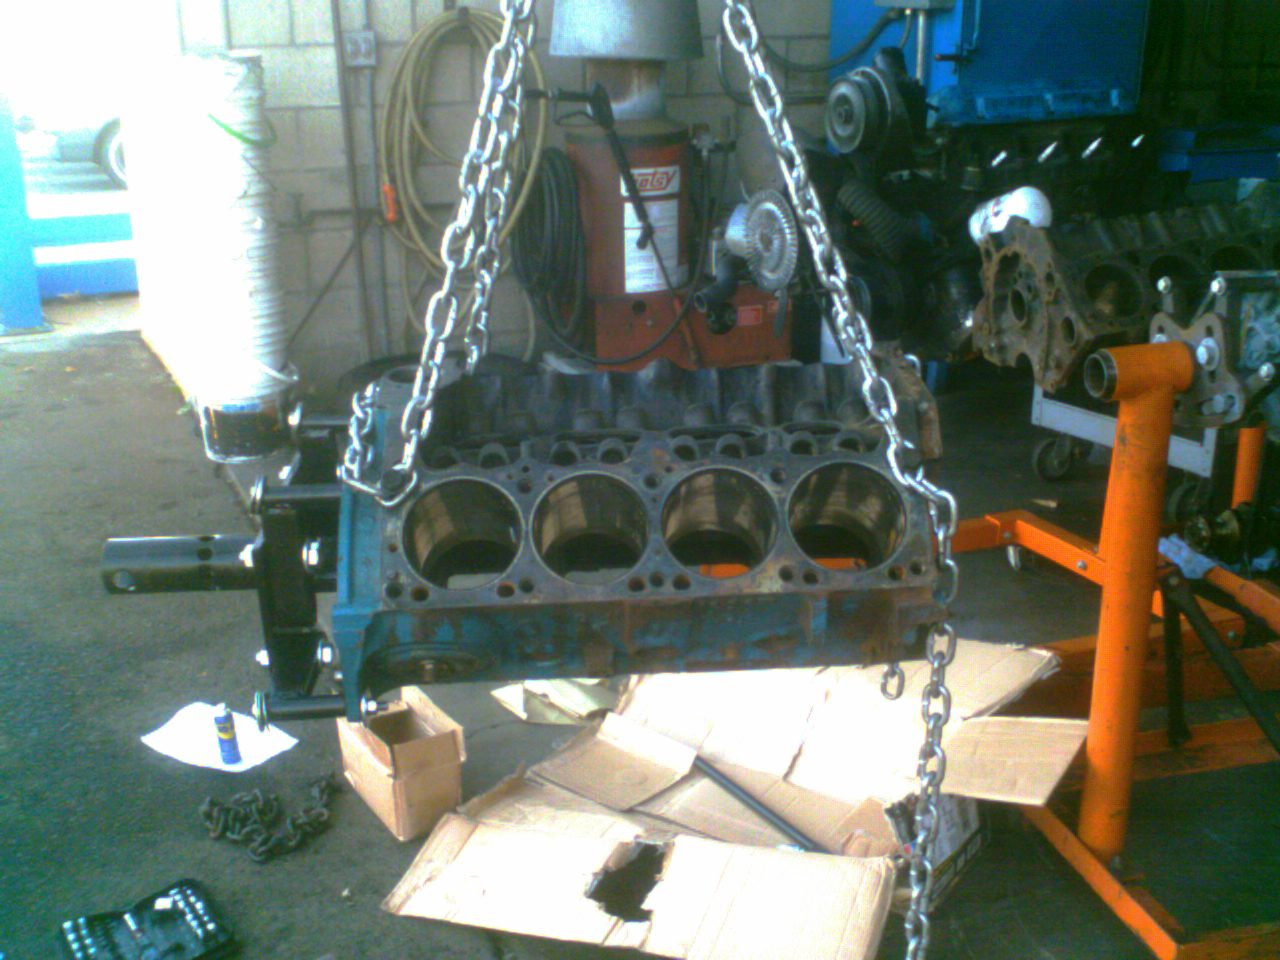 Up she goes! |
 The block is placed into the stand. |
||
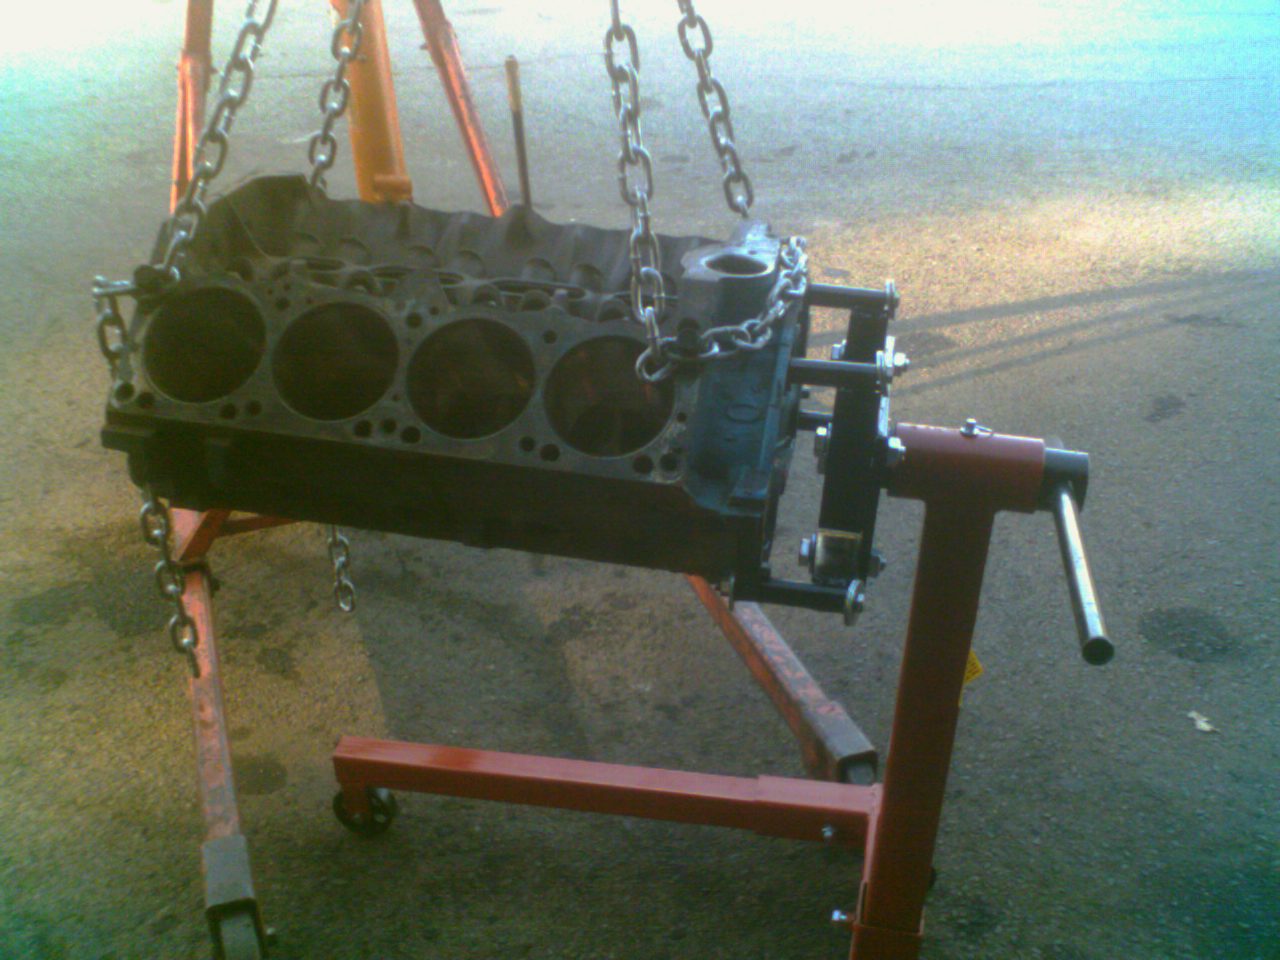
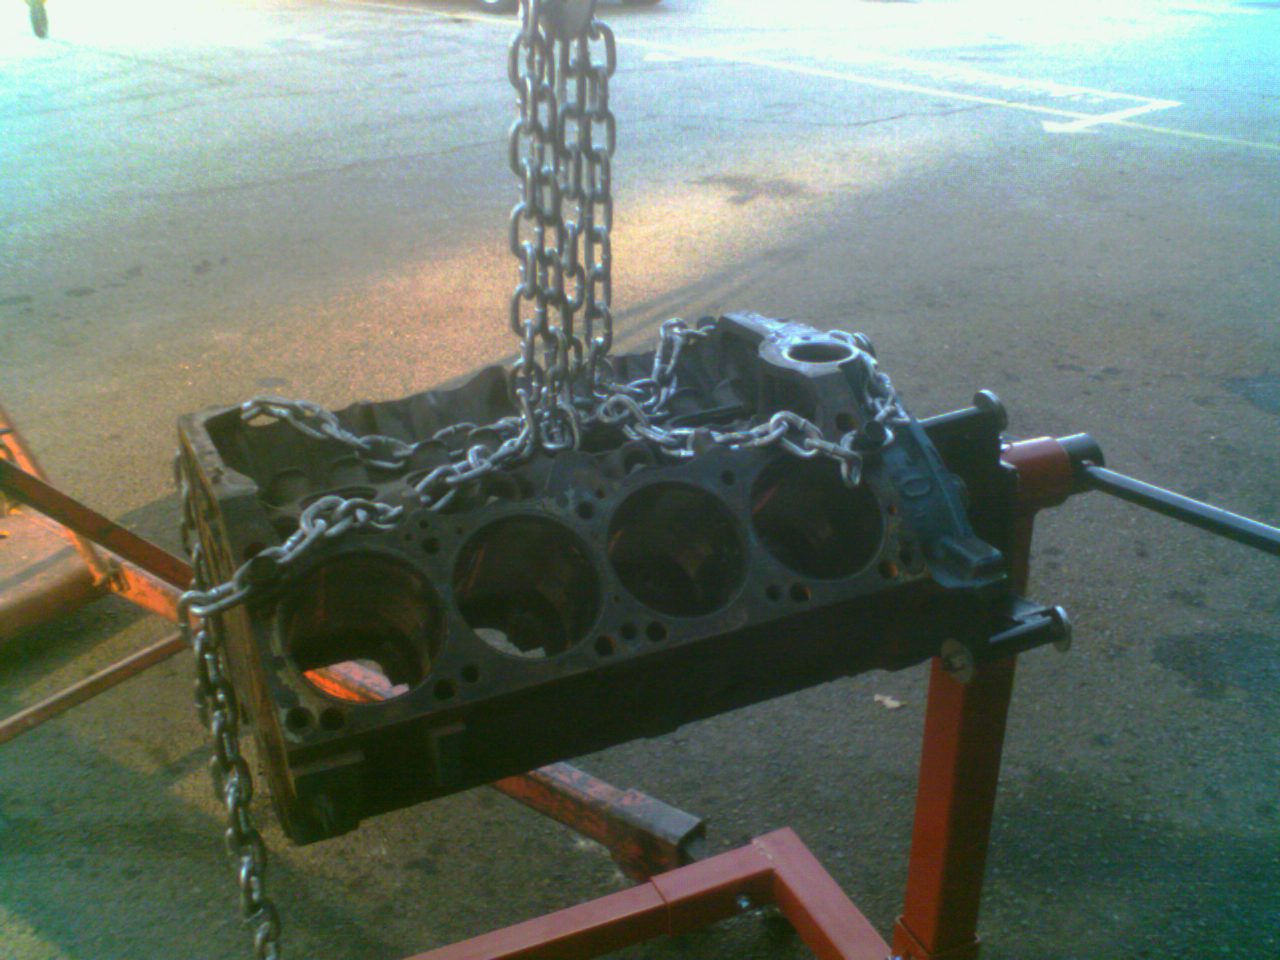 The hoist is slowly lowered. |
 The block enjoys its new digs. |
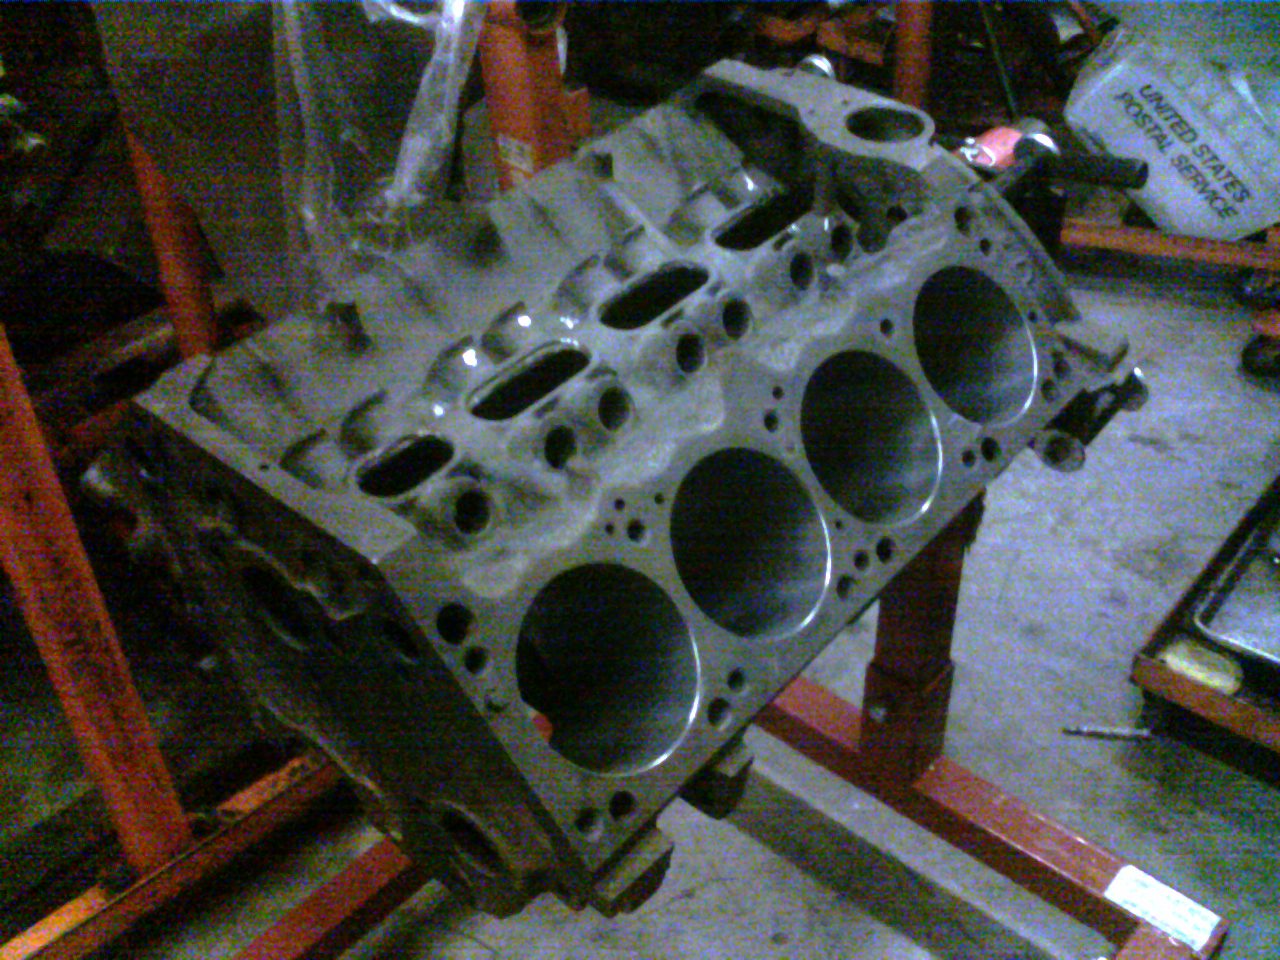 Several weeks later, the block has been chem-dipped and is clean enough to eat off of. |
CNC-Motorsports
- Eagle crankshaft, 4340 forged steel, 4.000" stroke
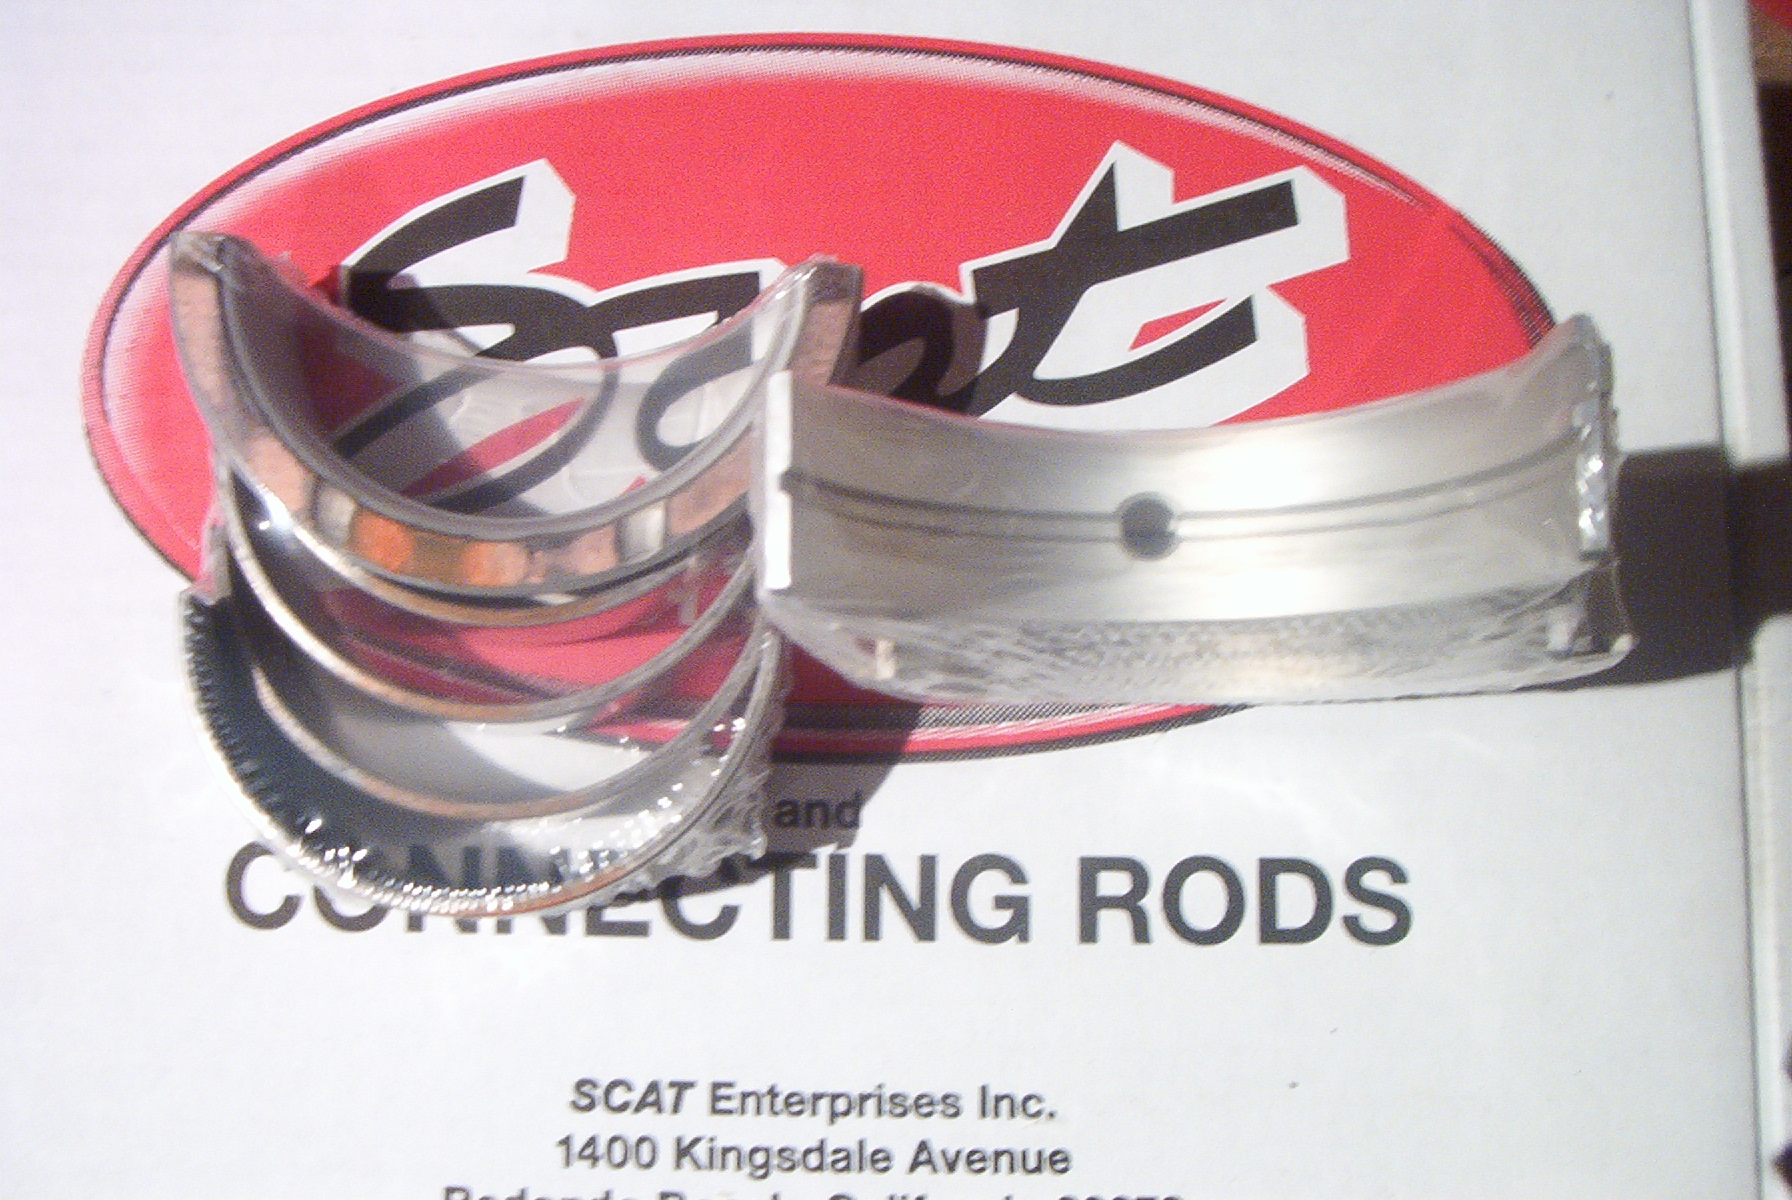
- Scat H-beam rods, 4340 forged steel, 6.123" length, floating pin
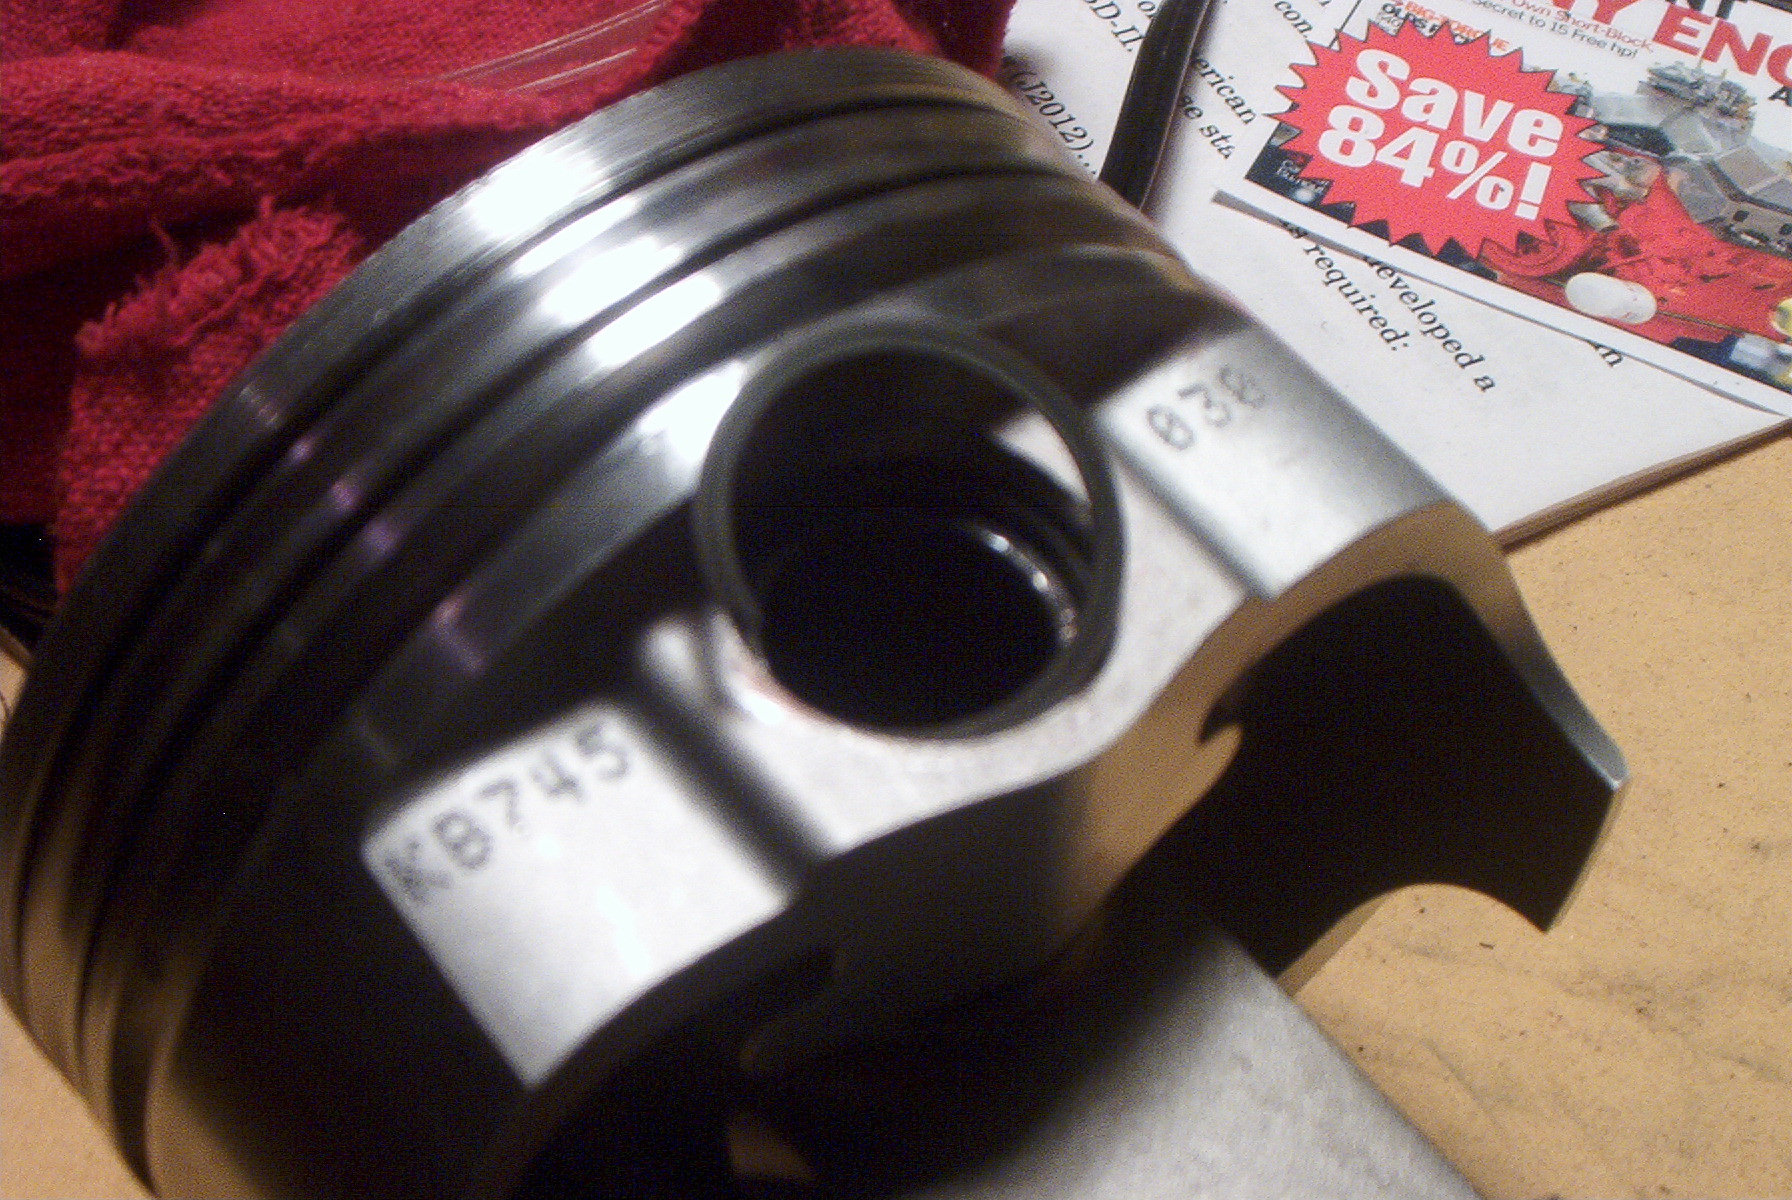
- Keith Black forged stroker pistons, 4.030"
- Clevite 77 rod bearings
- Clevite 77 main bearings
Summit Racing
- Speed-Pro Plasma-Moly rings, 4.030"
- Brass distributor bushing
- Comp Cams camshaft and lifter kit
- Cloyes True Roller timing chain set
- Hardened oil pump driveshaft and distributor gear
- Federal-Mogul cam bearings
- ARP main studs for windage tray
- ARP accessory bolt kit for small block Mopars
- Mopar Performance water pump, six blades
- Fel-Pro motor gasket set
- Melling high volume oil pump
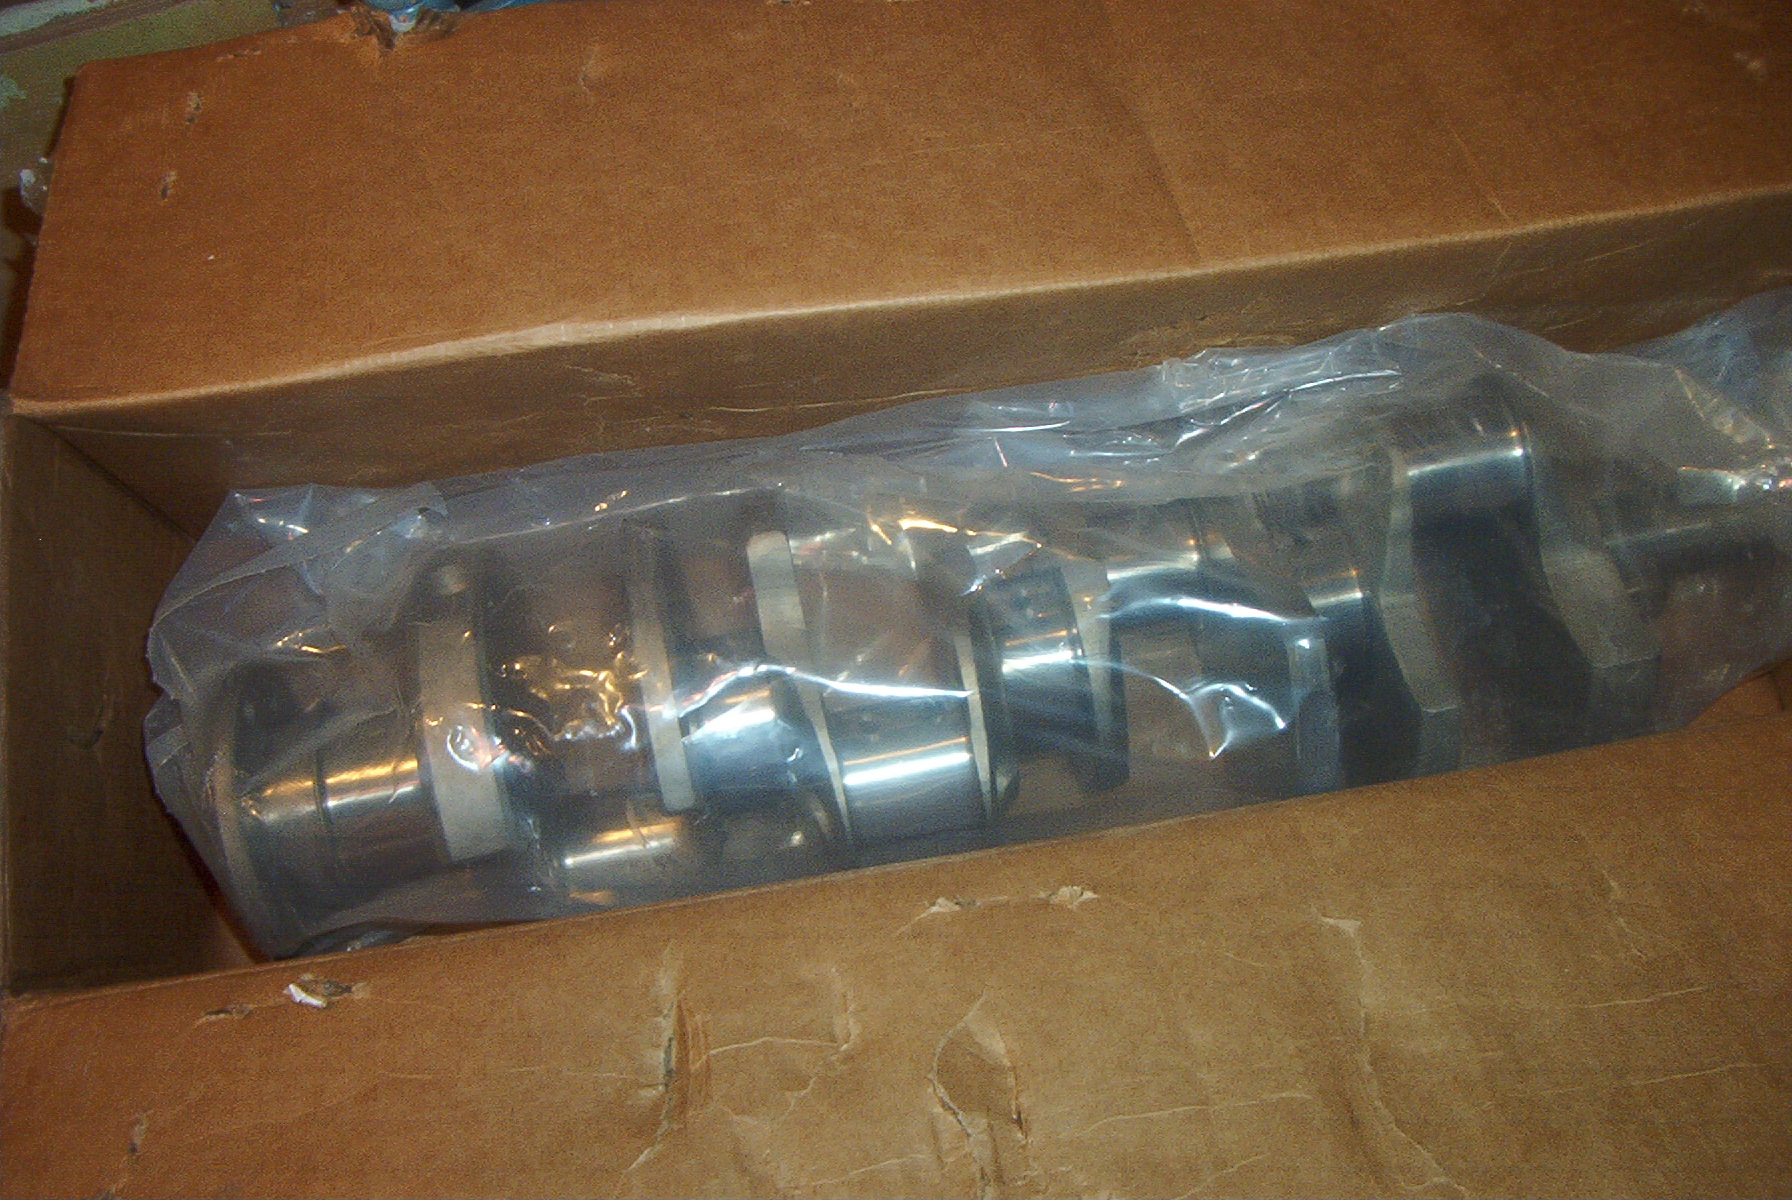 Eagle forged 4340 steel crankshaft, four inch stroke. |
 Clevite 77 rod bearings. |
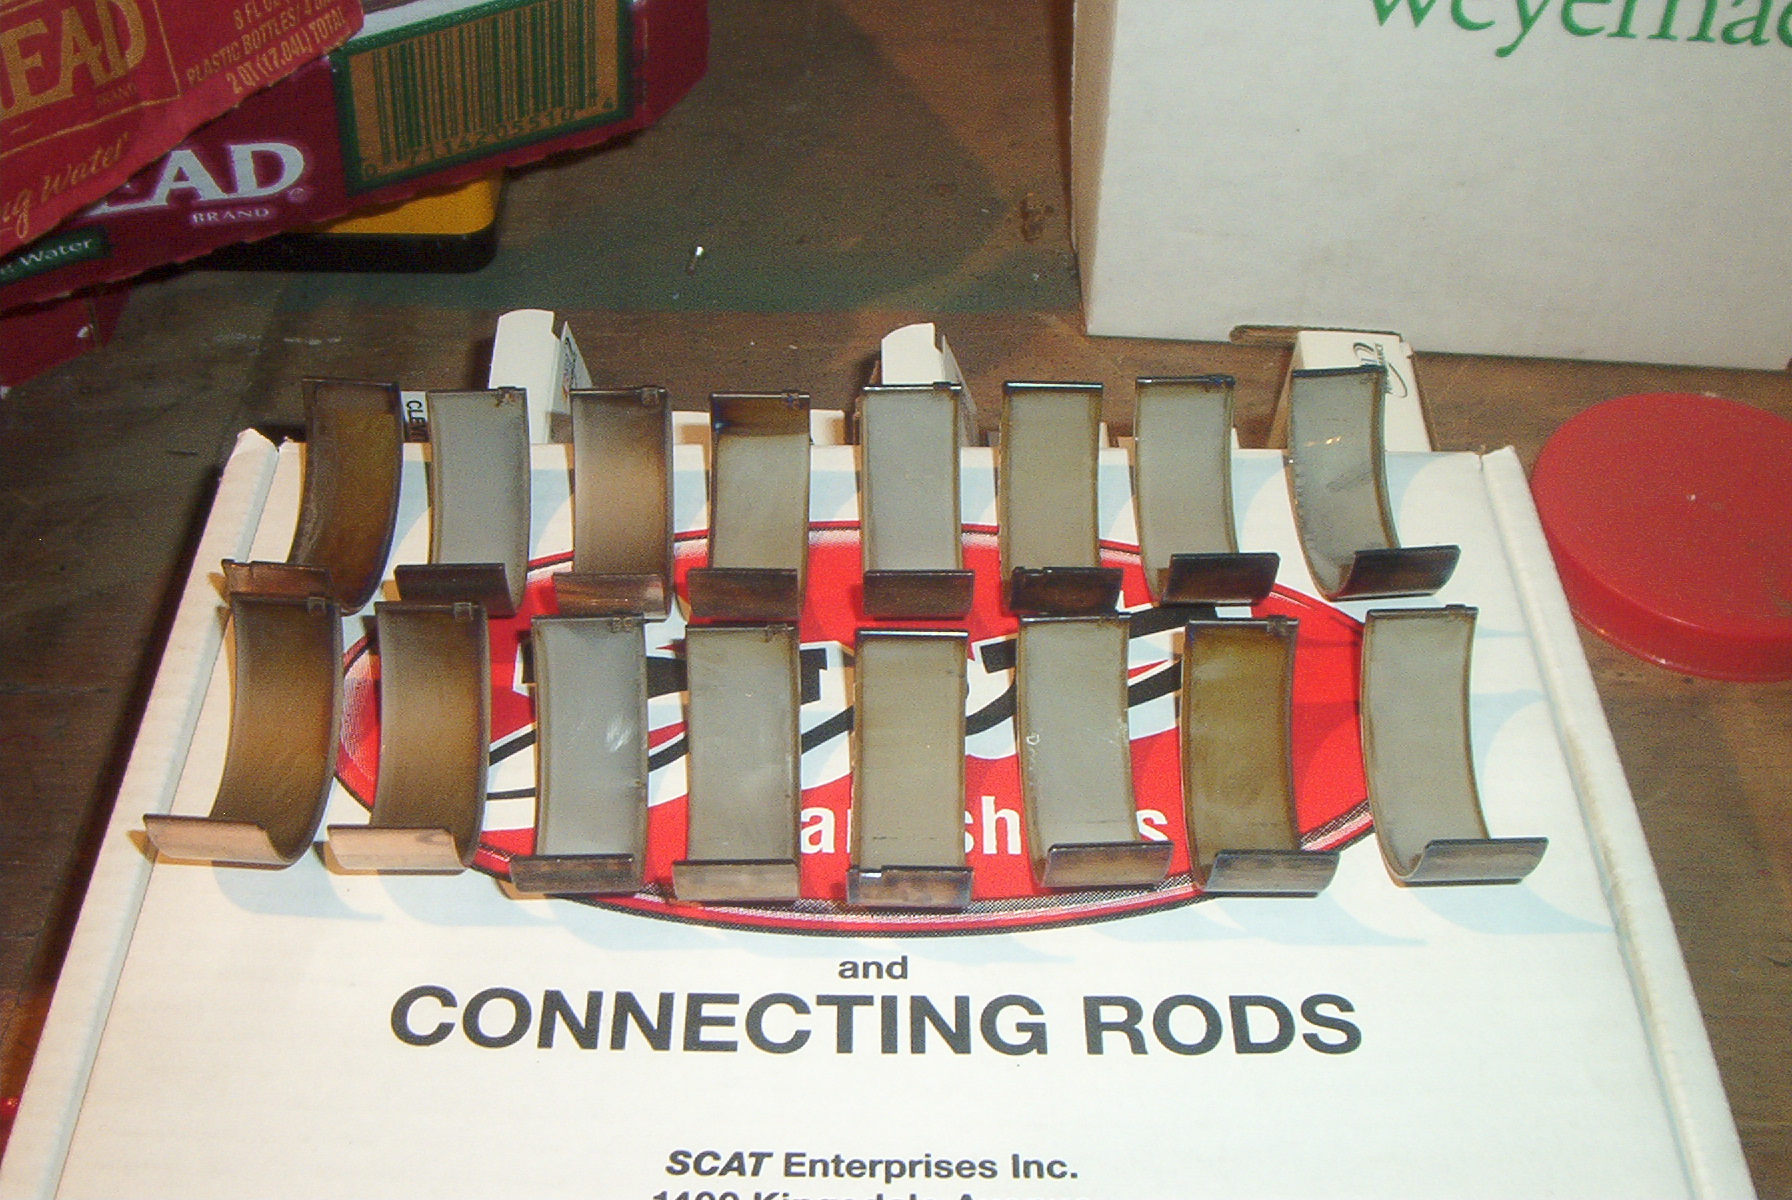 View of the bearings. |
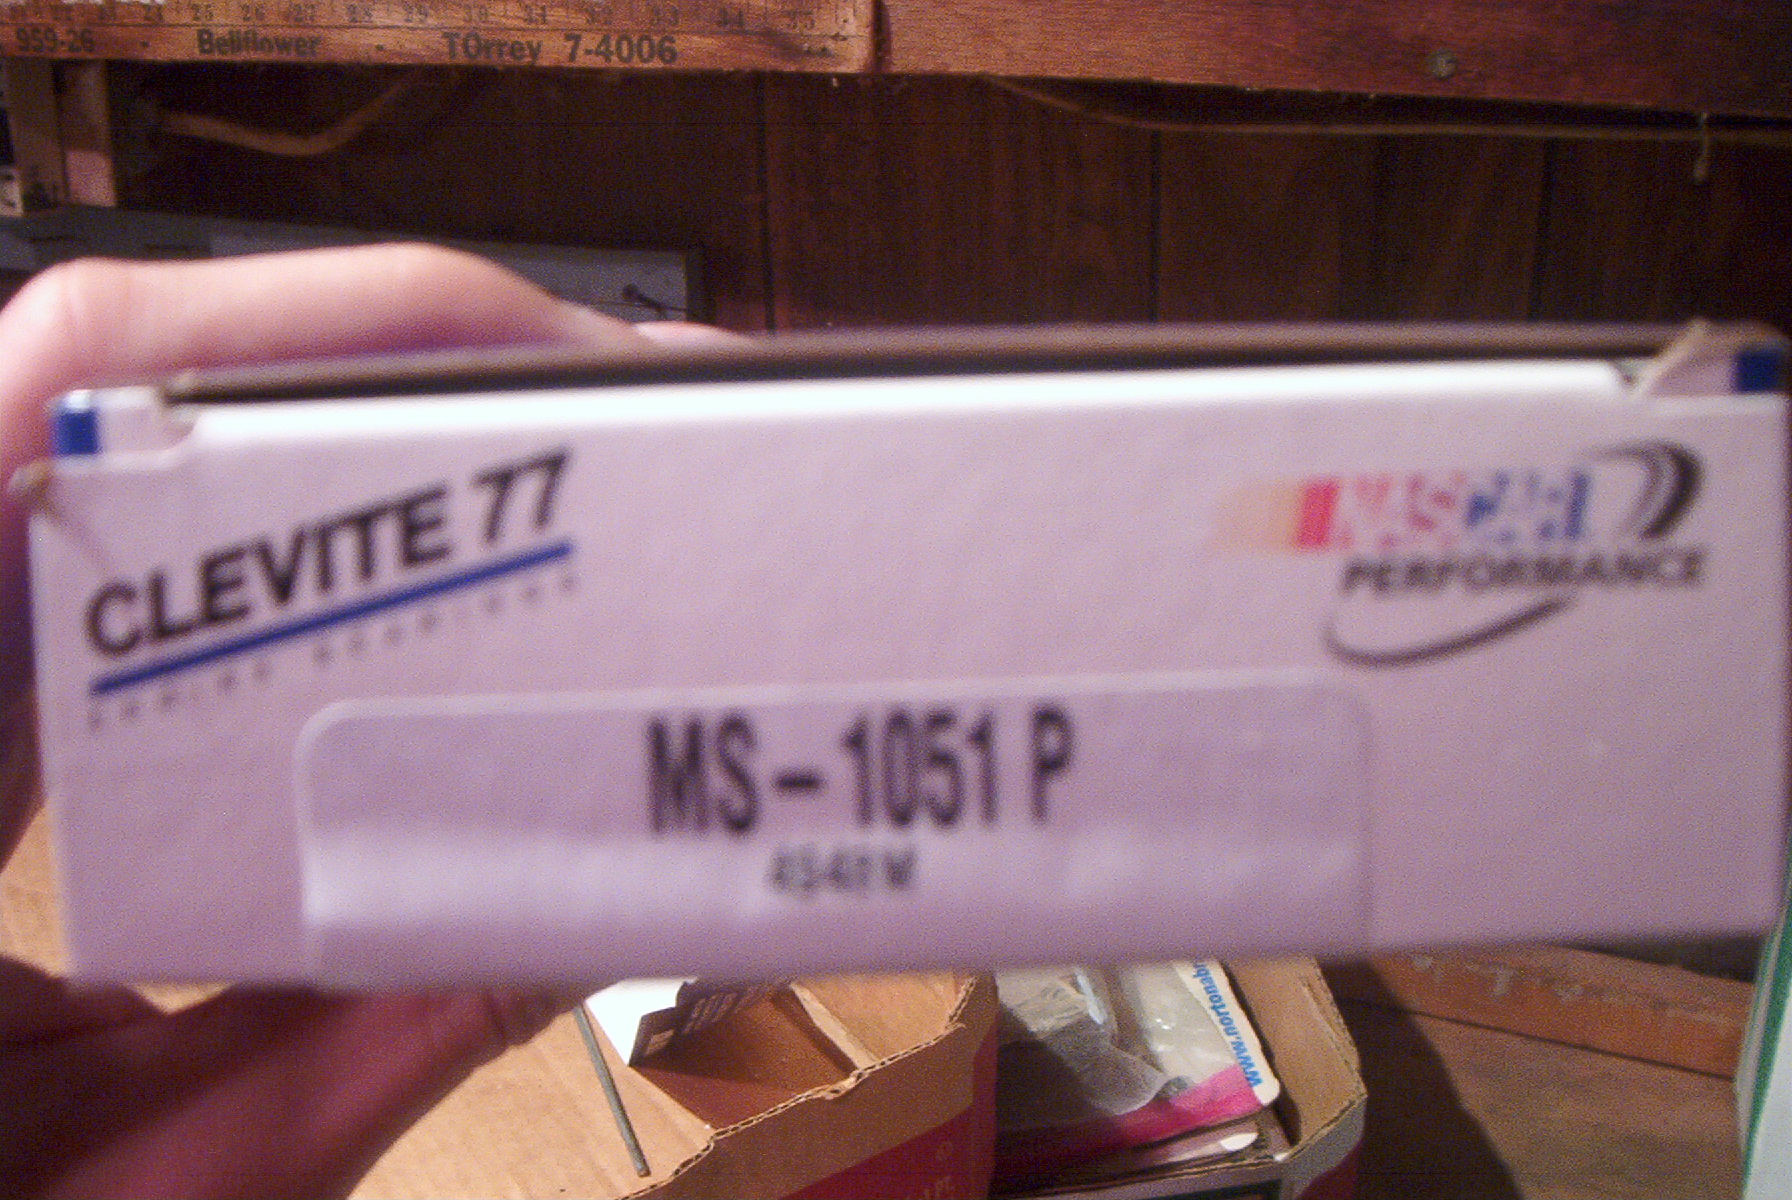 Clevite 77 main bearings, half grooved. |
 View of the main bearings. |
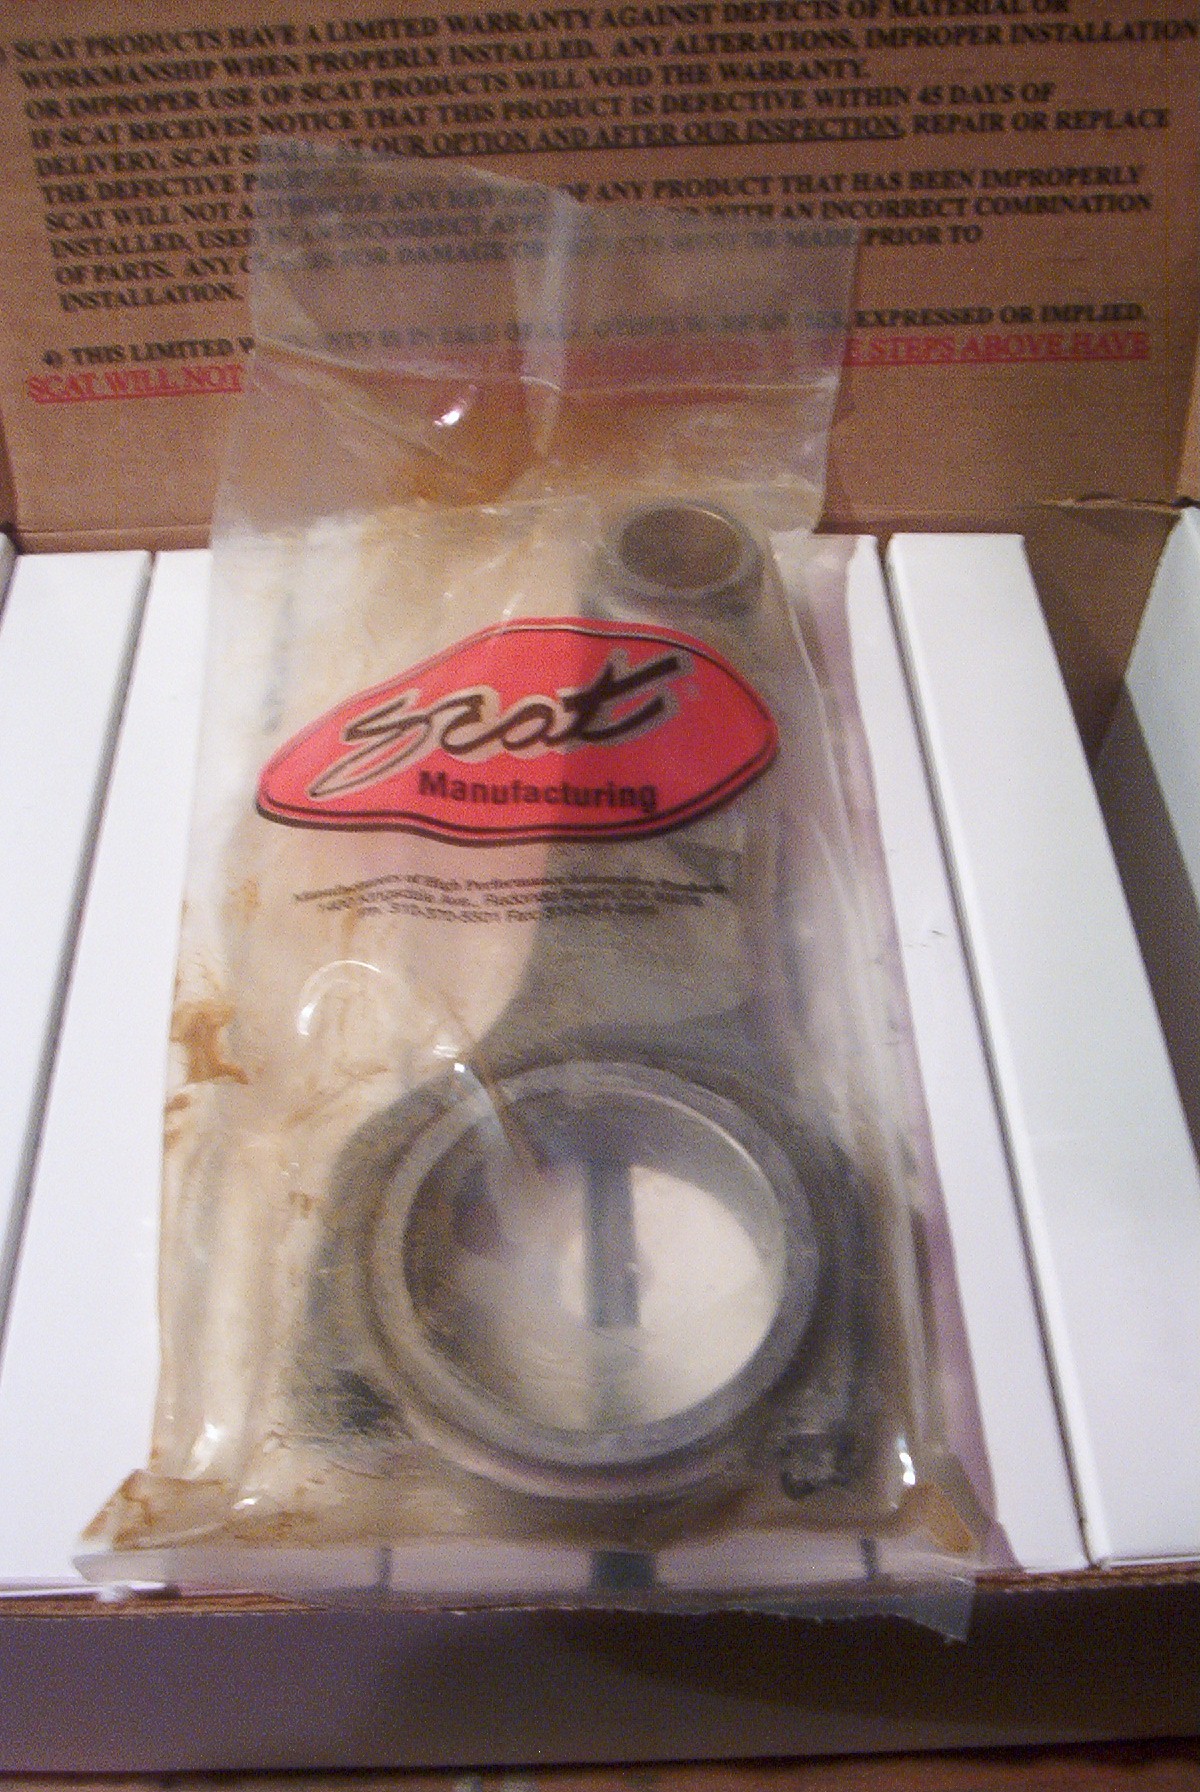 Scat 4340 forged H-beam connecting rods, 6.123 inch length. |
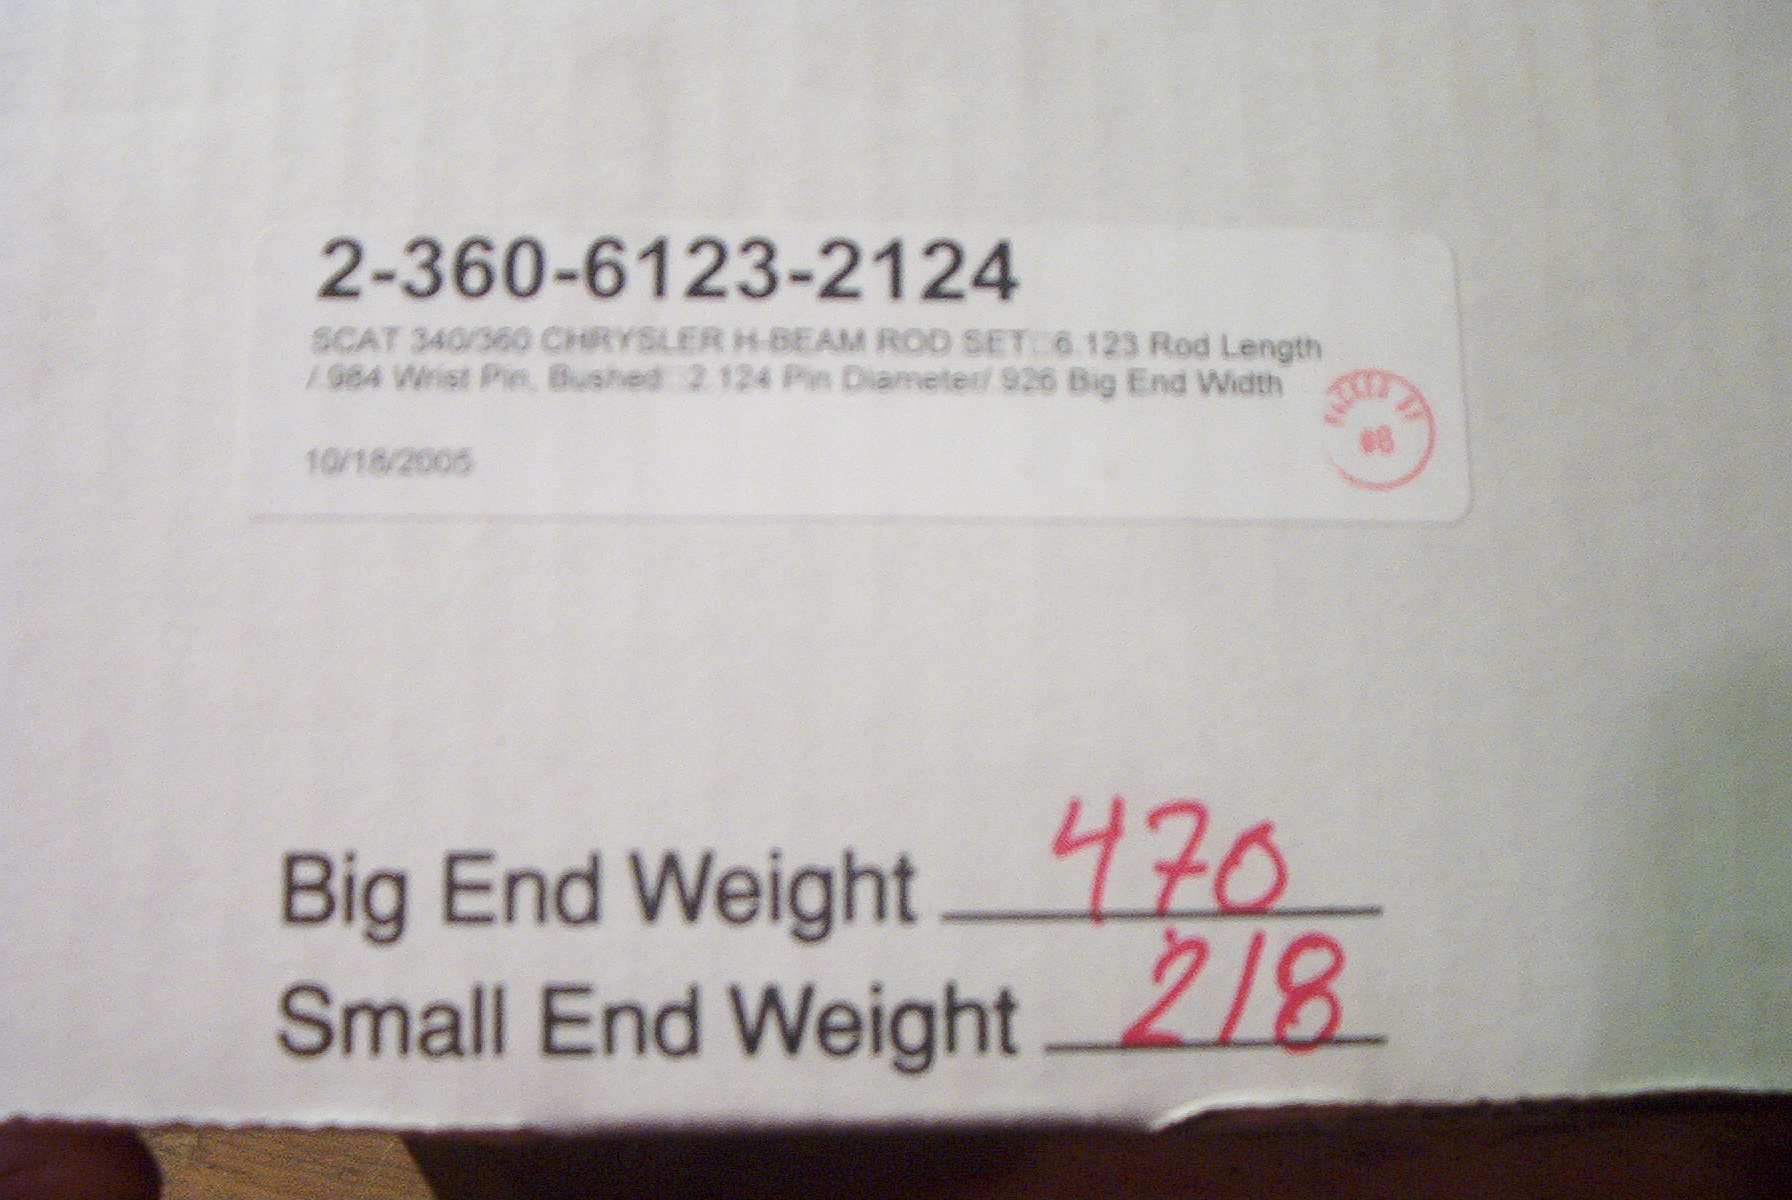 Part number for Scat rods, plus big end and small end weights. |
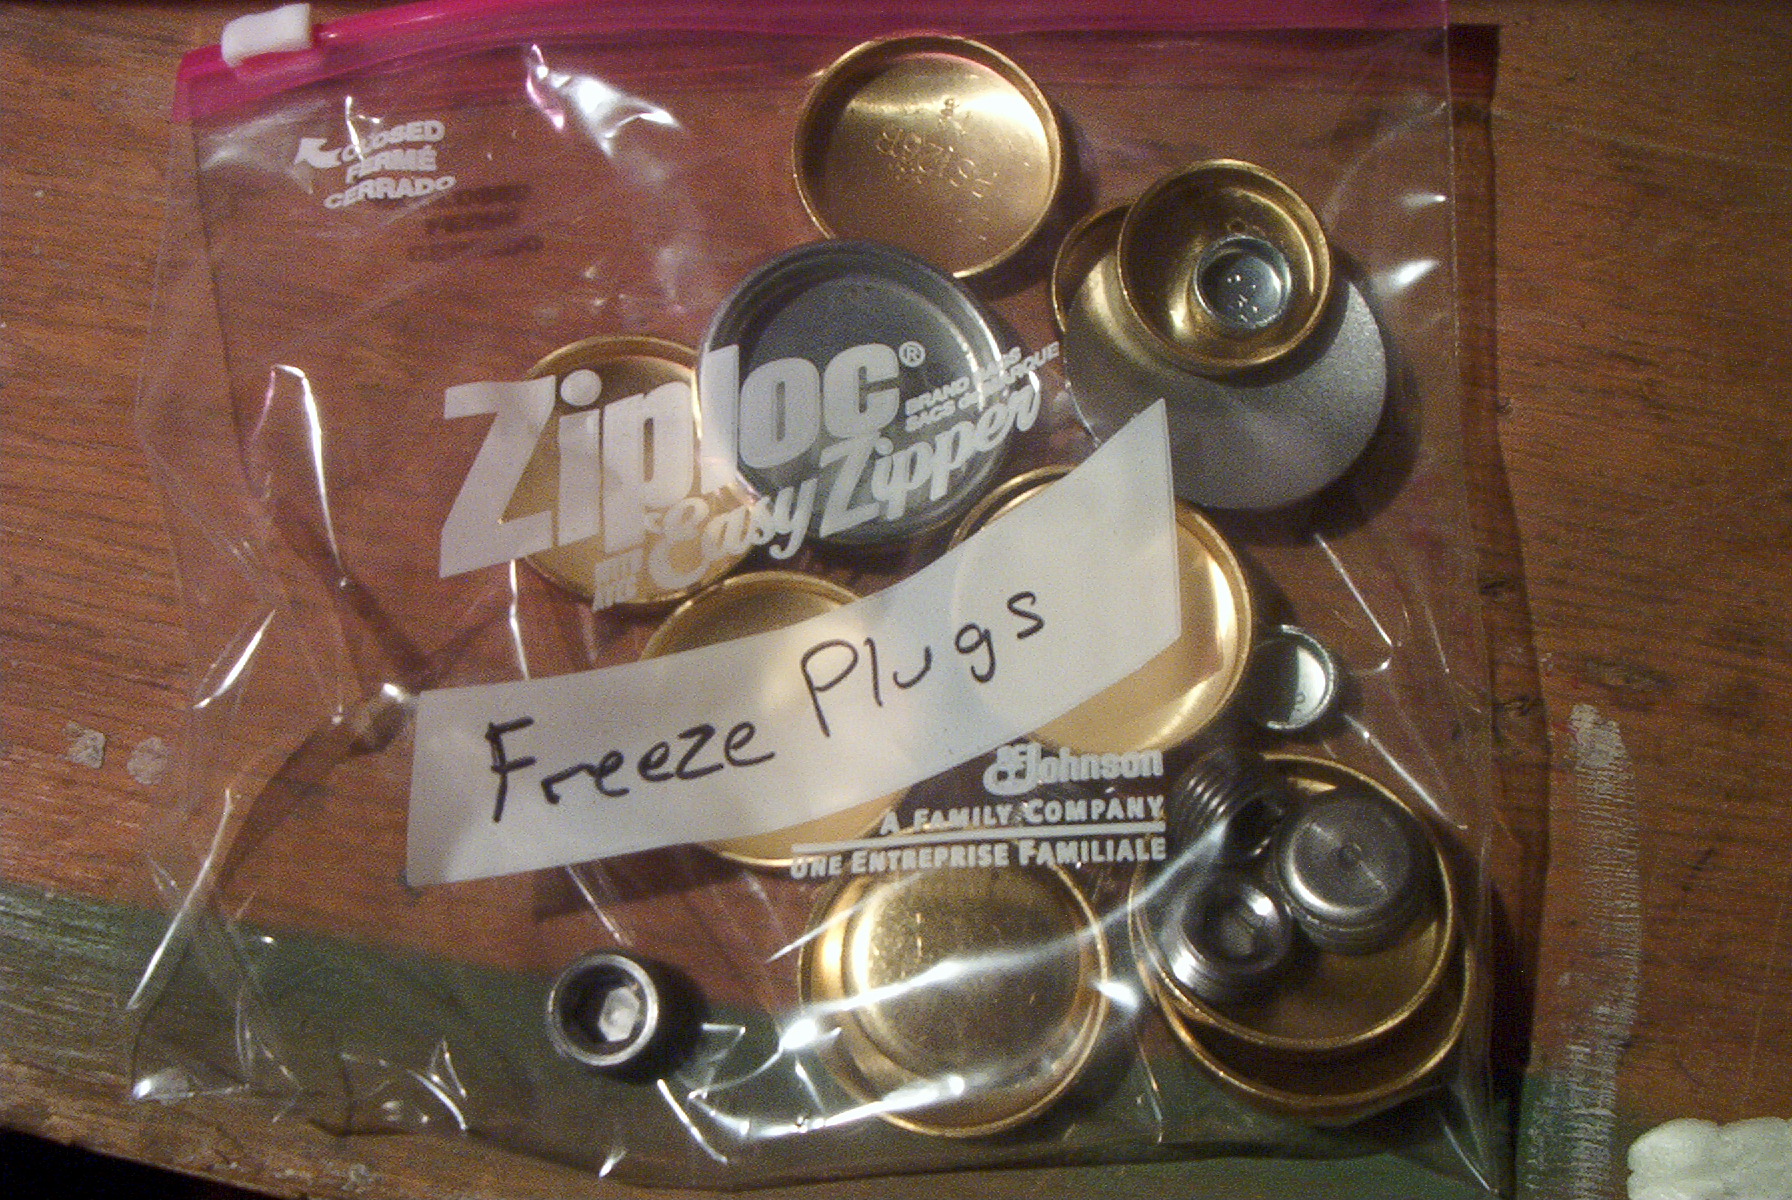 Brass freeze plugs and pipe threads. |
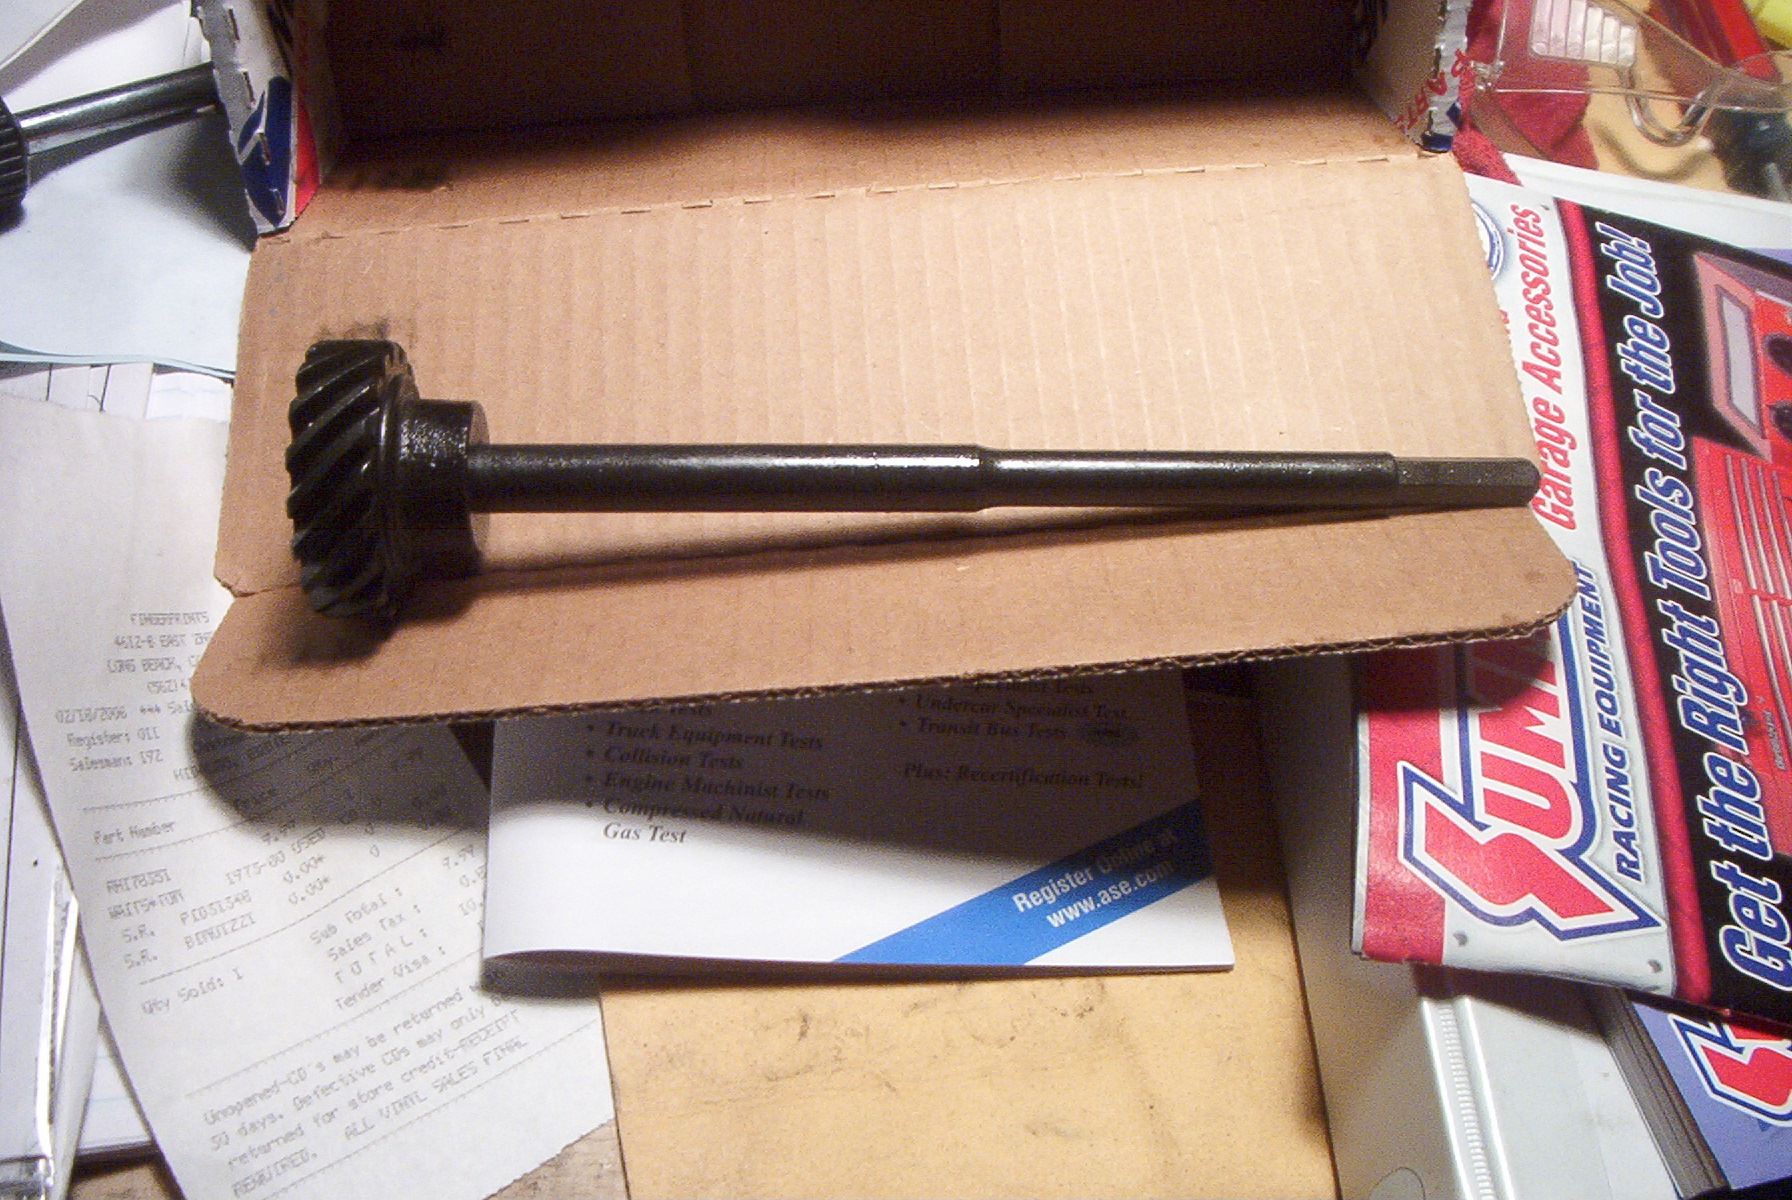 Hardened oil pump driveshaft and distributor gear. |
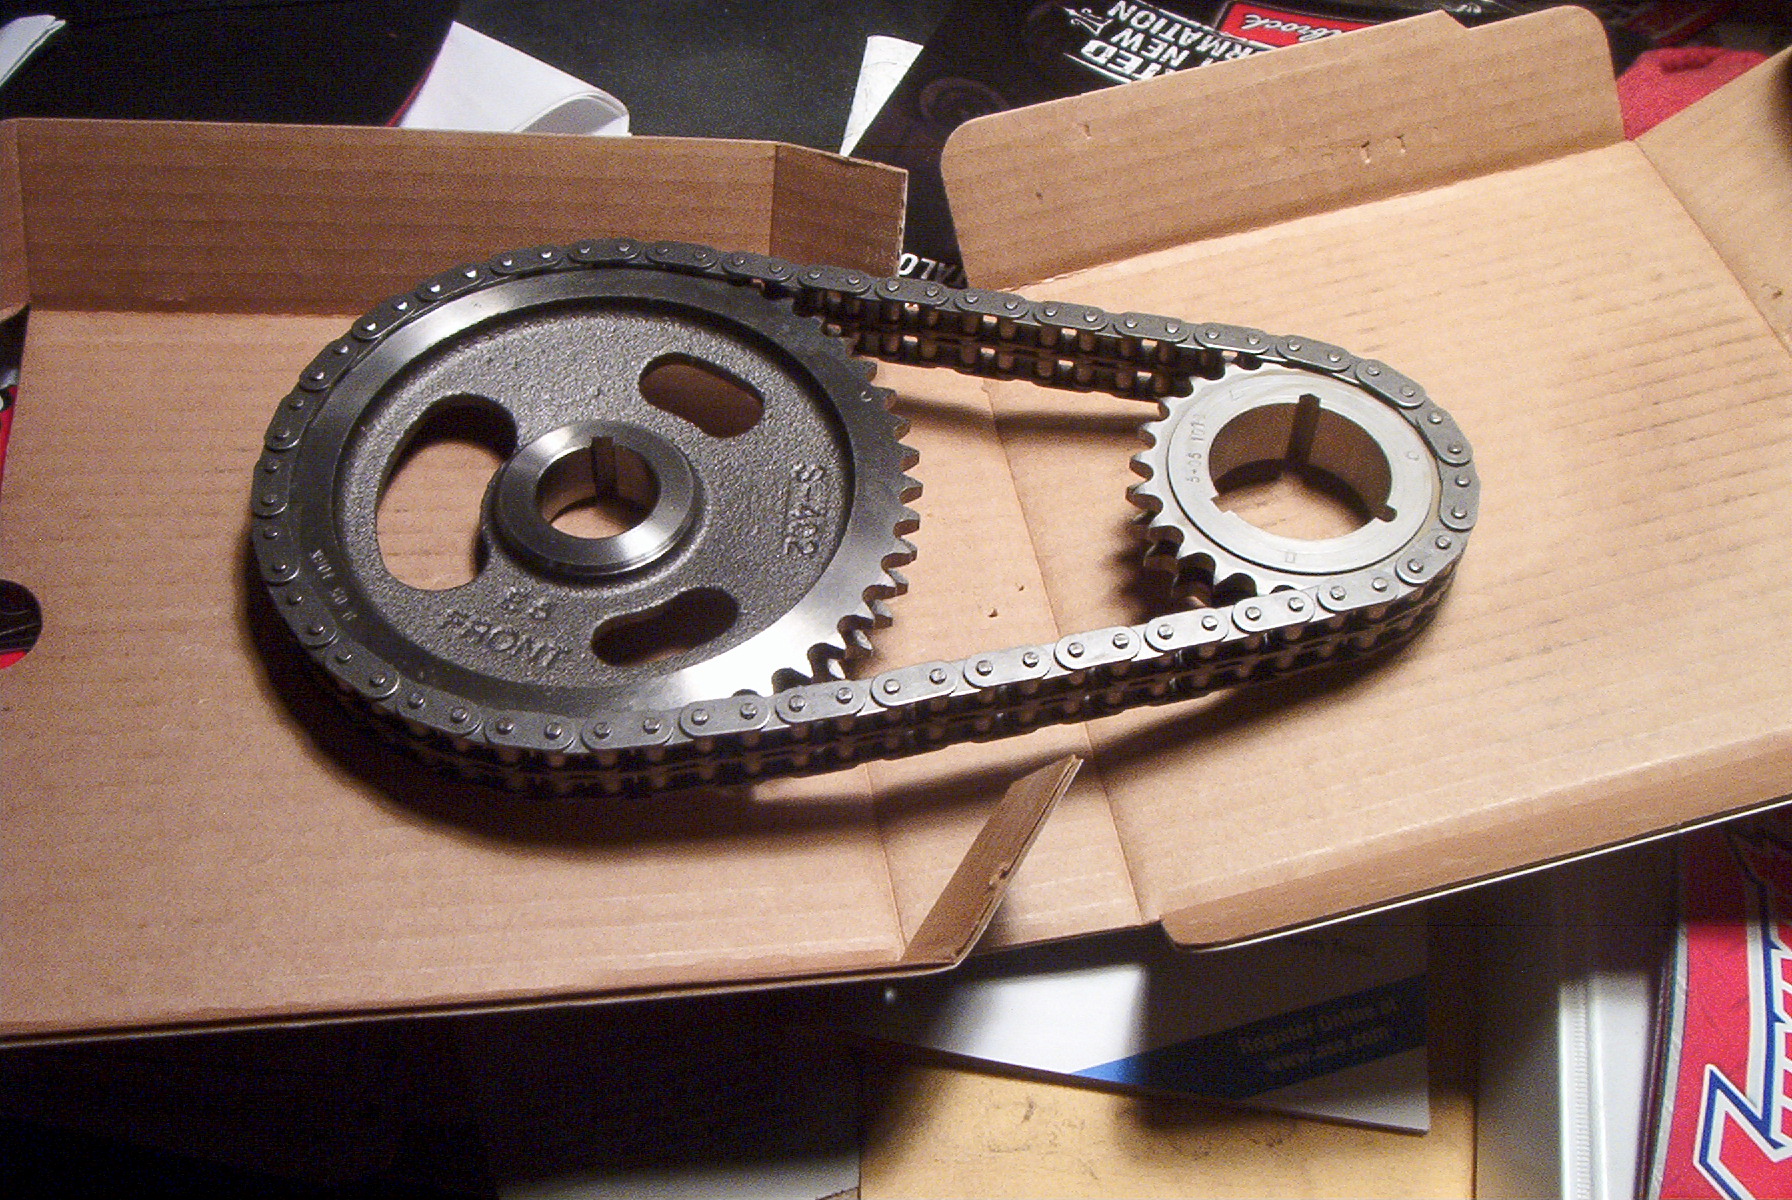 Cloyes True Roller timing chain set. |
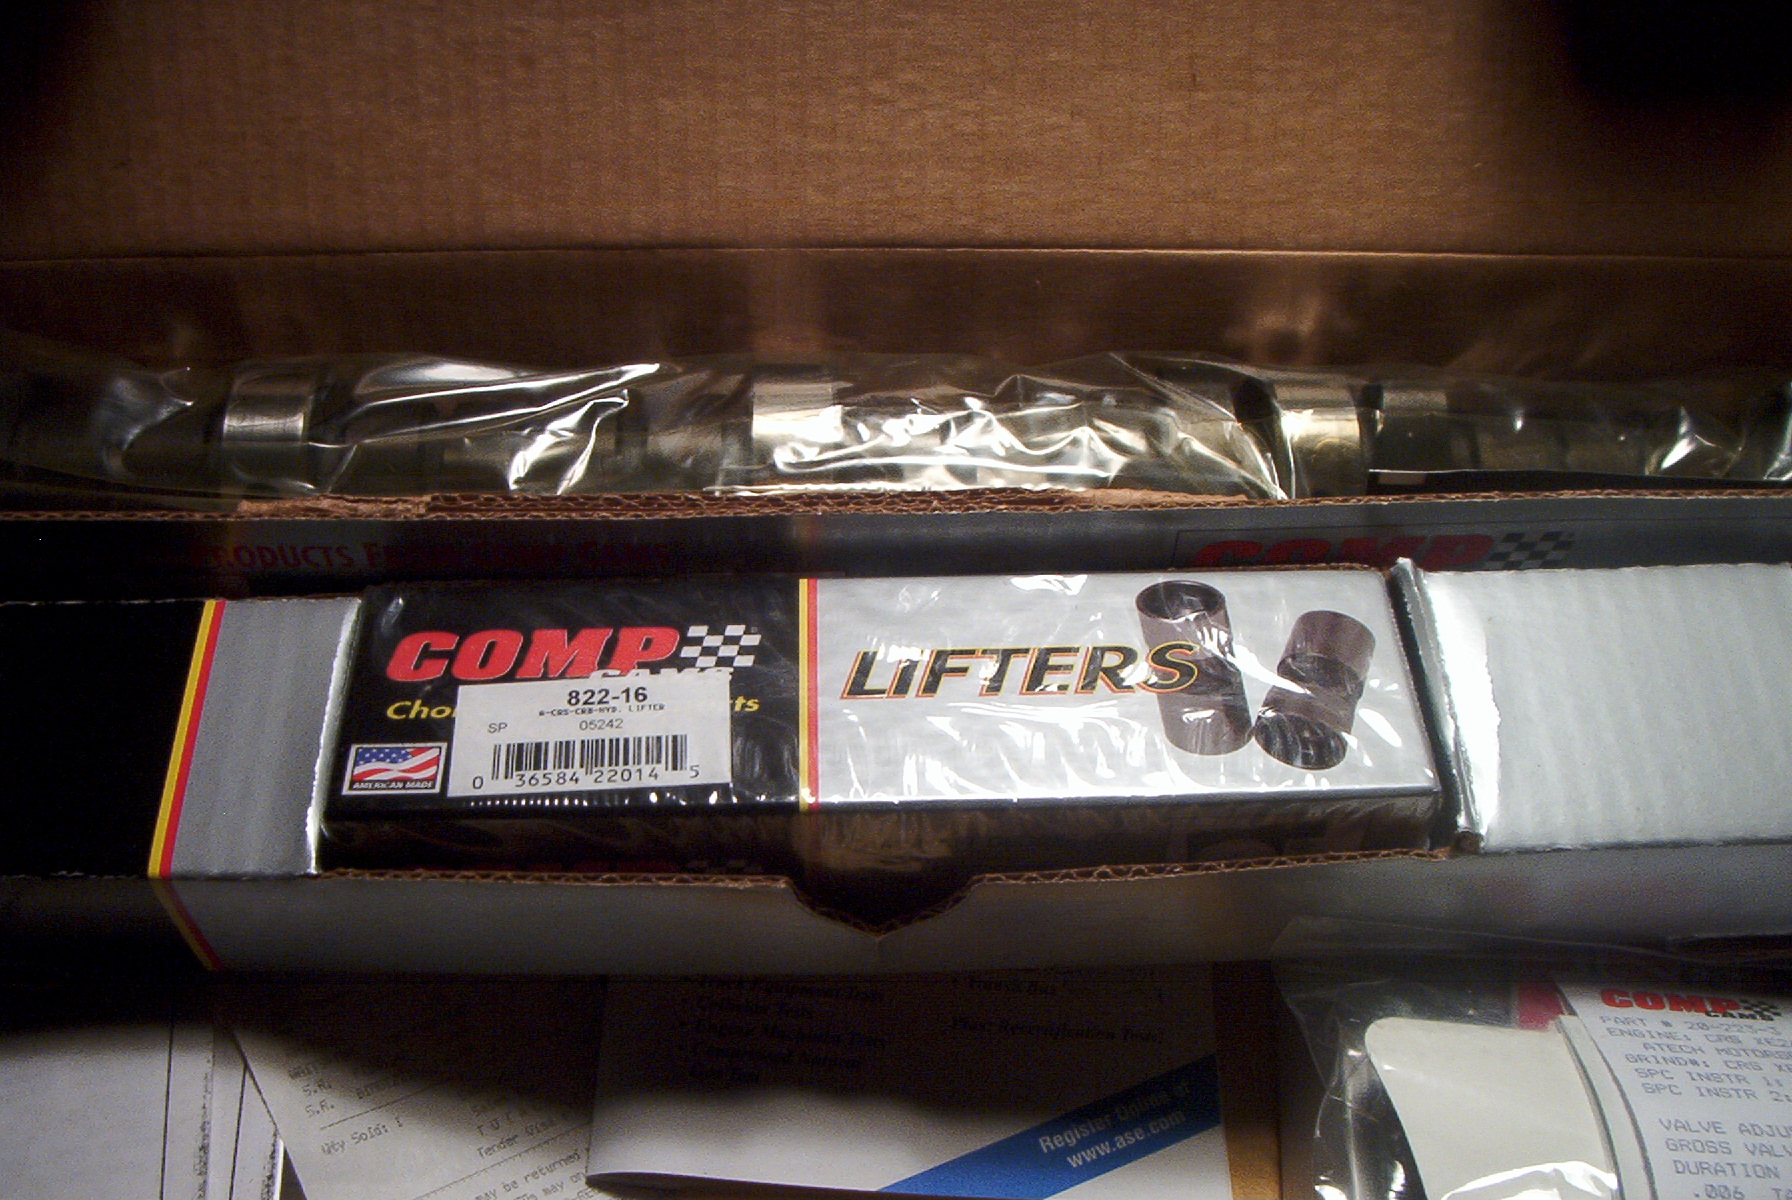 Comp Cams camshaft and lifter set, Grind CRS XE268H-10 |
Because the pistons had a slight step, they were milled down to flatness in order to fit closed chamber heads without interference. After milling, the rotating and reciprocating assemblies were weighed and ground down to equal weights, and the crankshaft was balanced. Approximately forty grams had to be removed on either end of the crankshaft. After balancing, the short block was assembled and bagged up.
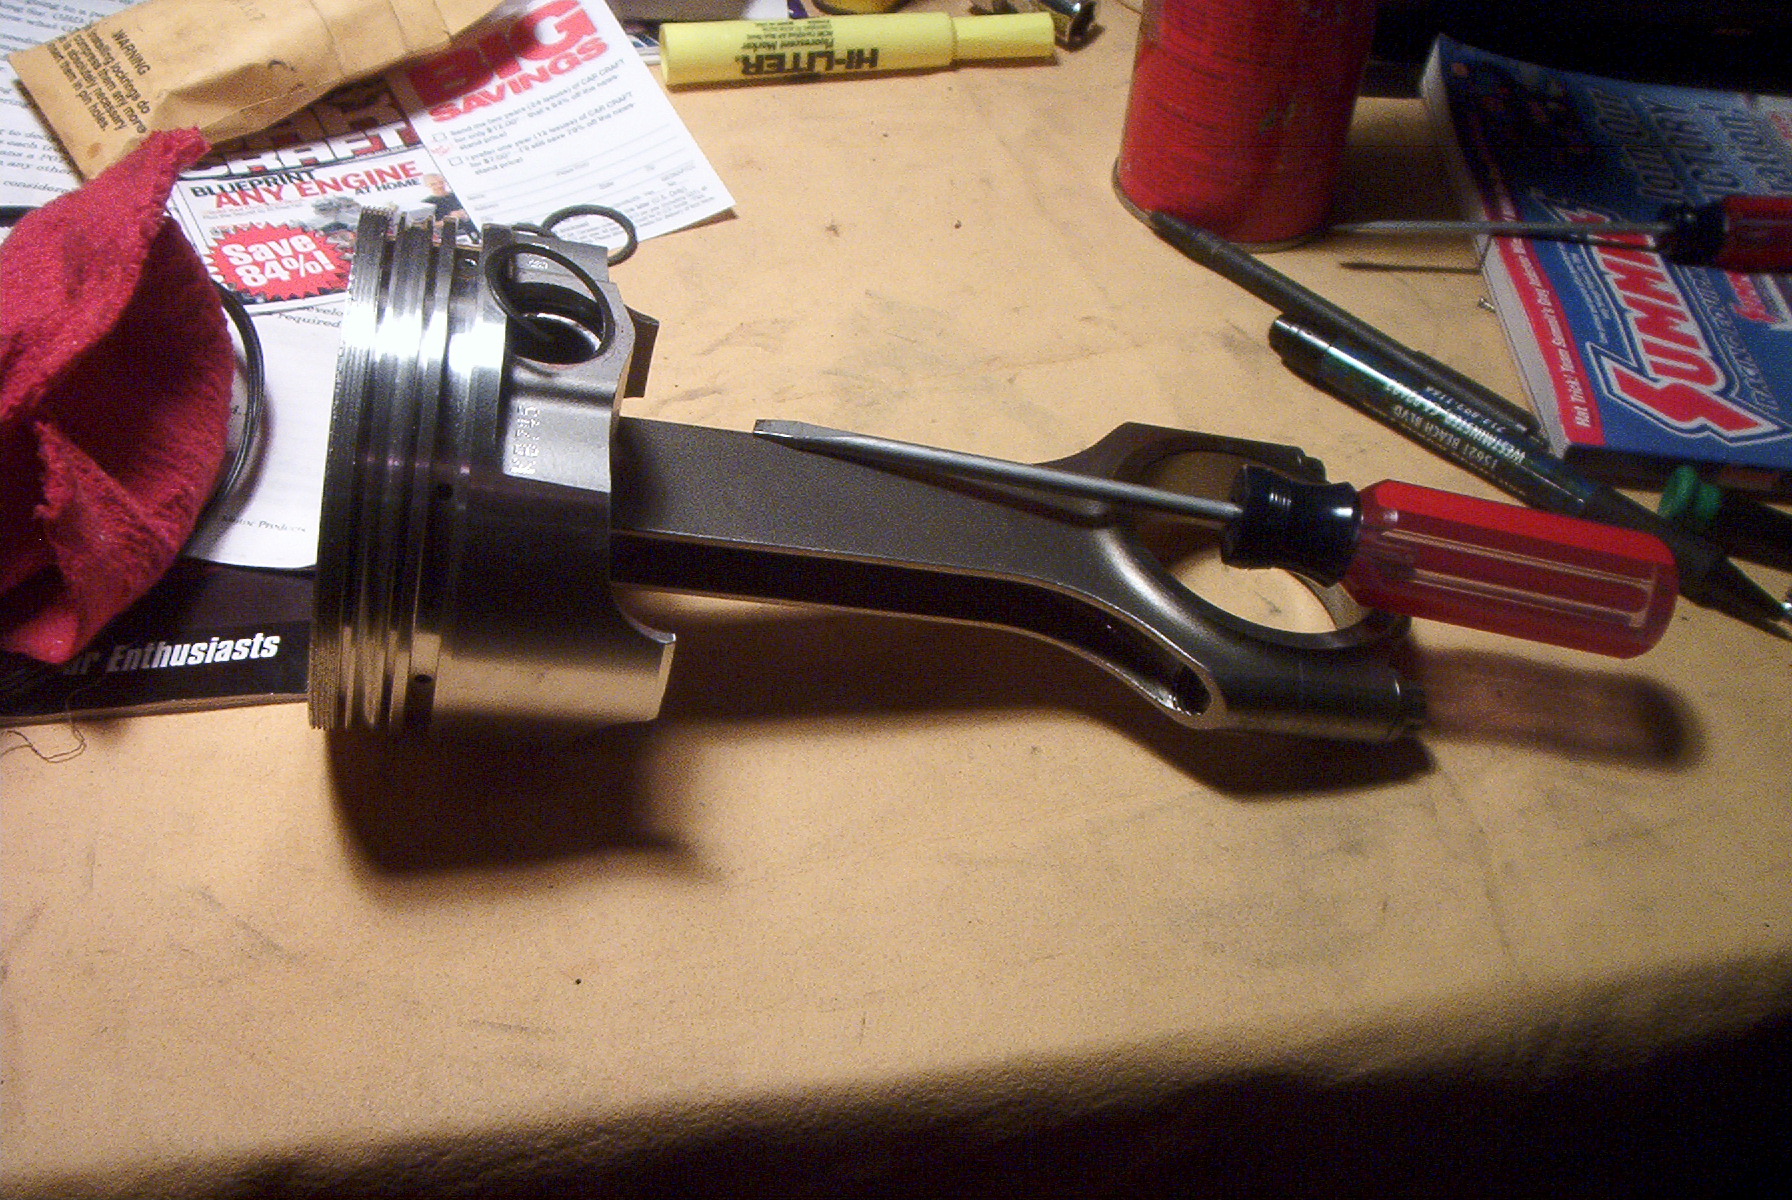 Installing the SpraLox on the piston and rod assembly. |
 Close-up of the SpiraLox. |
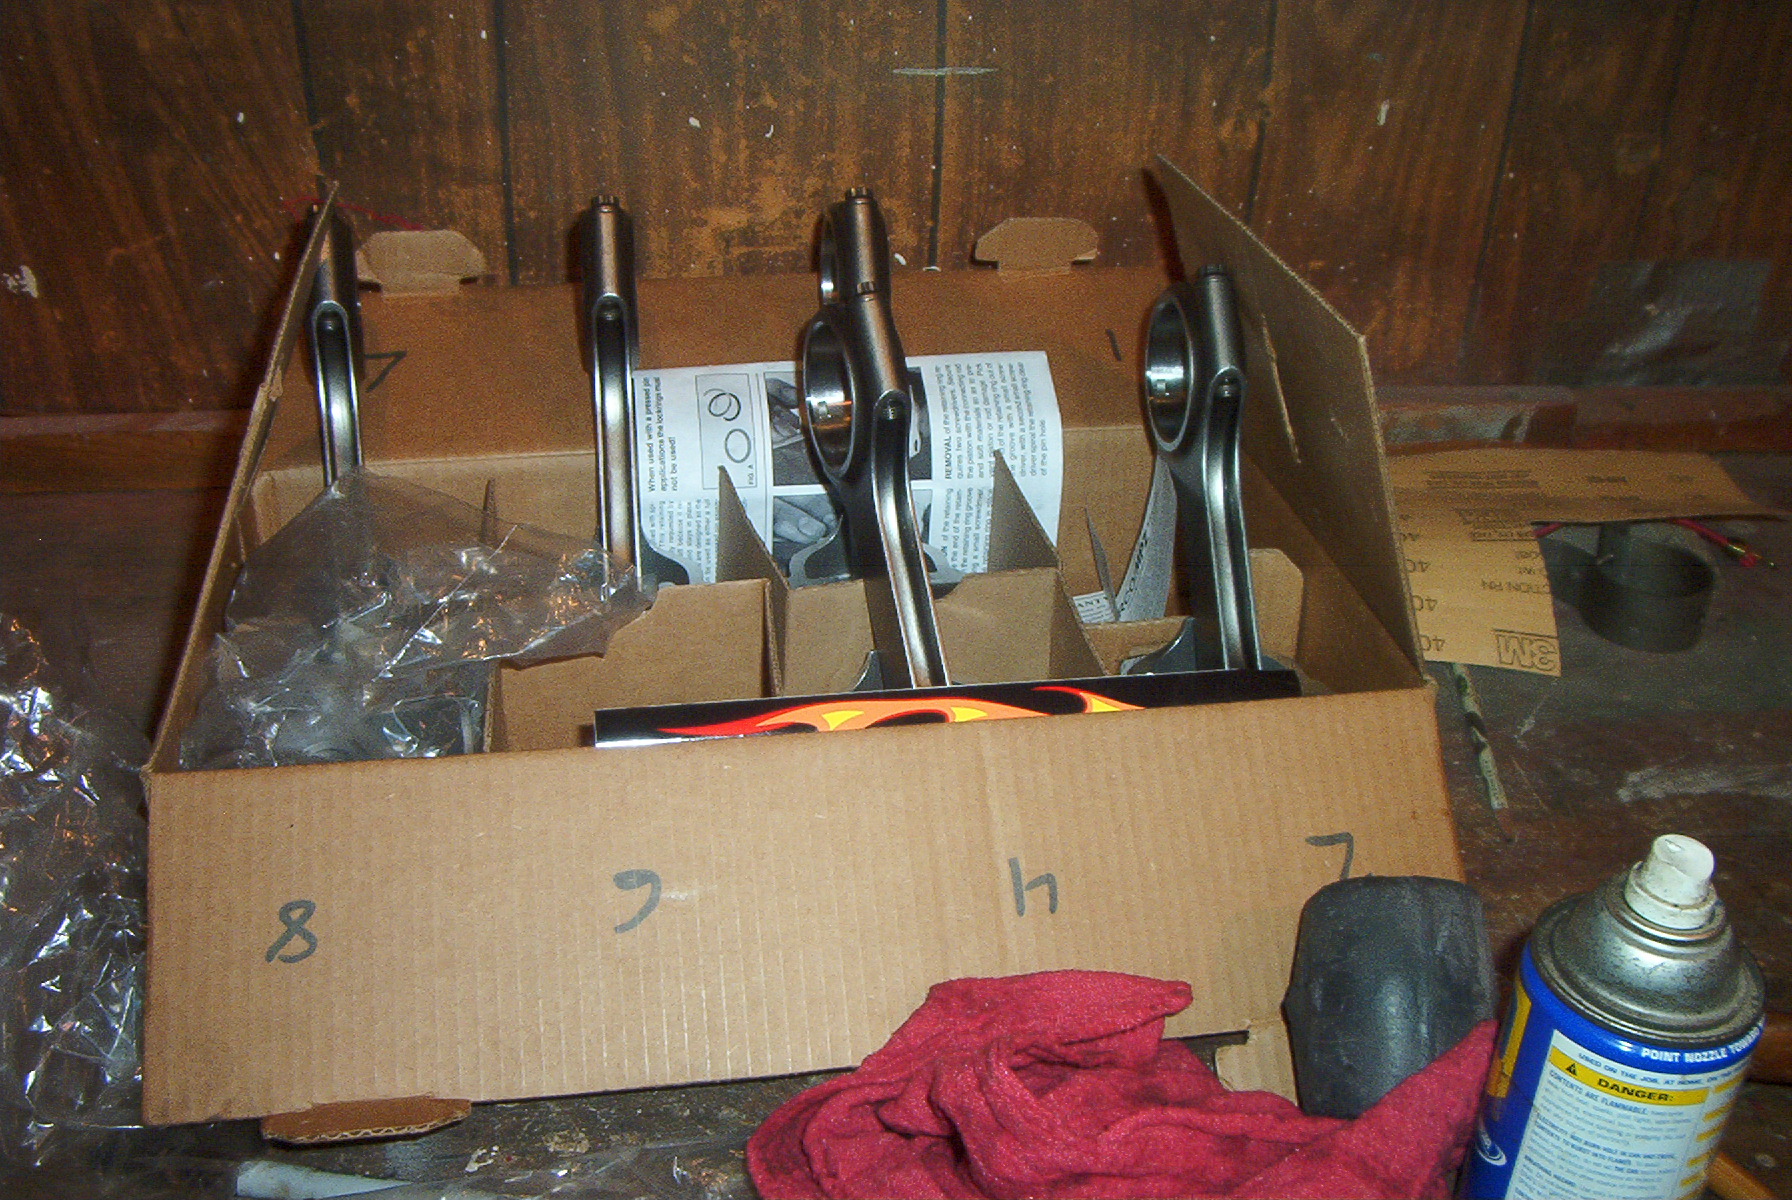 Some of the finished rods. |
 The crankshaft in its home. |
 Installing the pistons and rods. |
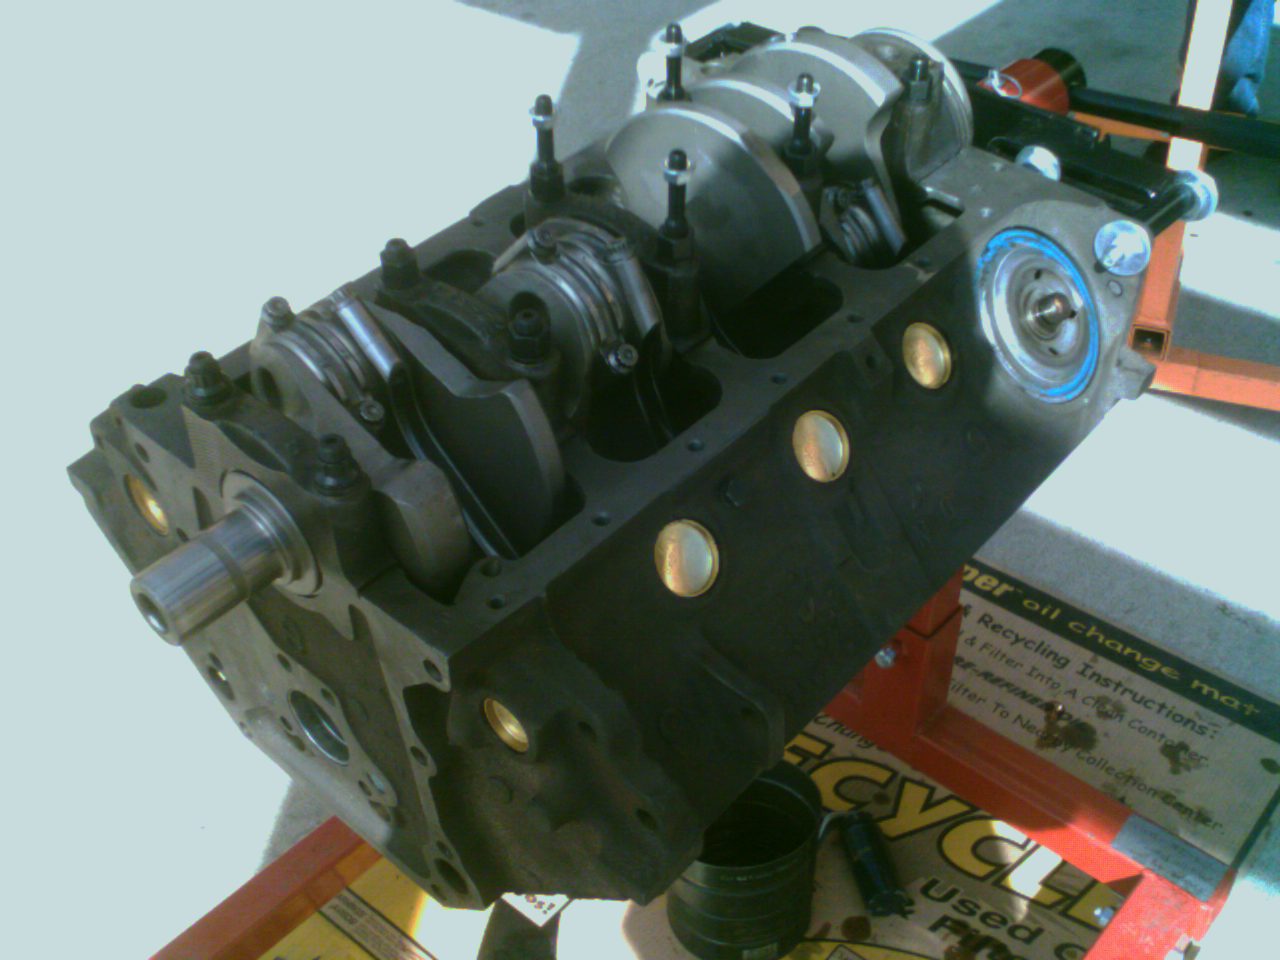
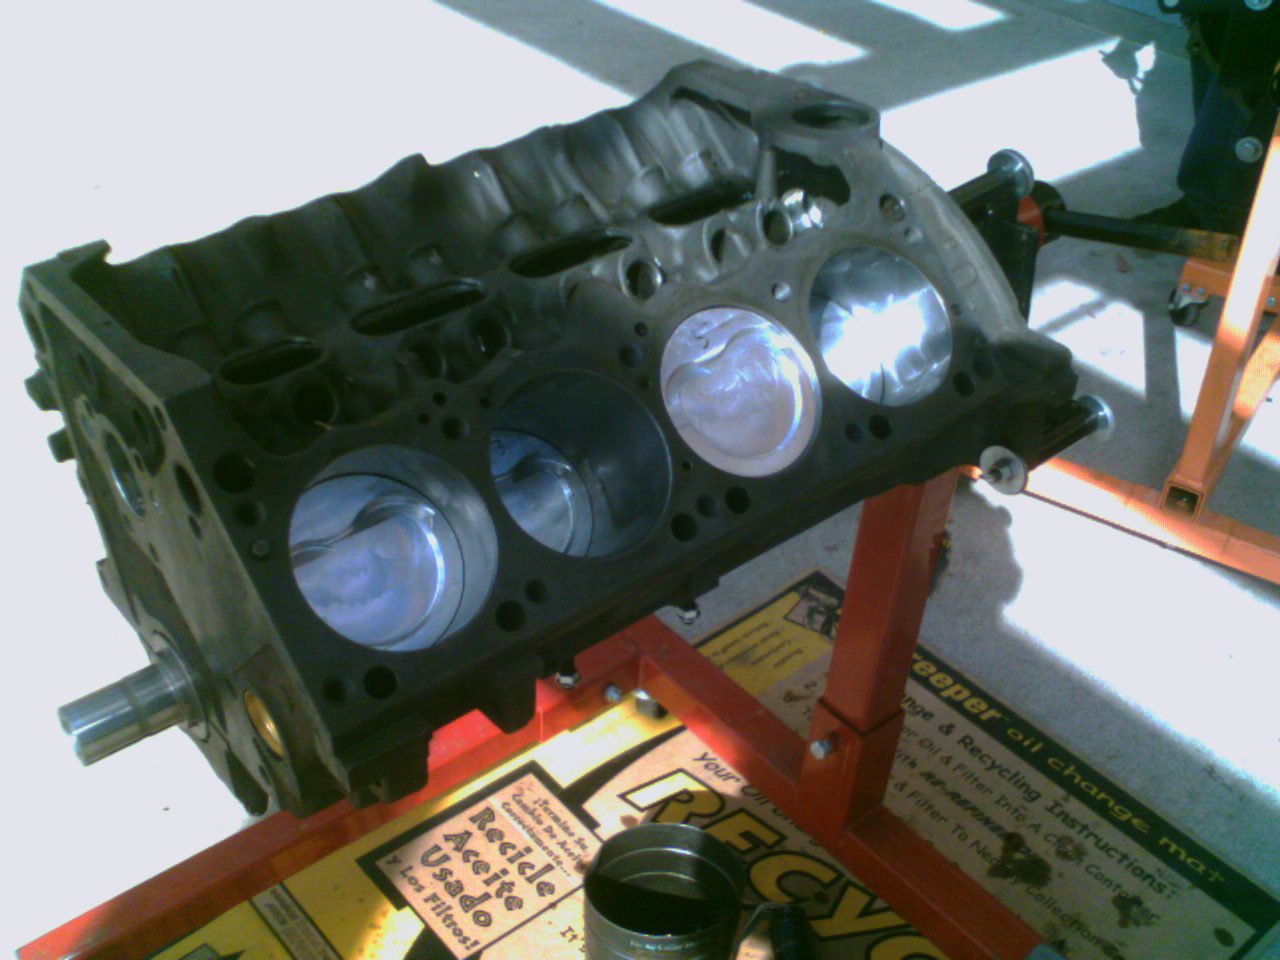 The pistons and rods are in the block, attached to the crankshaft. |
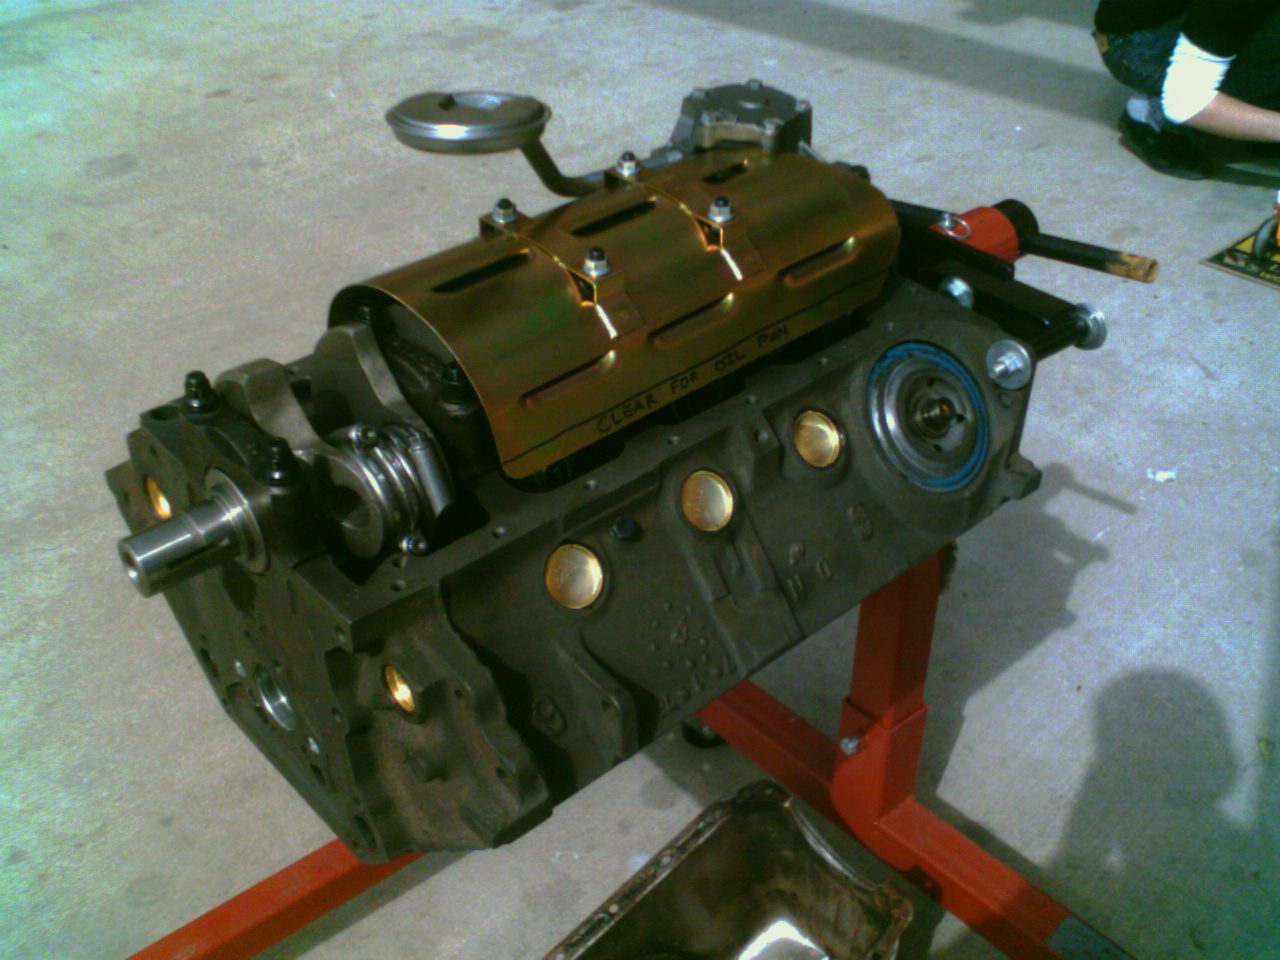 The windage tray and oil pickup are installed. |
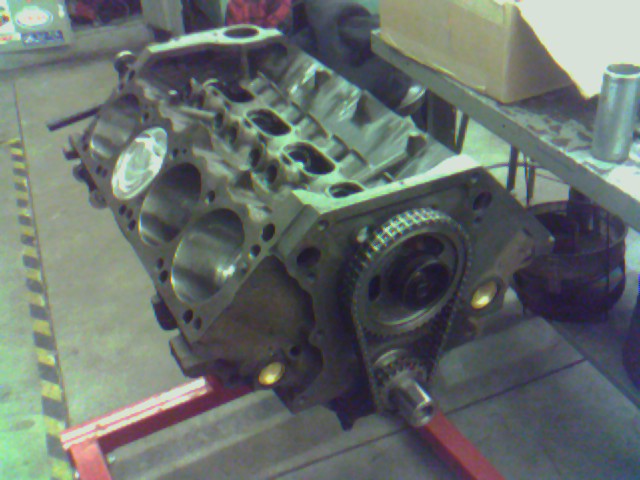 The camshaft and timing chaing are installed and the short block is completed. |
- Edelbrock Performer RPM cylinder heads
- ROL Manufacturing hi-temp head gaskets
- Proform roller rockers with hardened chromed rocker shafts, 1.5:1 ratio
- ARP head studs
Other miscellaneous parts were also ordered off of eBay.
After receiving all the parts, the heads were installed on the block and
secured with ARP head studs. Proform roller rockers were then
temporarily installed for mockup purposes before installing Comp Cams
ball-and-cup pushrods. Lifter preload was set, and the motor was
bagged up to await more parts.
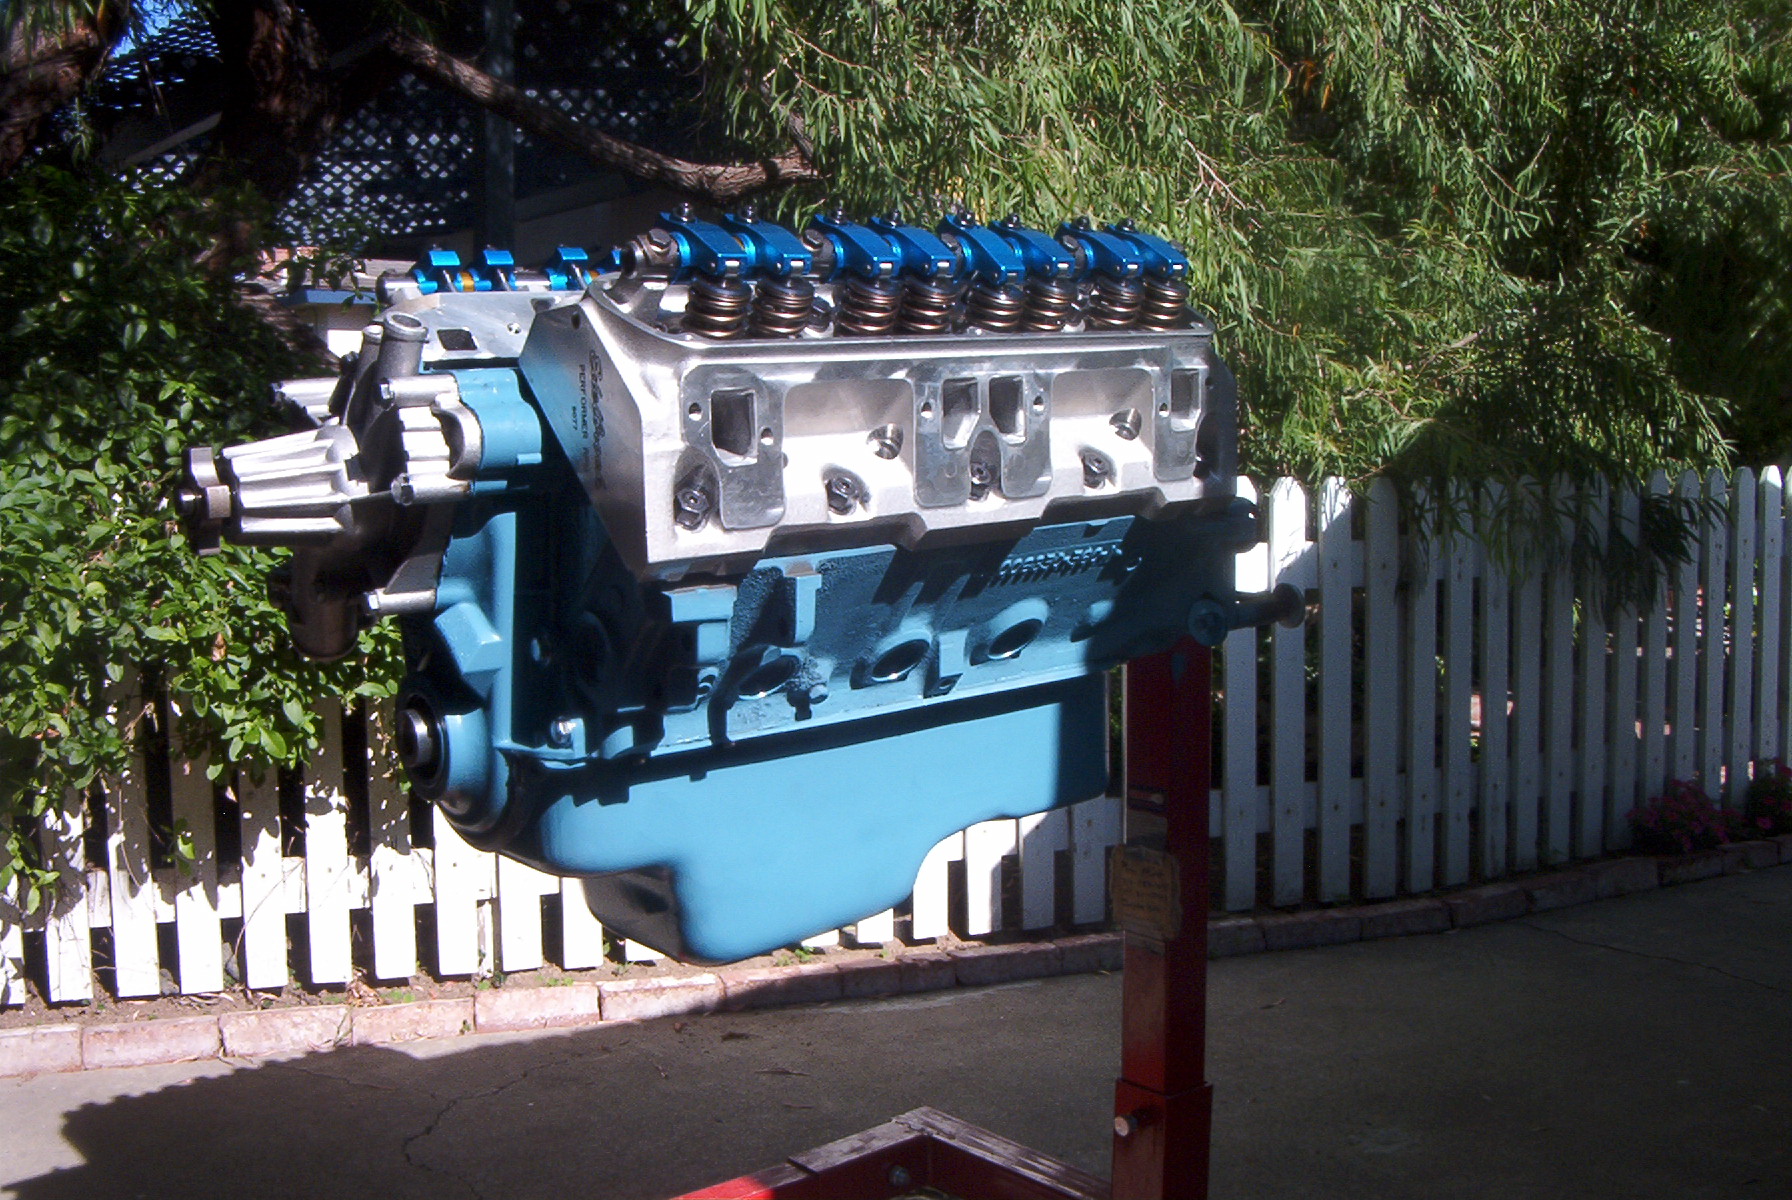
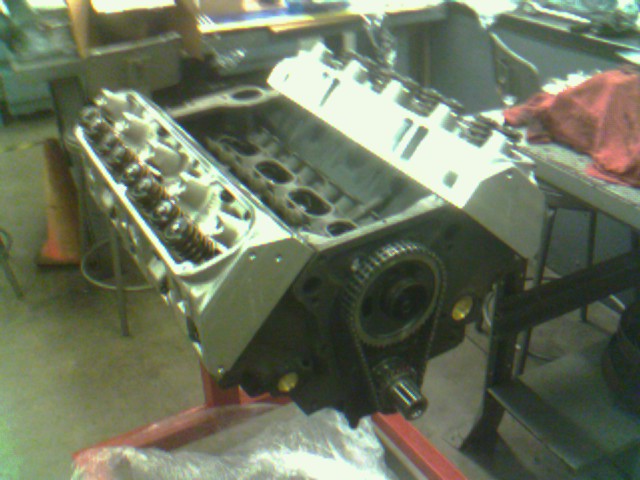 Edelbrock Performer RPM heads are installed on the motor with ARP head studs. |
 Proform roller rocker arms and chromed rocker shafts are mocked up before the pushrods are installed. |
- Weiand Stealth intake
- Edelbrock 750CFM carburetor with manual choke
- Summit brand distributor with blue ignition computer
- MSD Ford Duraspark 45,000 volt ignition coil
- Autolite spark plug wires, 8mm core
- Mopar Performance stock replacement oil pan
- C.A.T. fluid filled harmonic balancer
- Mopar Performance front cover bolt kit
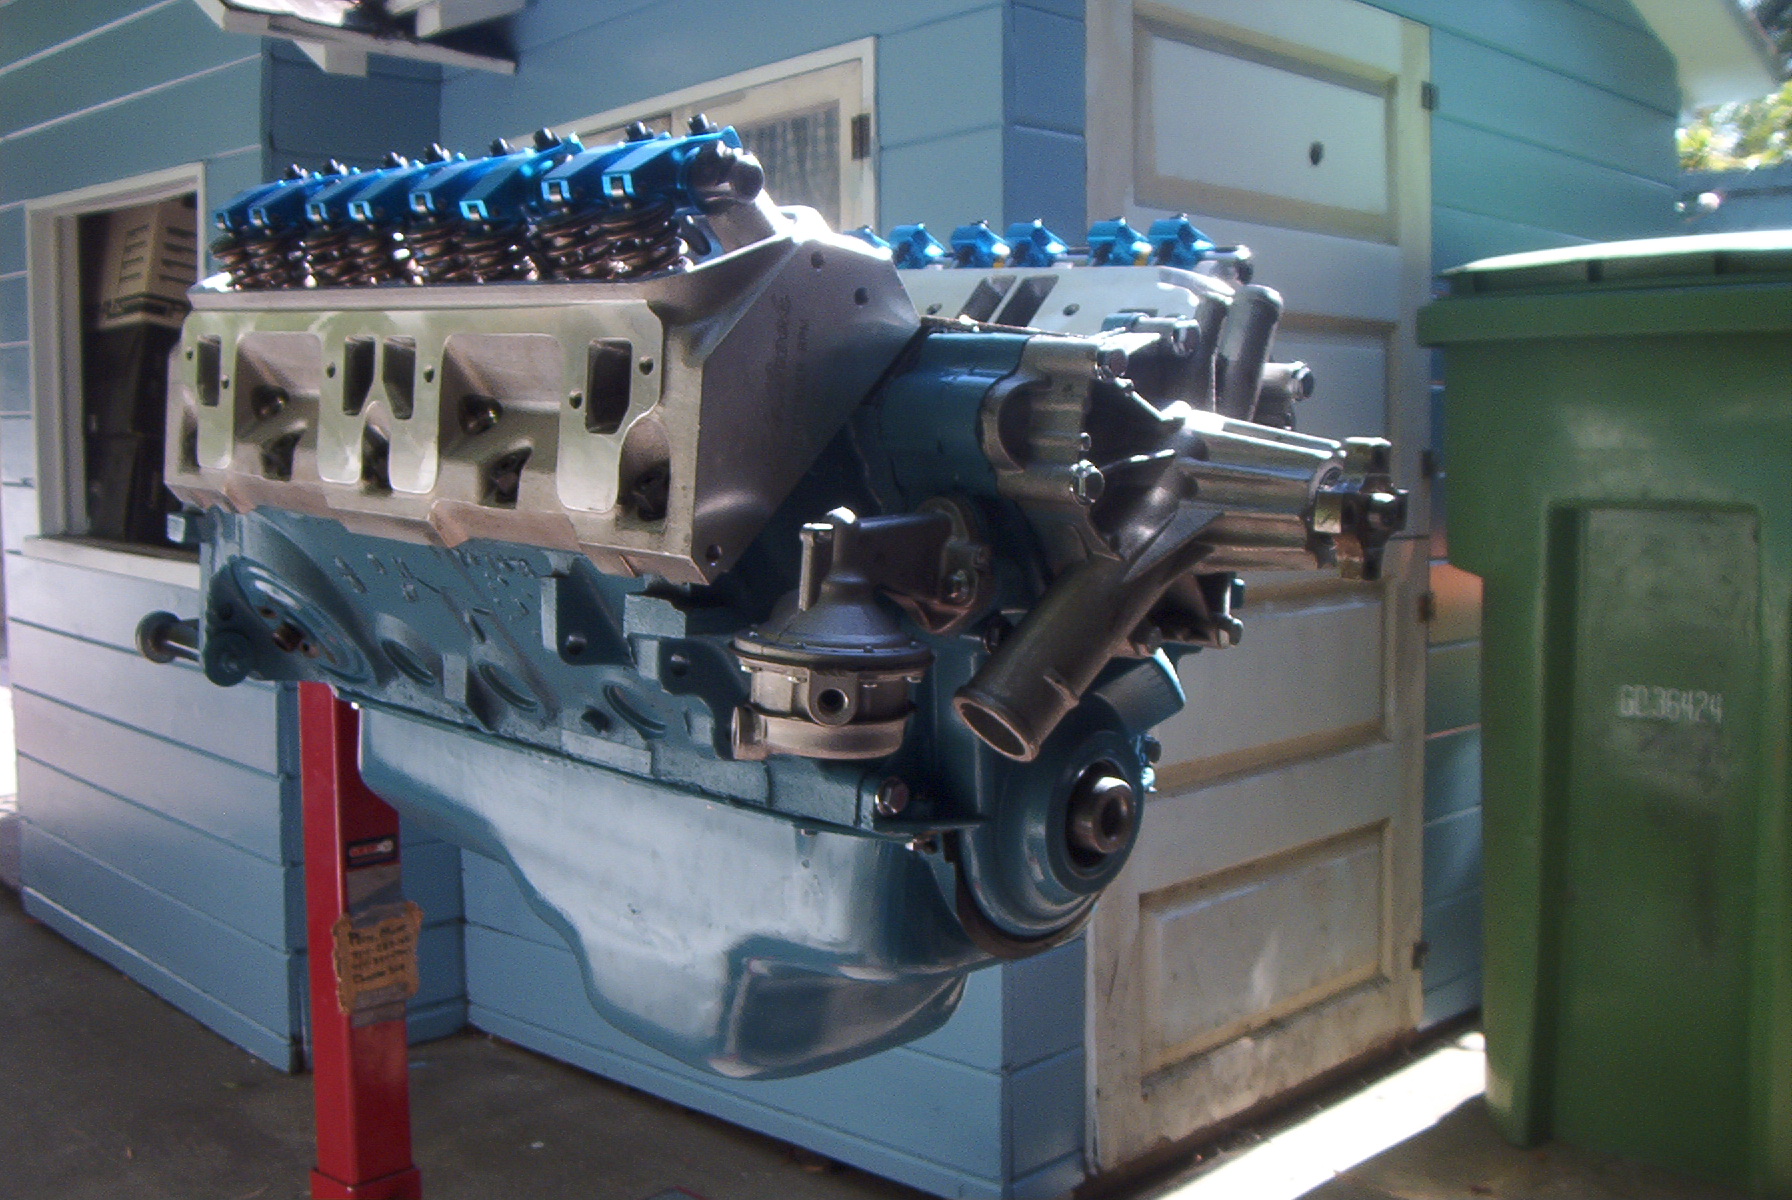
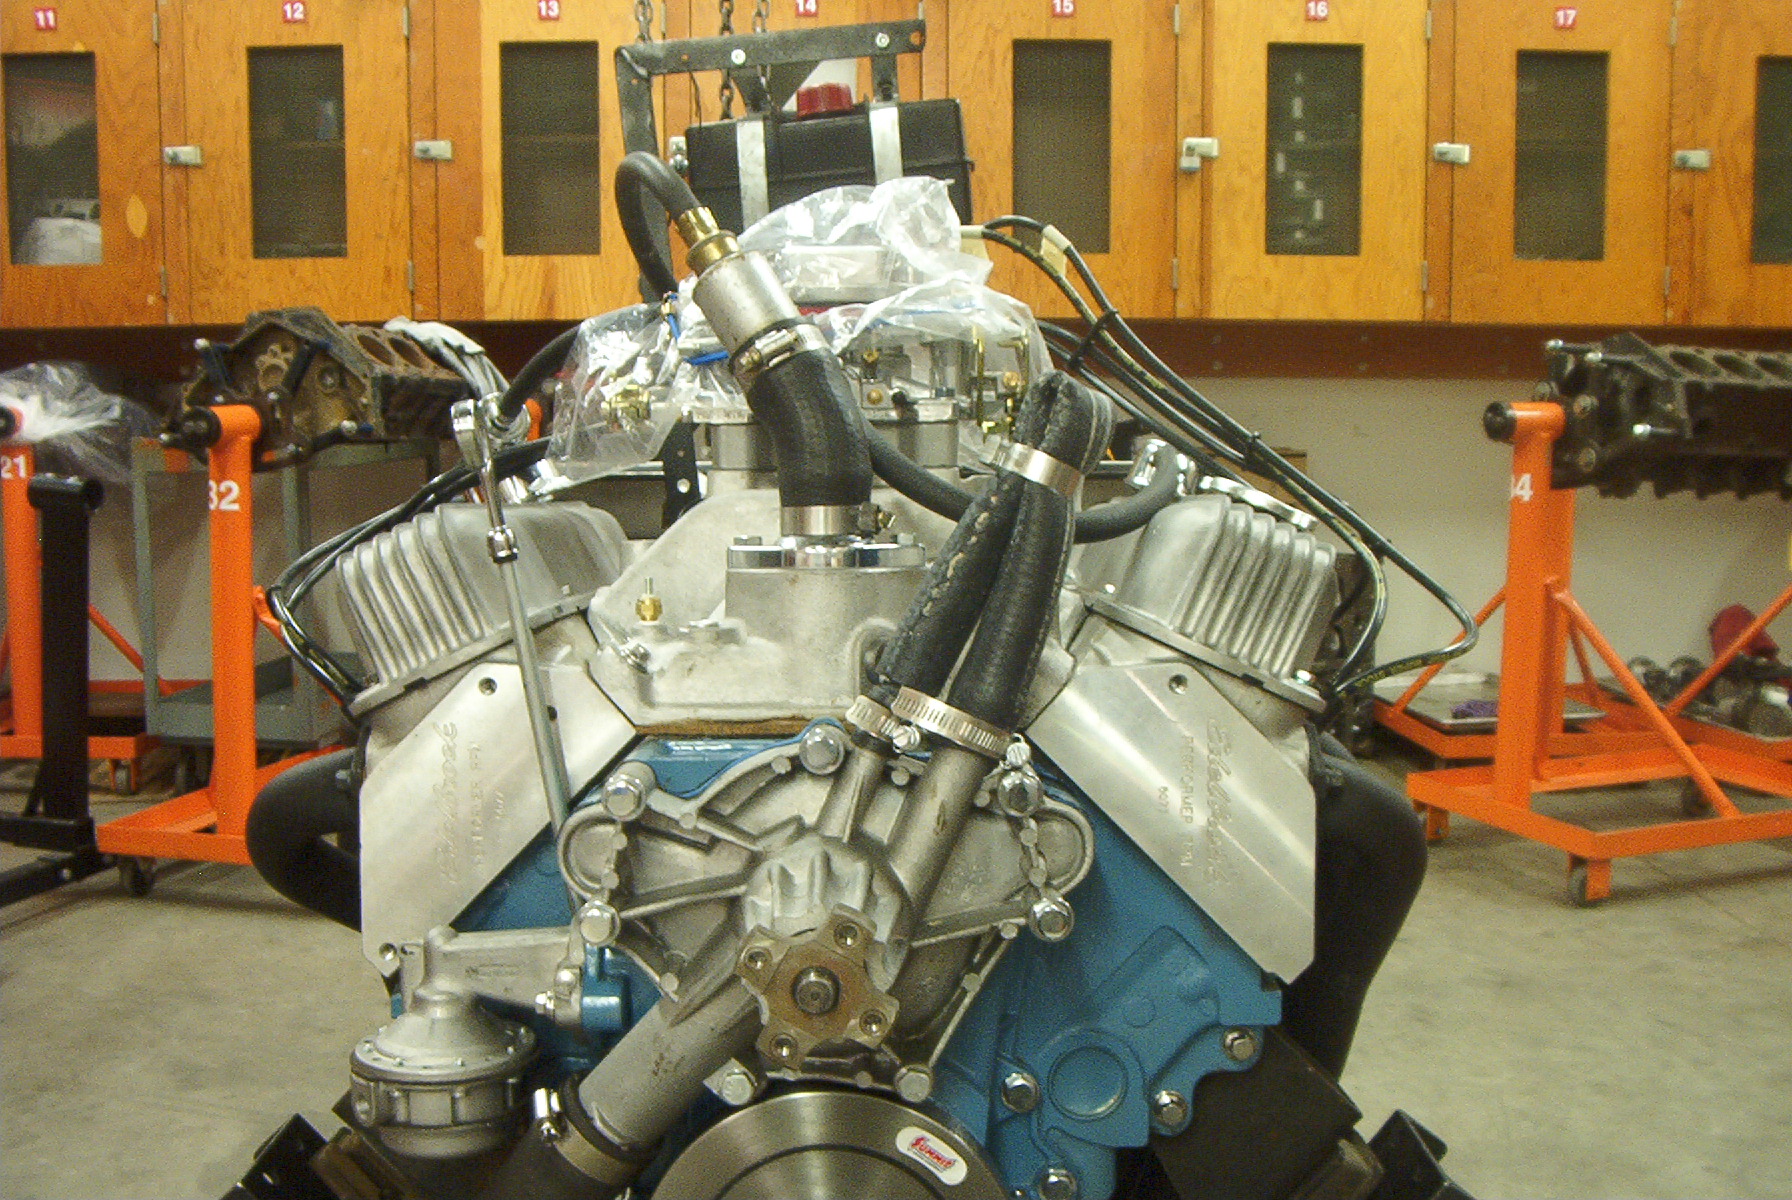
The intake manifold gaskets were dressed with Permatex gasket fastener and located on the heads and block. The intake manifold was then dropped into place and secured with ARP bolts. After torquing down the intake manifold, the carburetor was bolted to the manifold with regular 5/16th bolts, the front cover, water pump, and fuel pump are installed, and the valve covers are put on temporarily. After a failed attempt at installing the harmonic balancer, the engine was bagged up and is now awaiting being transported off campus to my garage.
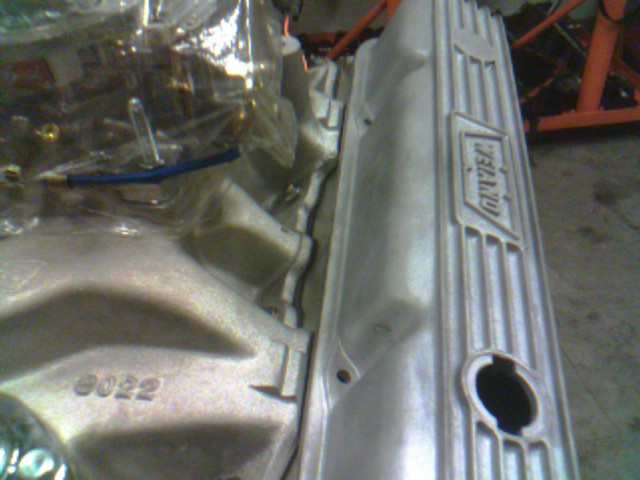
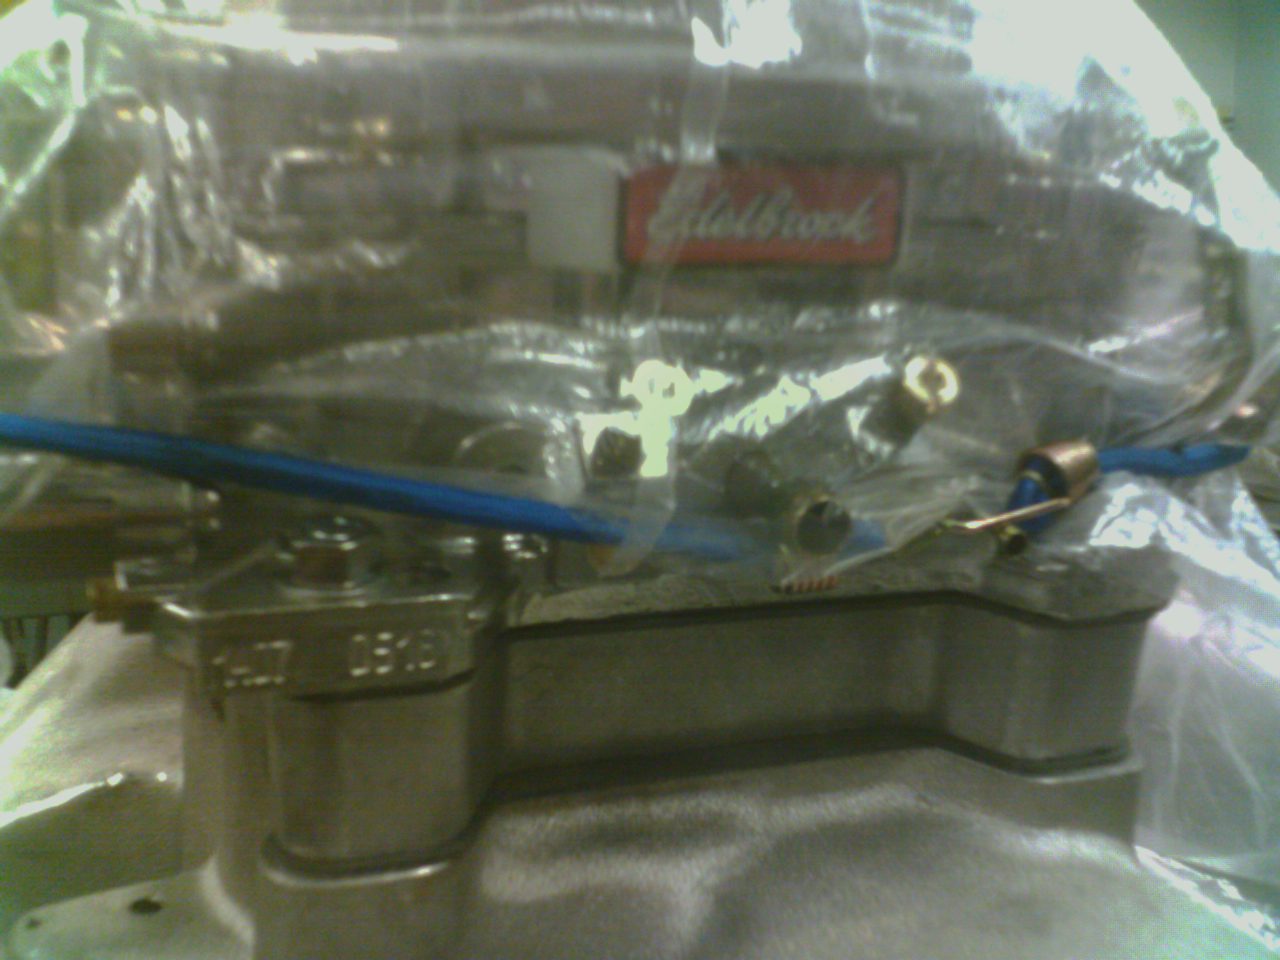
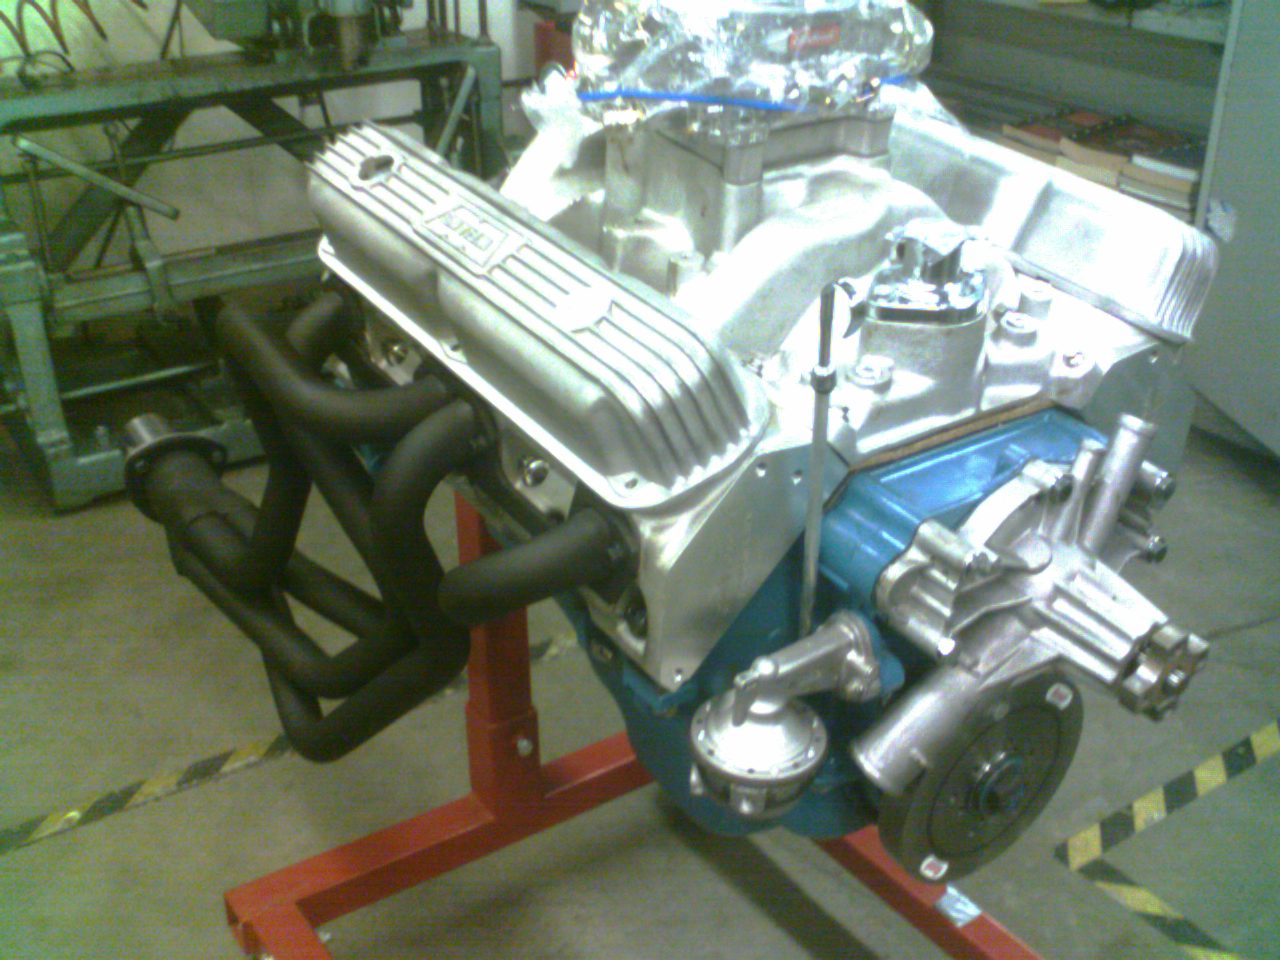
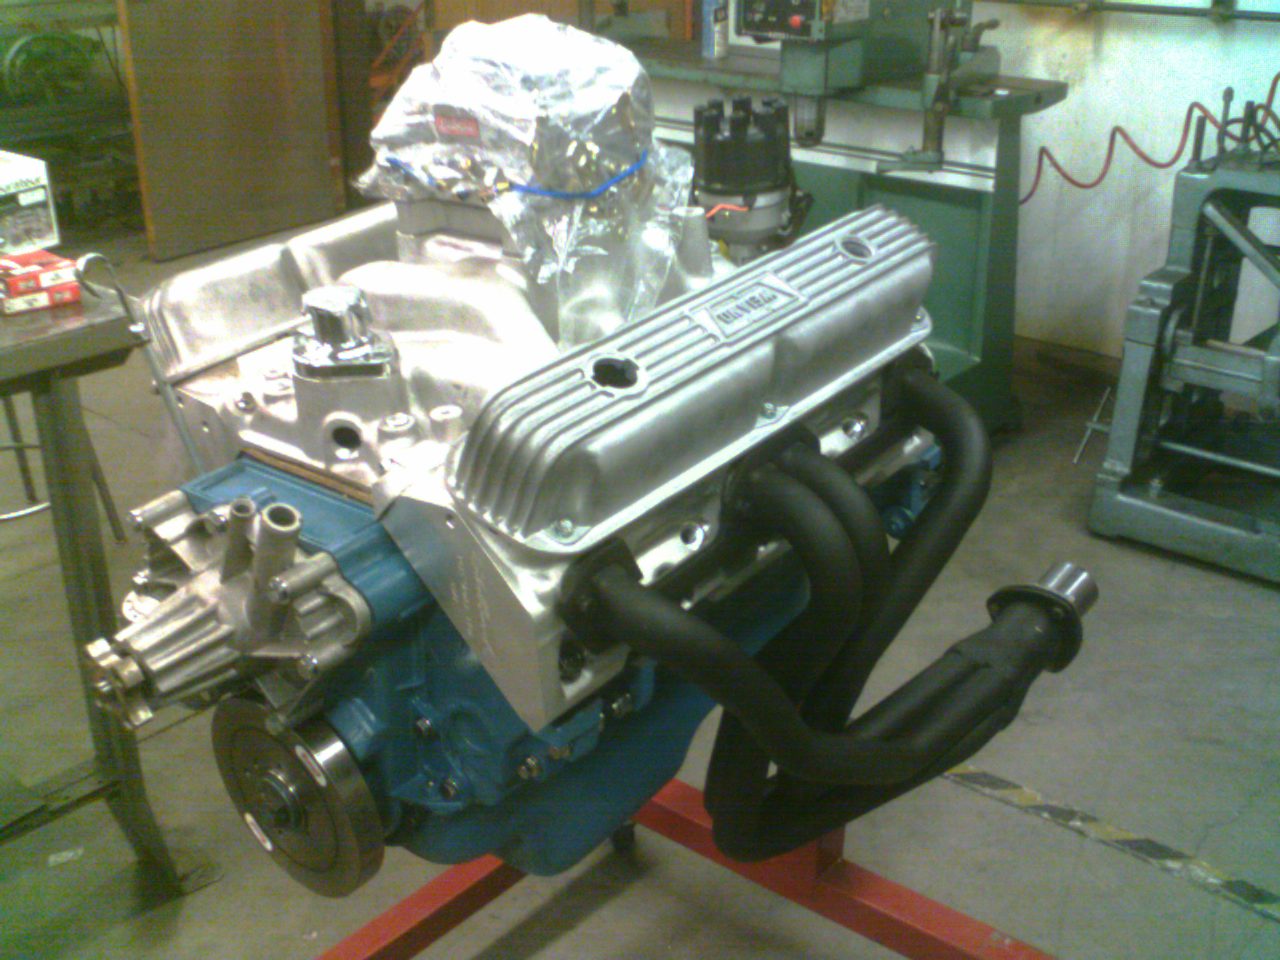
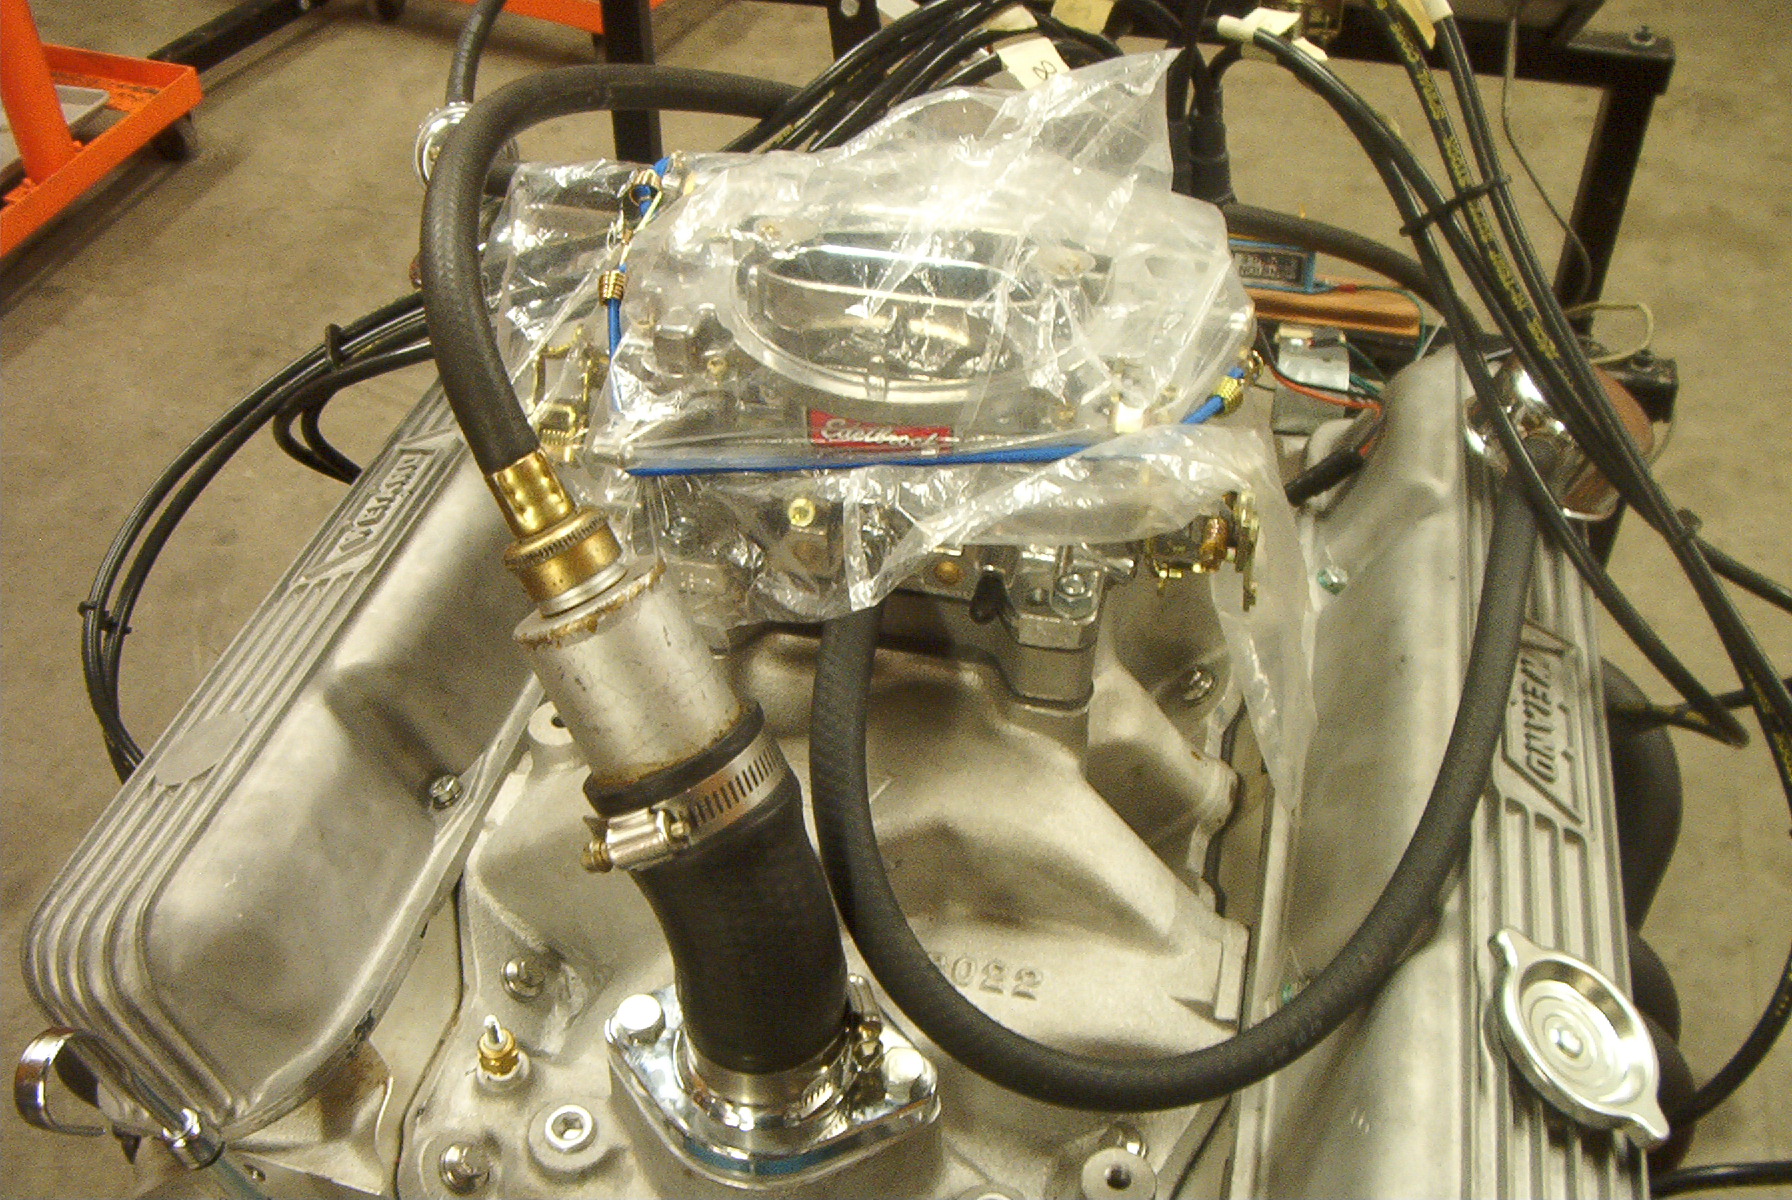
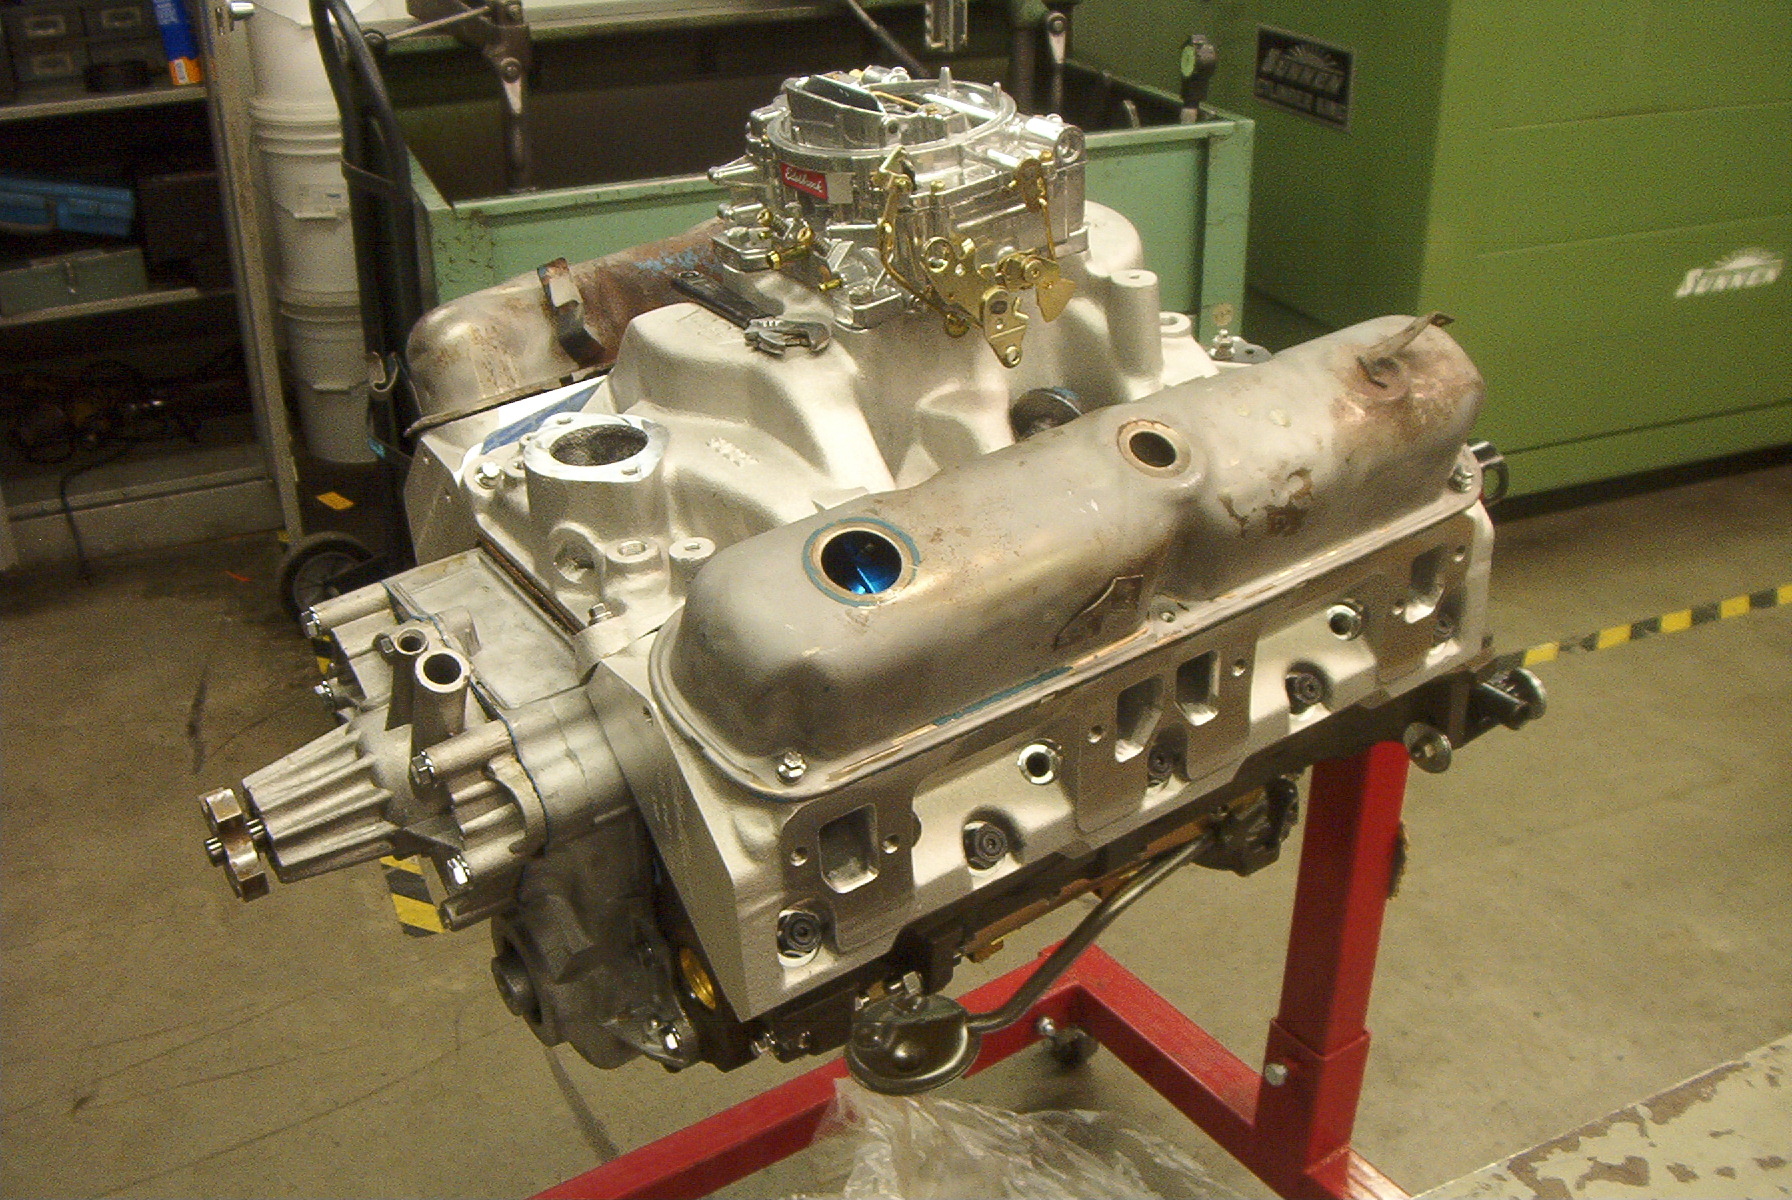 A Weiand Stealth intake manifold has been installed, along with an Edelbrock 750 manual choke carb, front cover and water pump. |
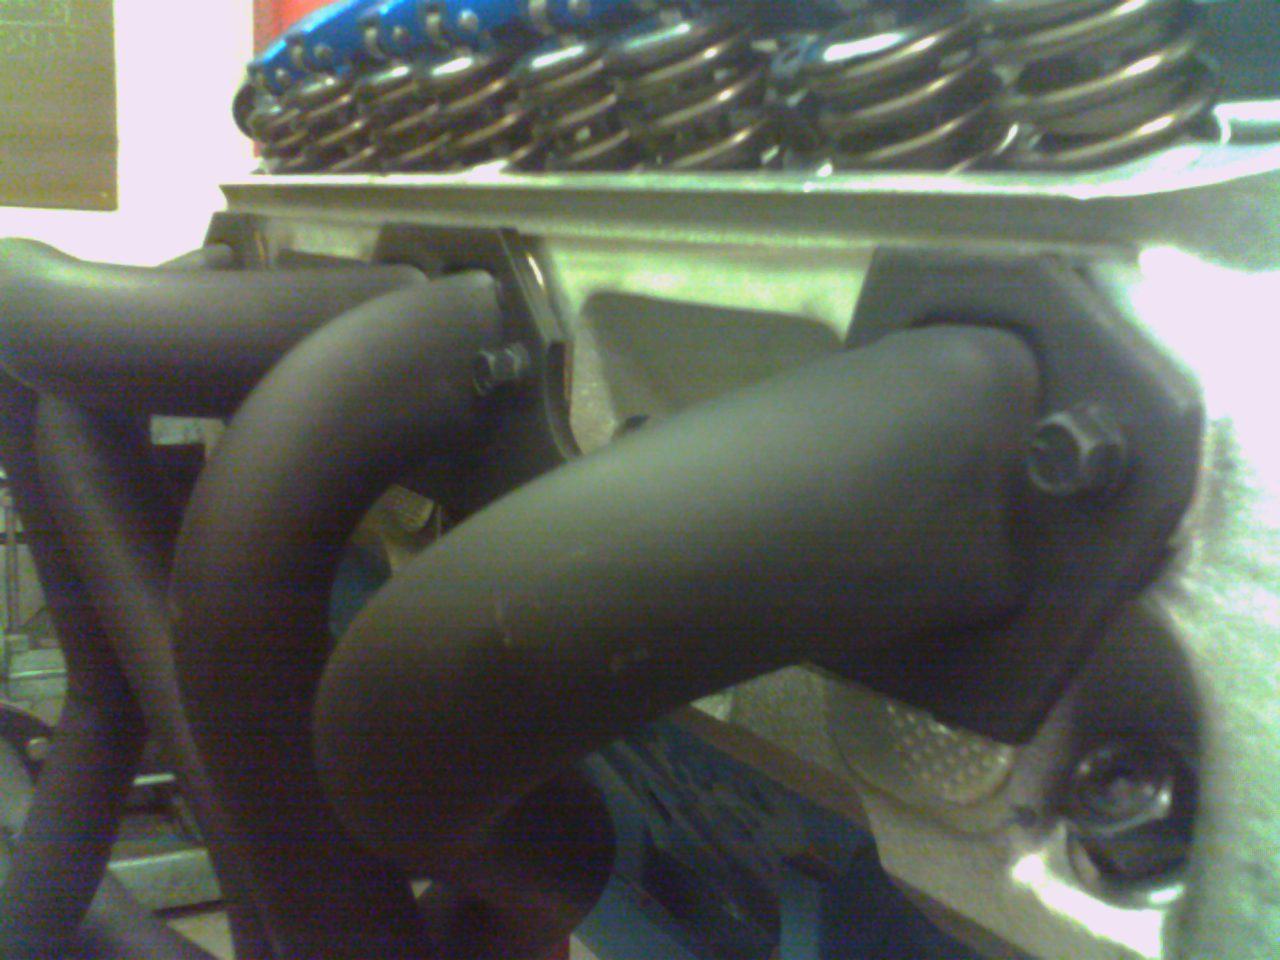
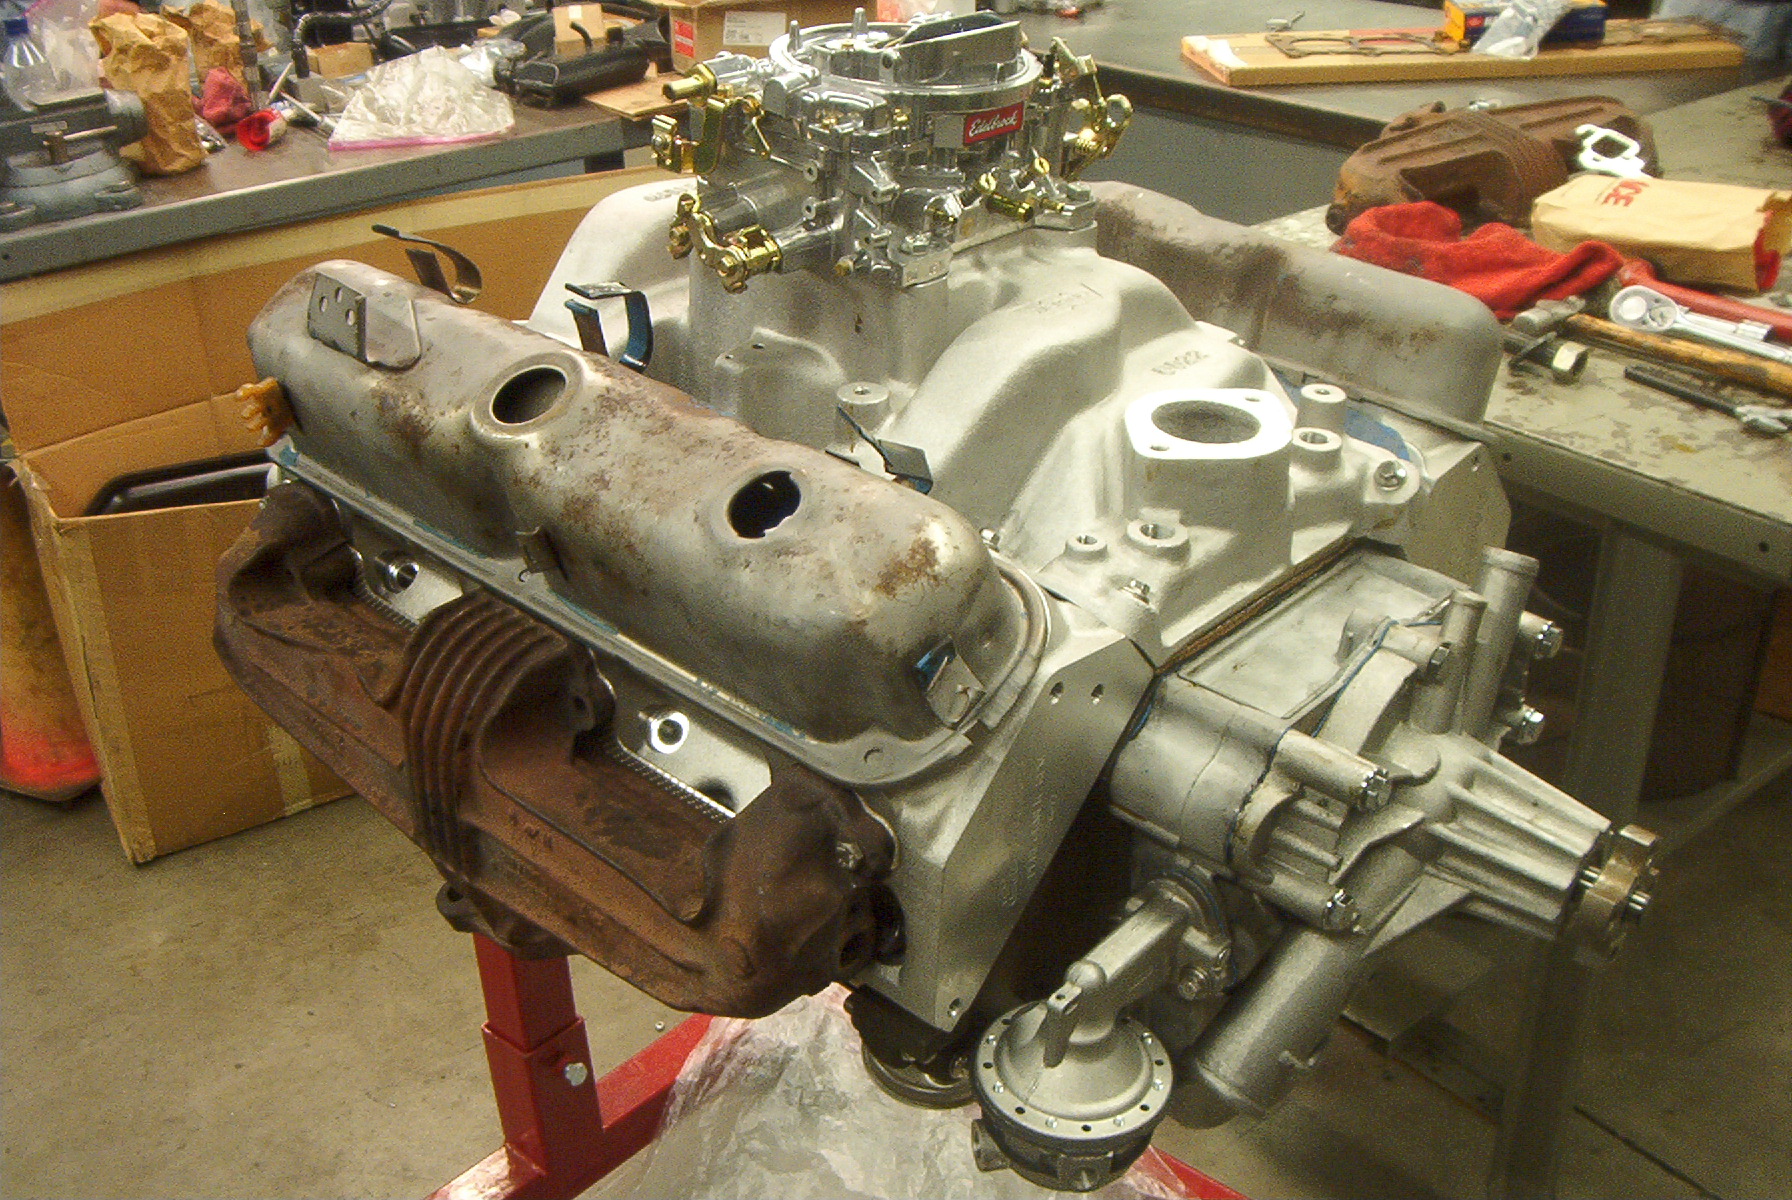 Passenger side of motor, with exhaust manifold temporarily installed with gasket. Stock valve covers used to keep dust and grime out of the valve train. |
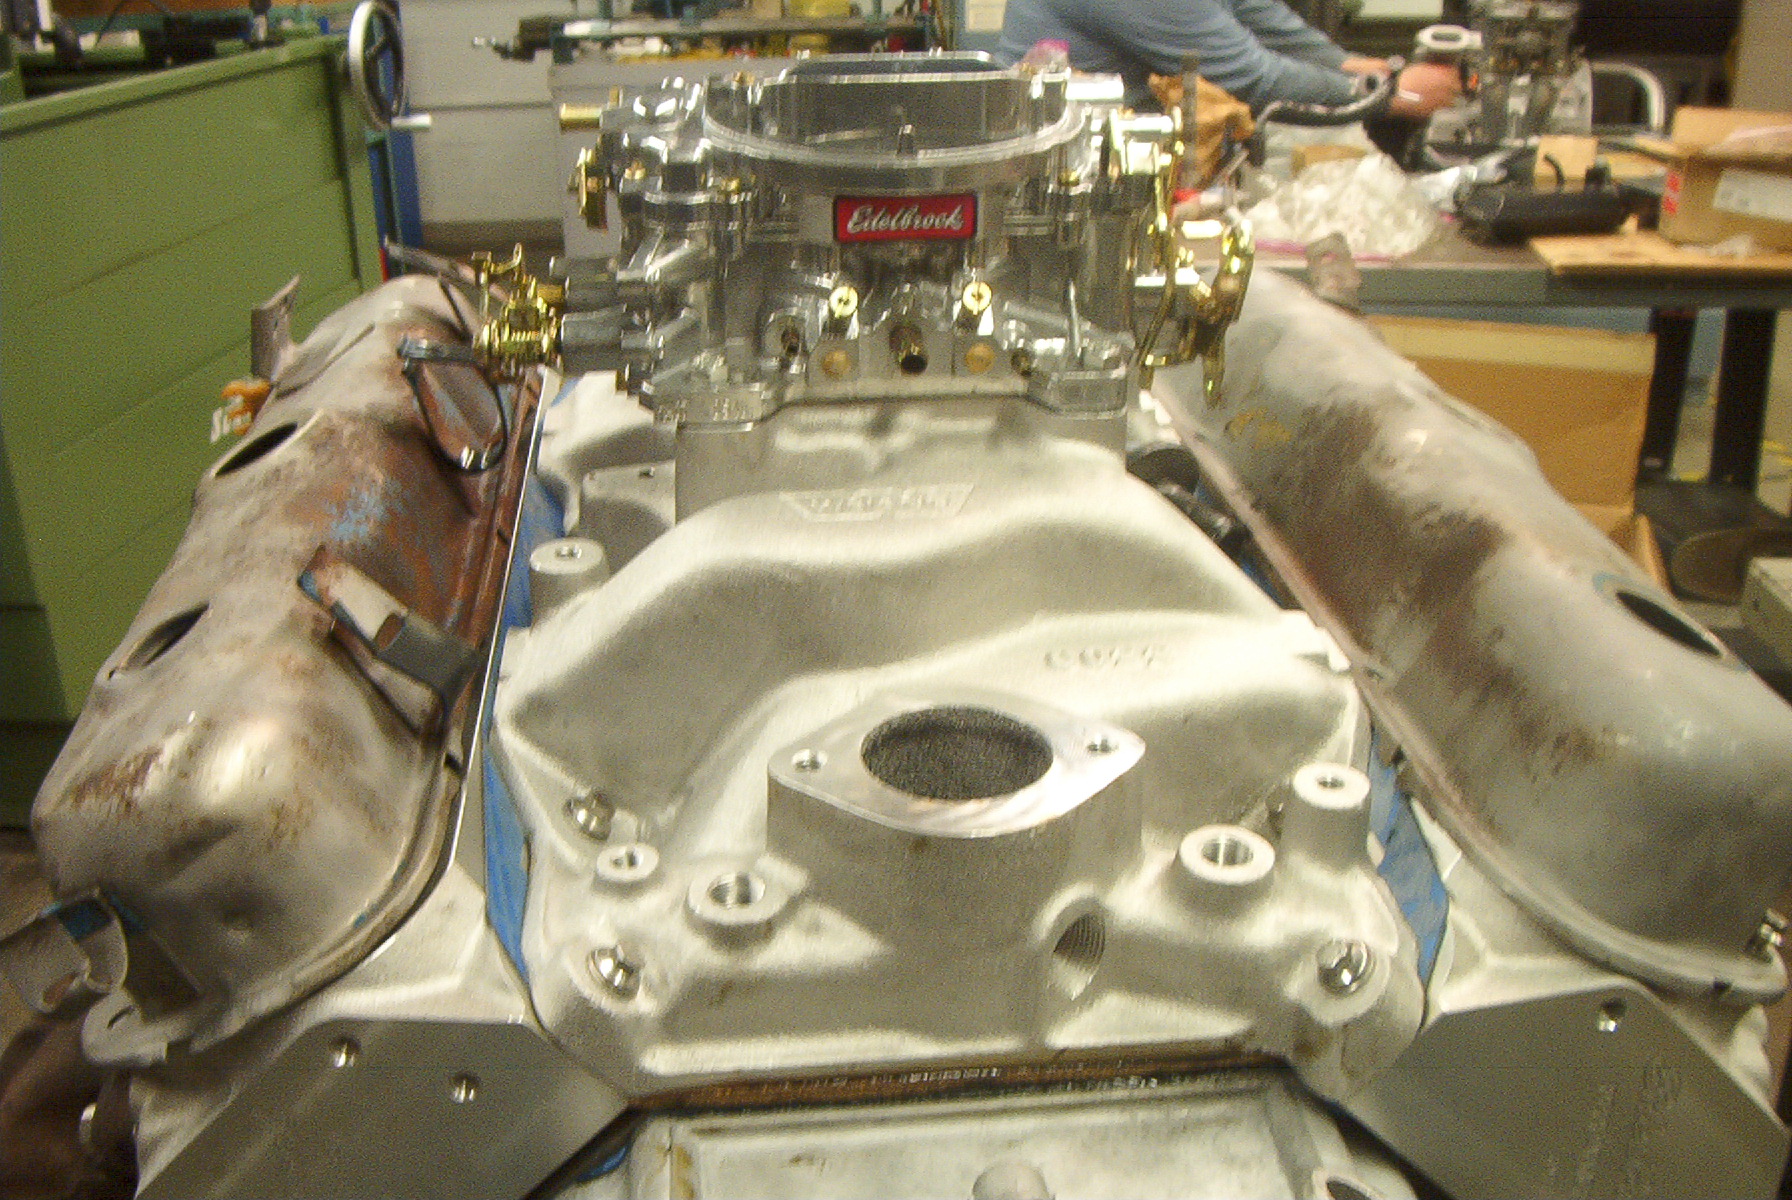 Close-up shot of the front of the top end of the motor. |
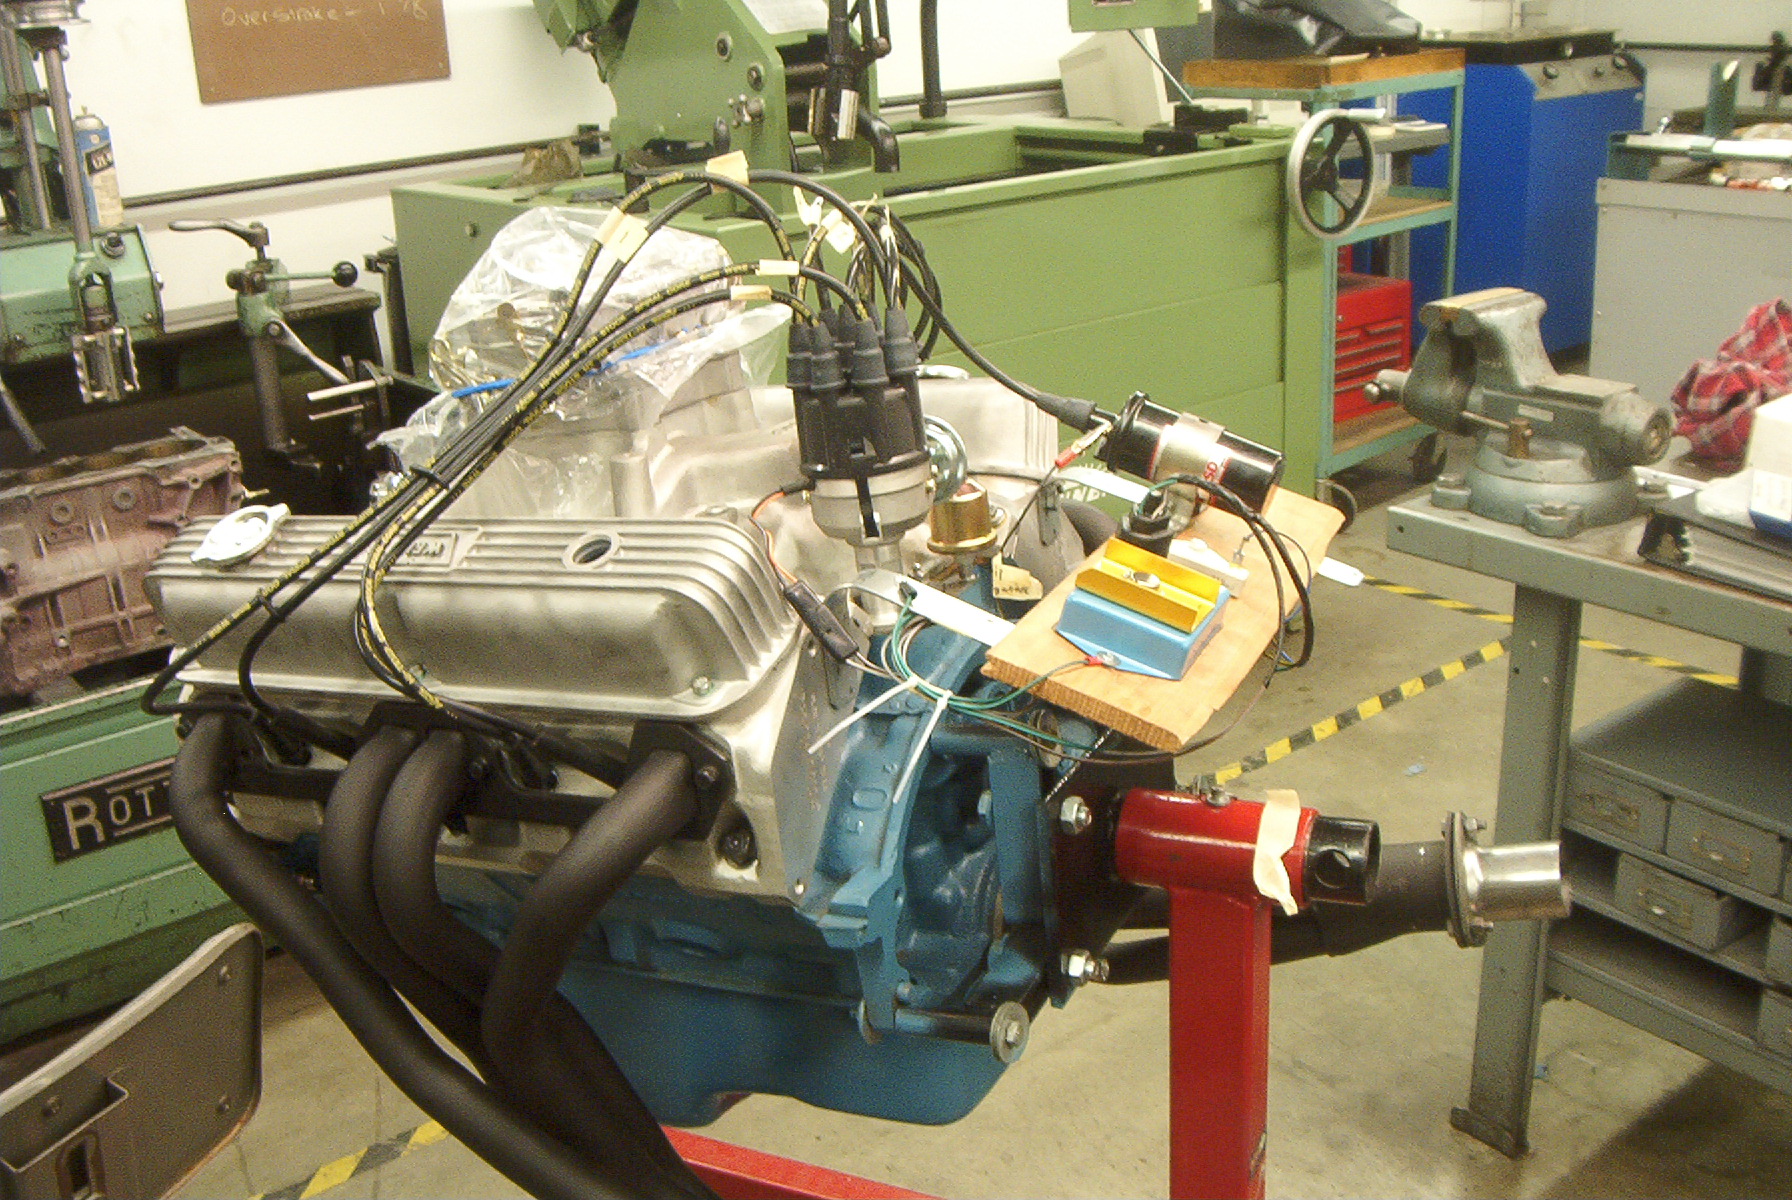
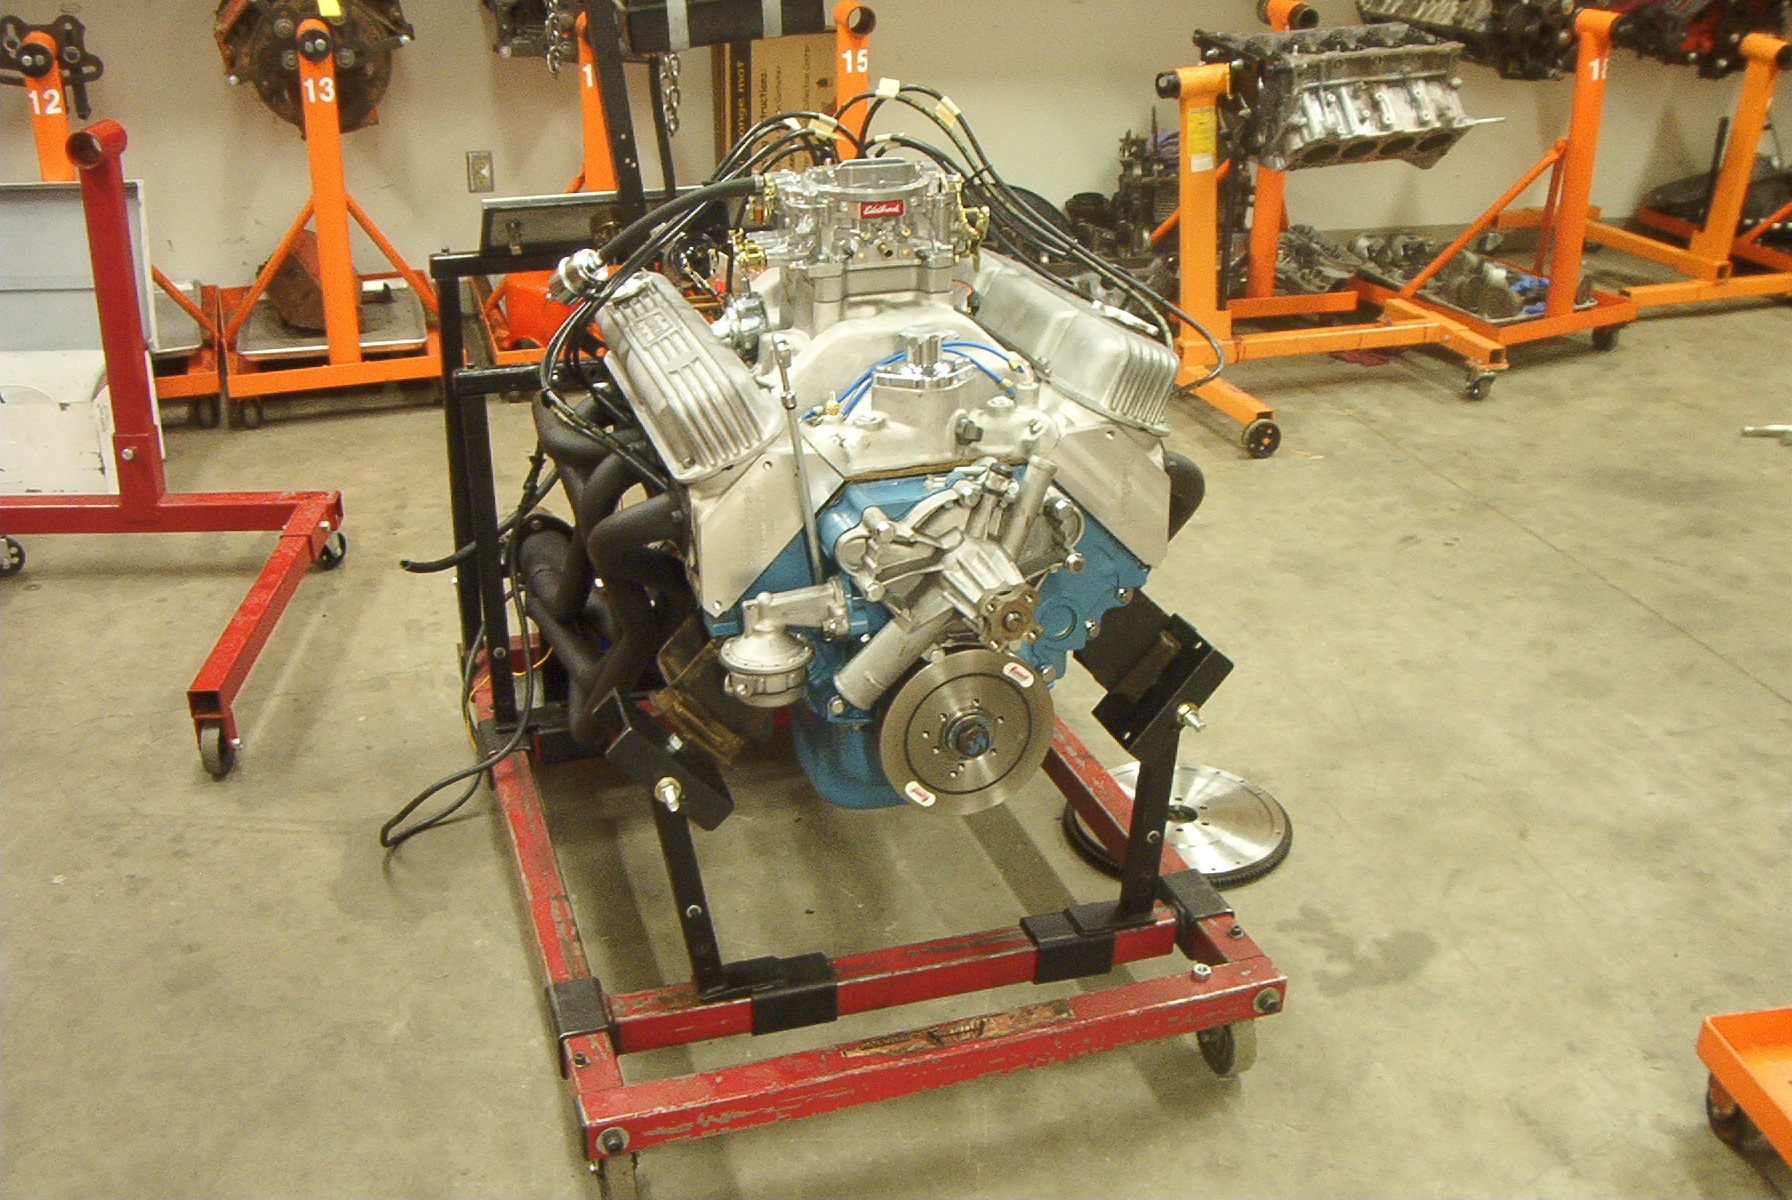
Once at home, the stand is reassembled, the motor is lifted out of the truck with a rented hoist and loaded back onto the stand, and the entire package is wheeled into the garage to be stored and worked on over the summer as funds and time permit.
 The motor sitting in its permanent home. |
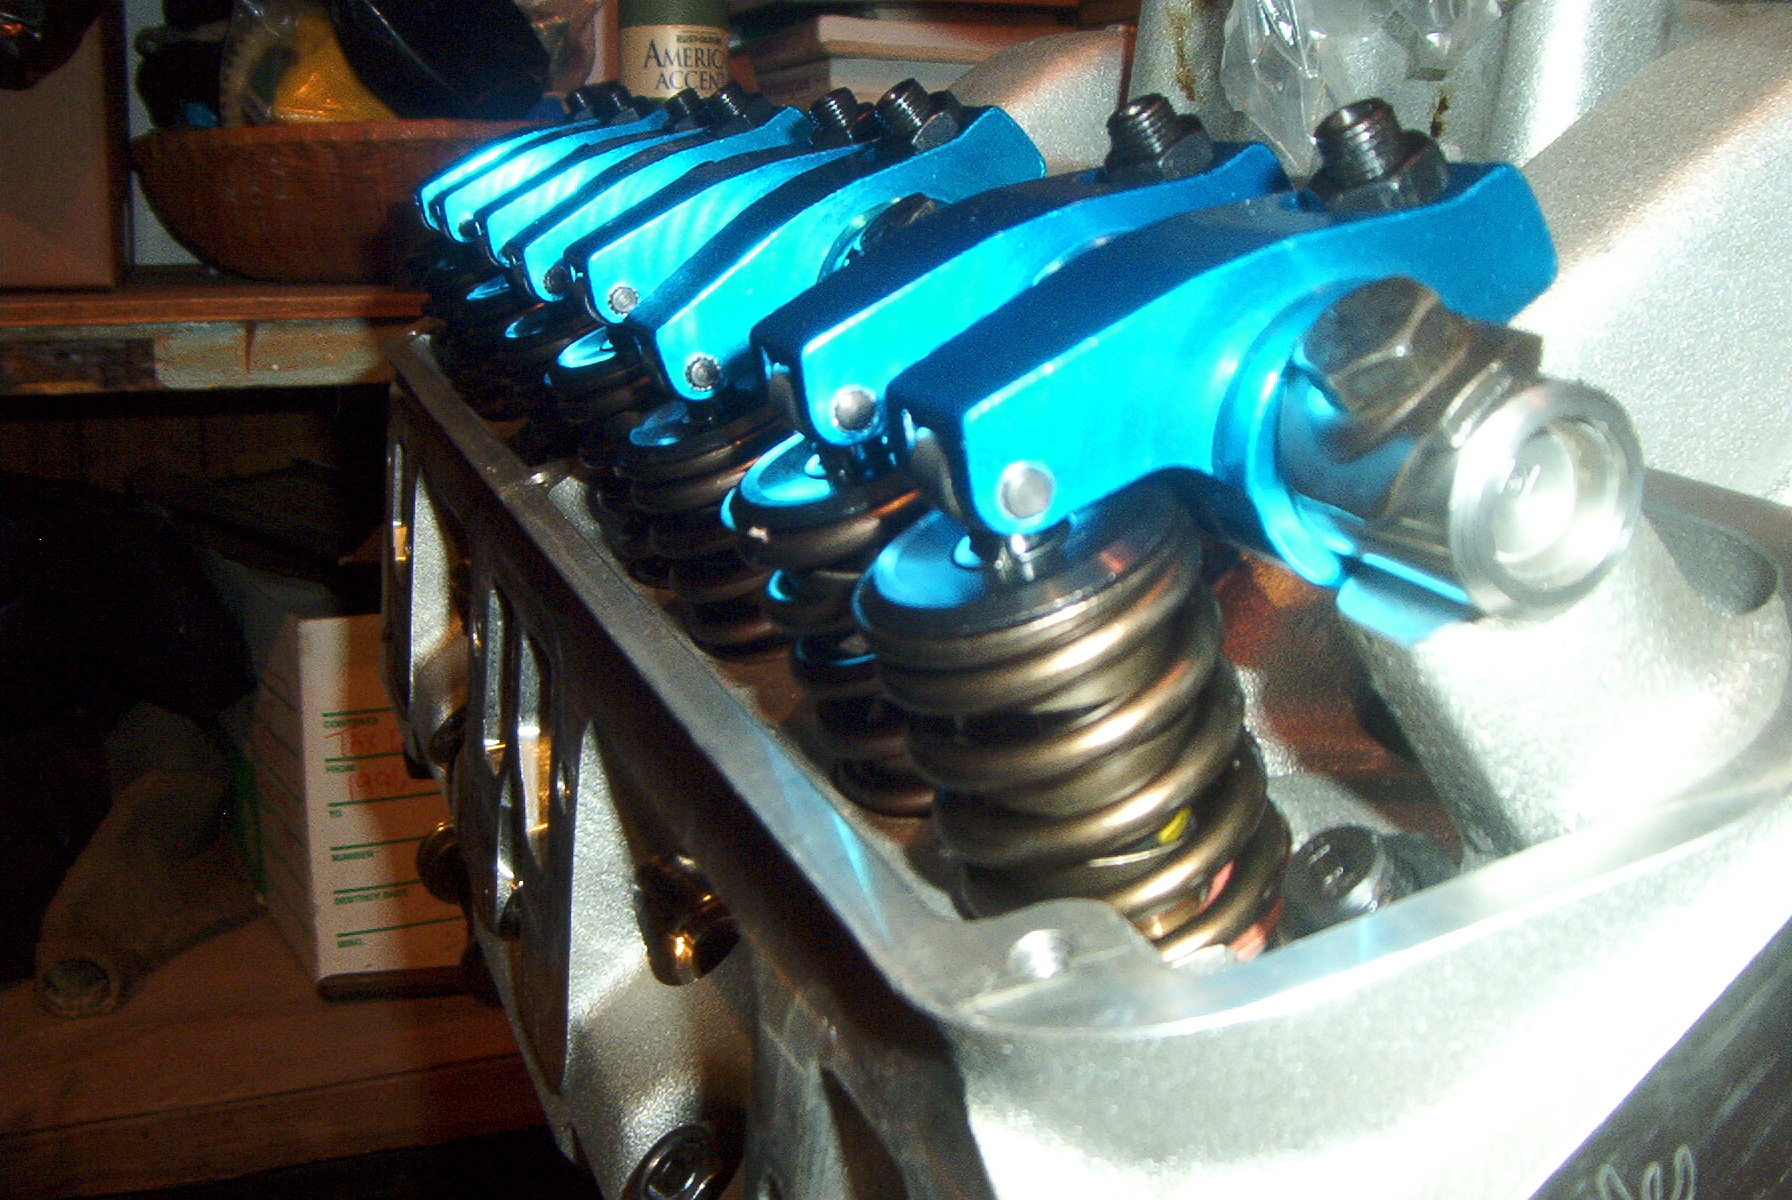 Gratuitous valve train shot. |
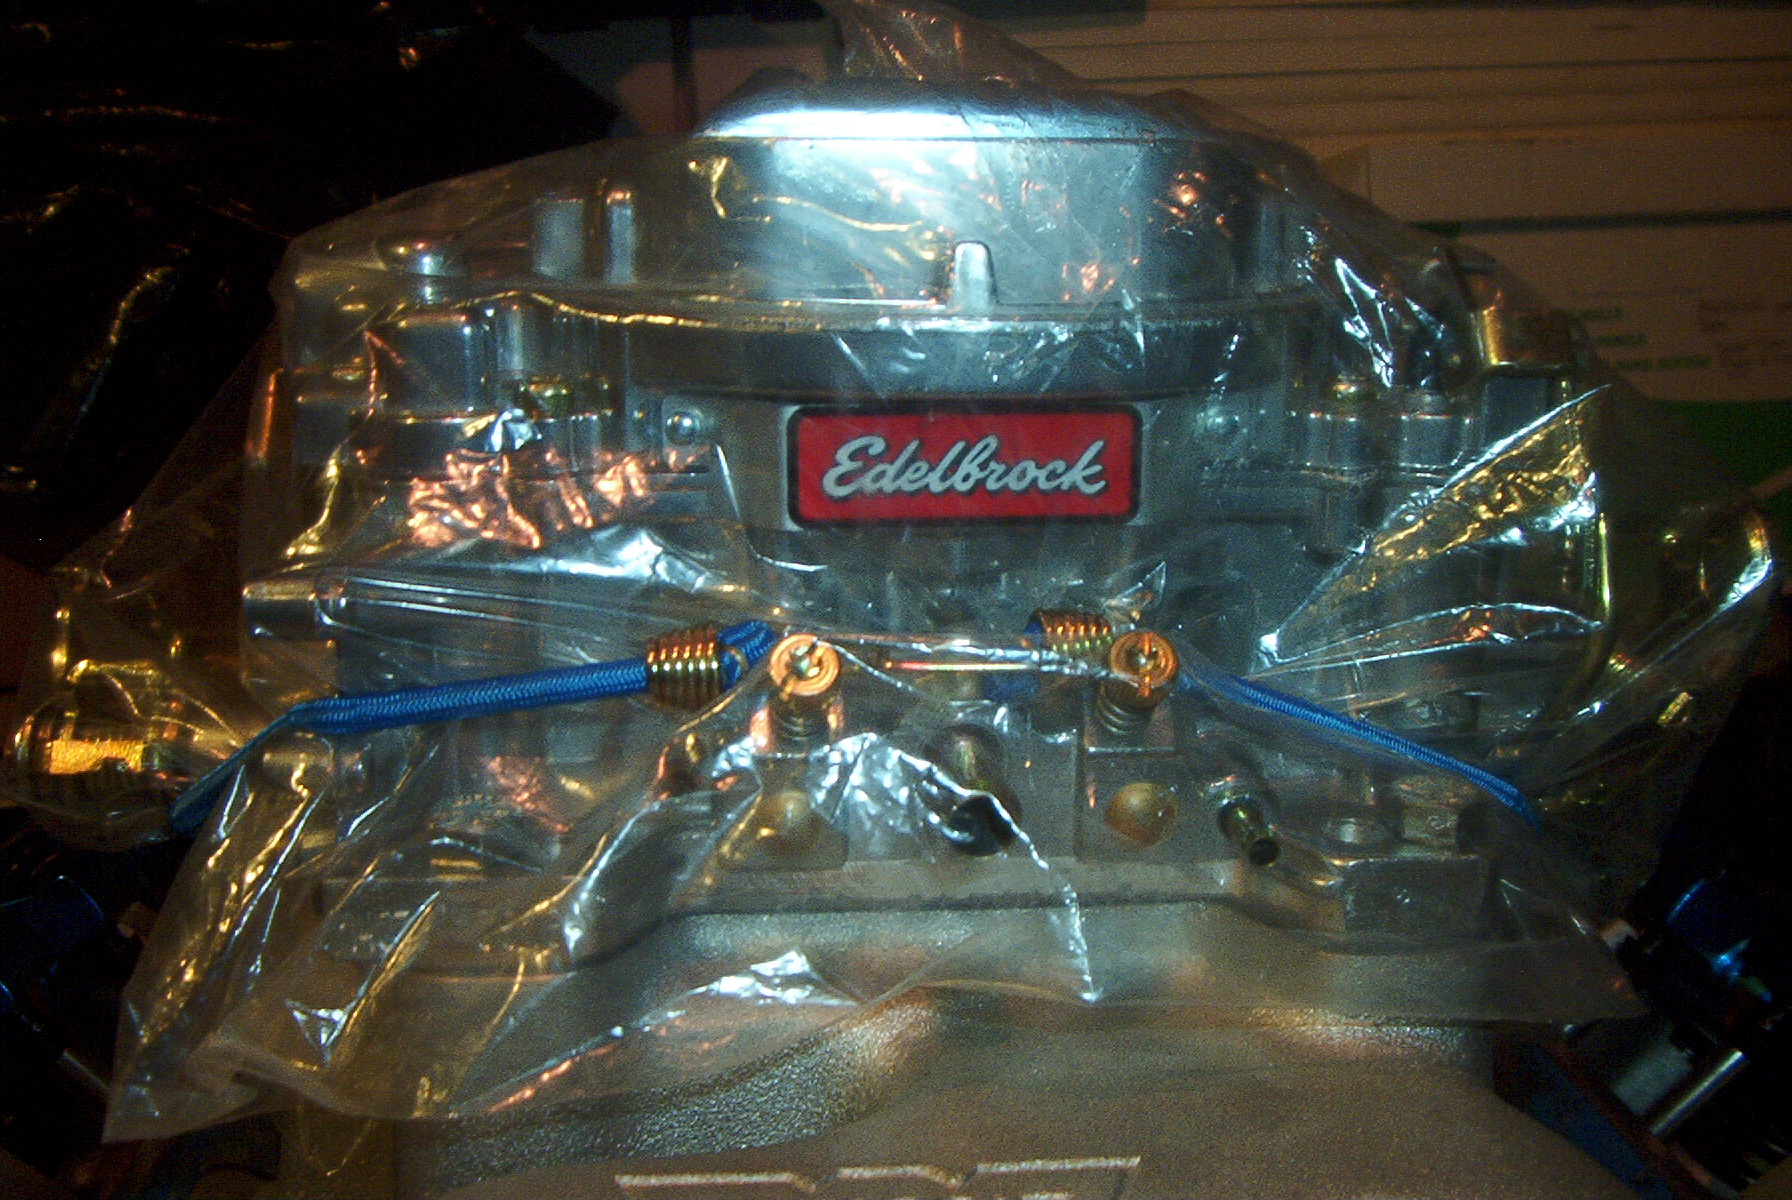 750CFM Edelbrock carburetor |
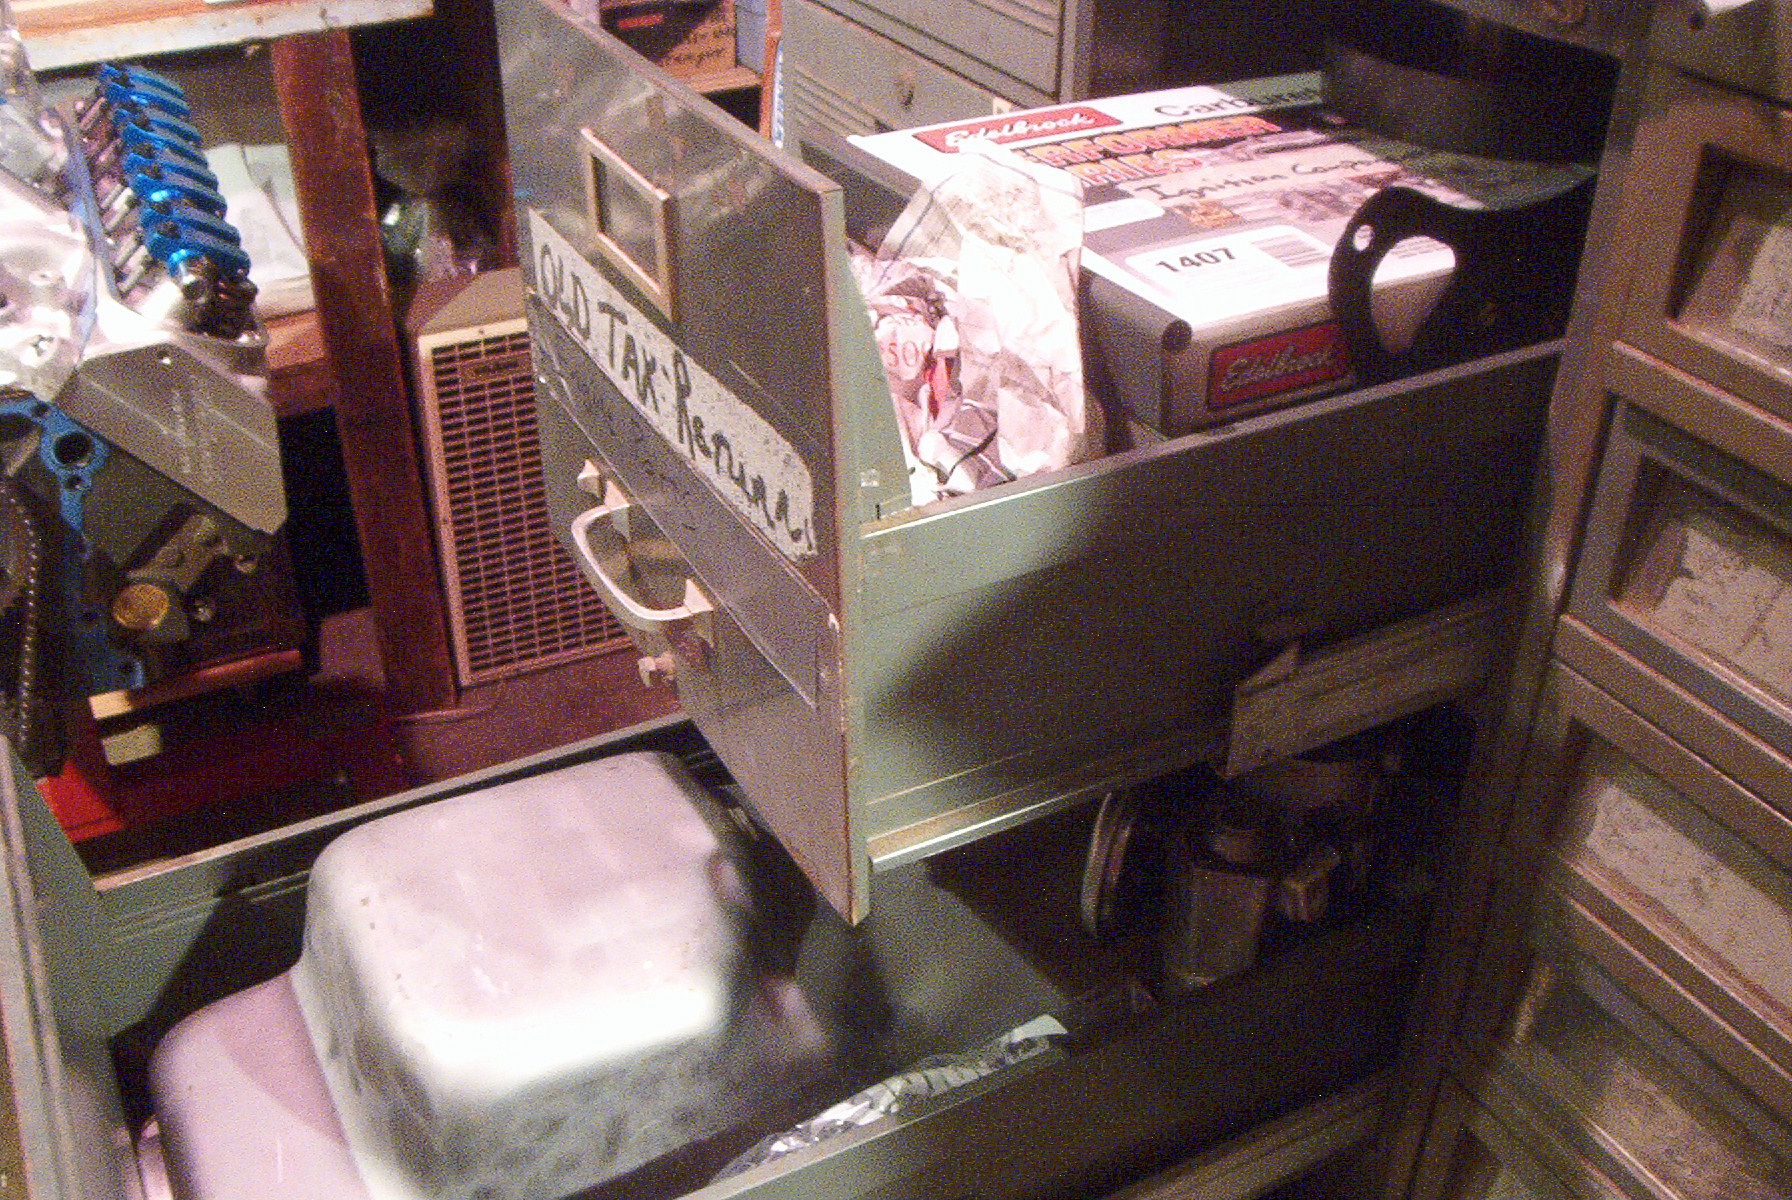 A few of the remaining parts that need to be installed. |
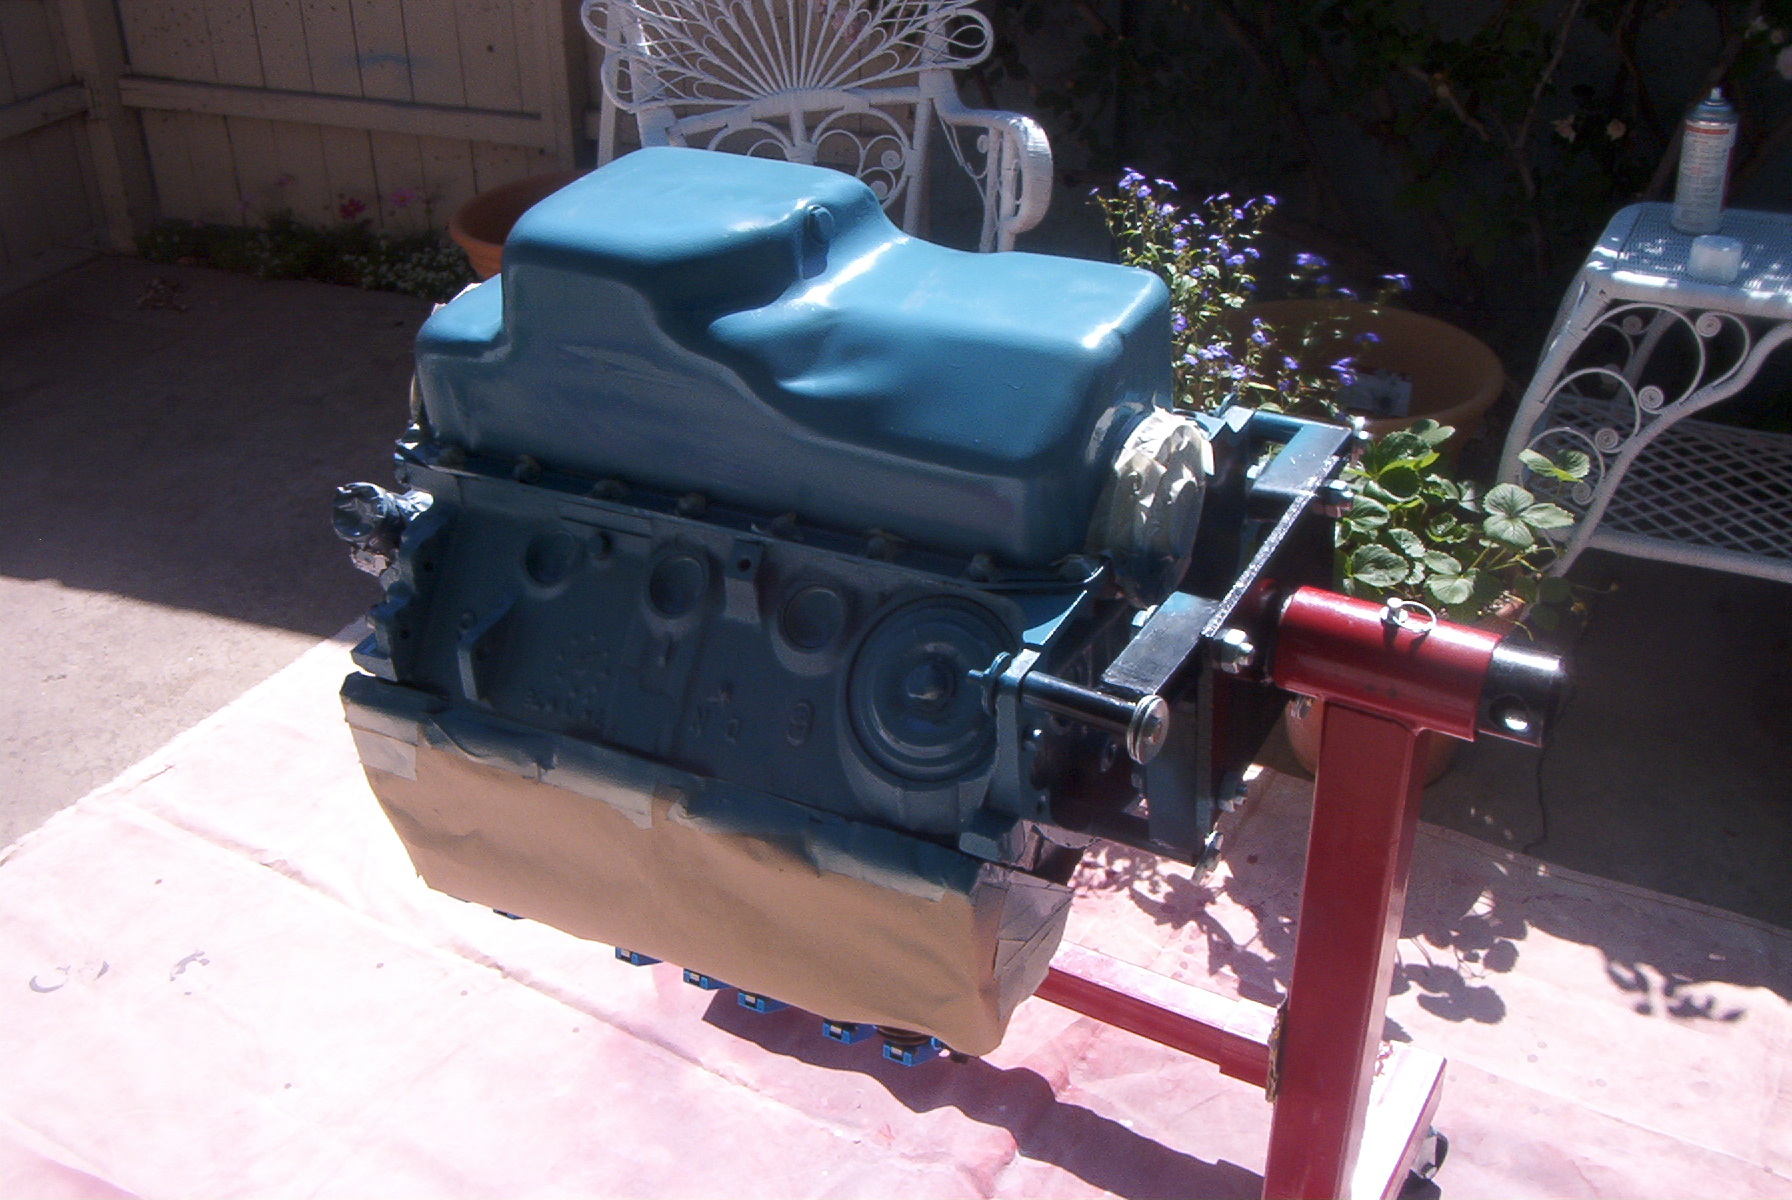
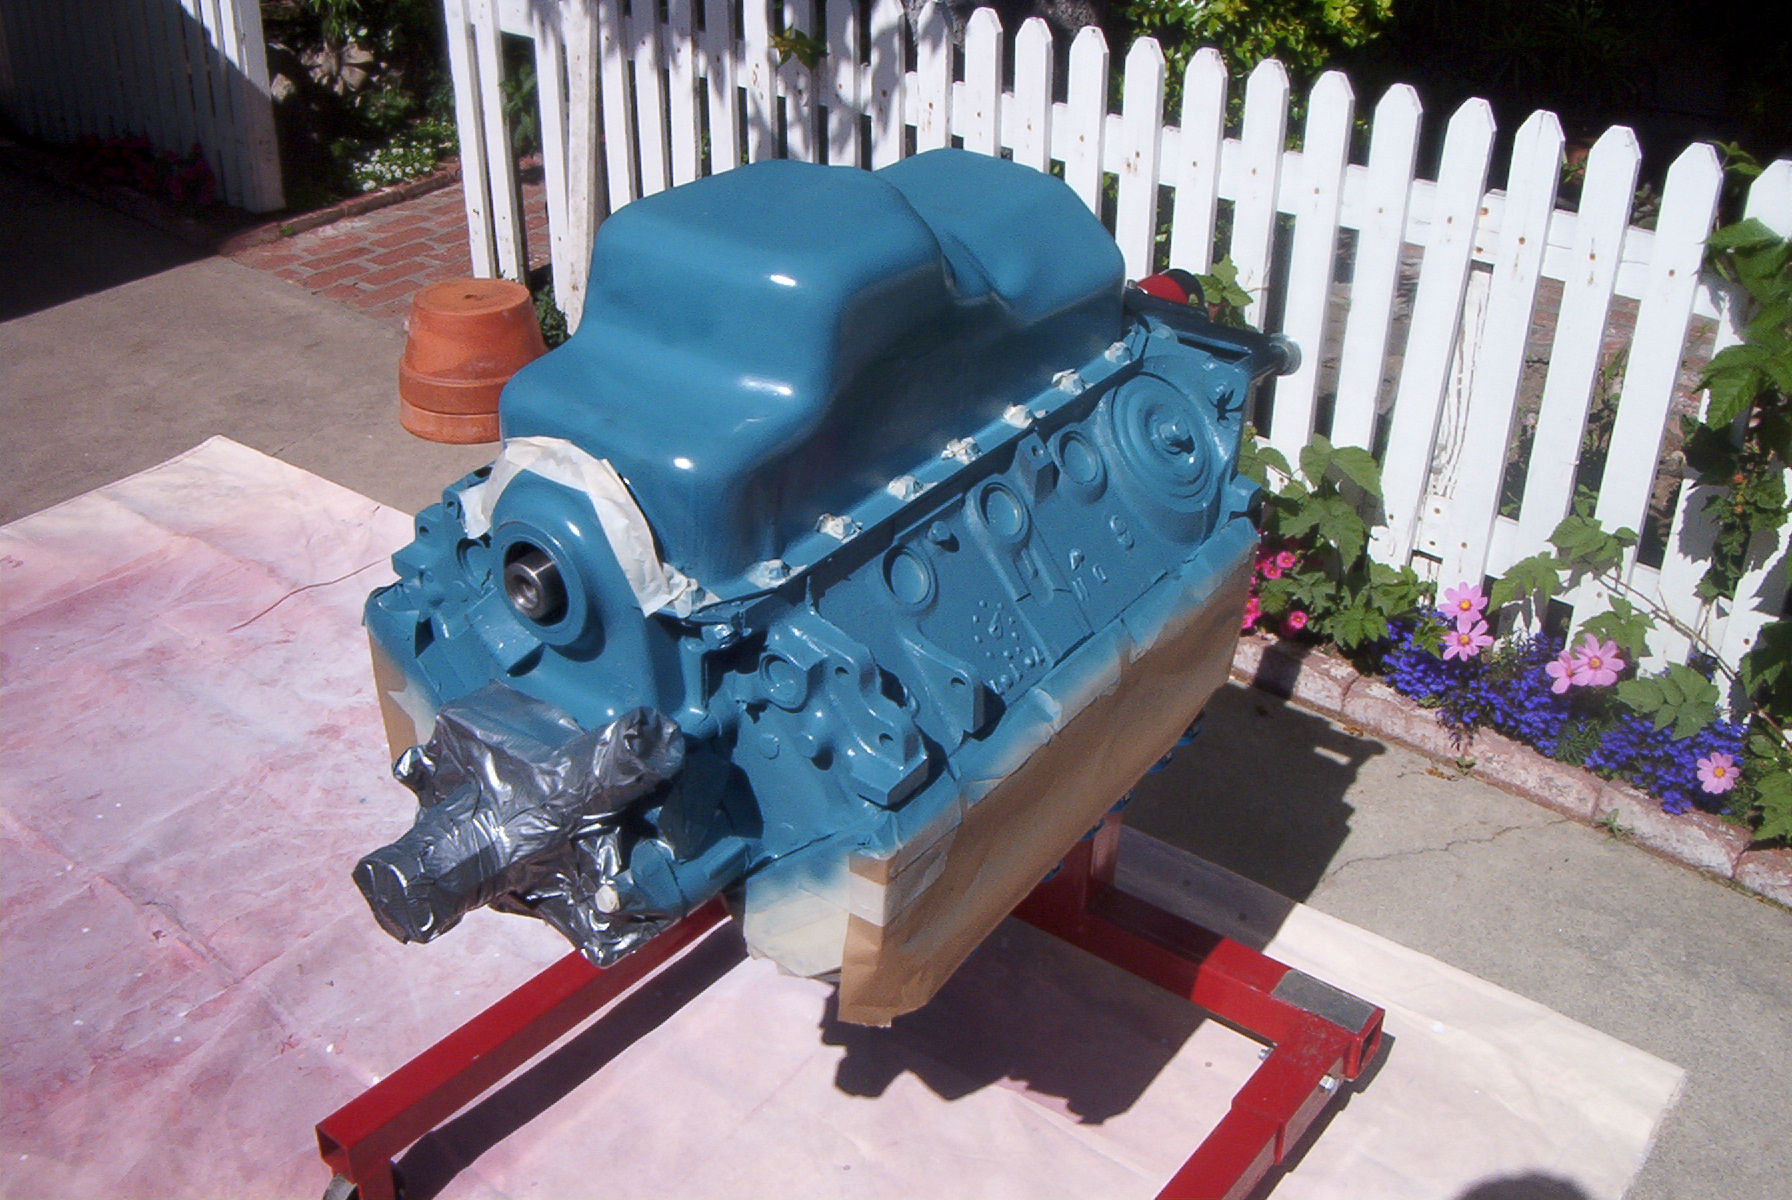
After returning with the tools and getting the manifold off, I painted the front cover and oil pan with Bill Hirsch's engine paint. After the paint had dried, I installed a new front seal, put the front cover and water pump on, and put on the oil pan with its gaskets in order to get them set to the block with silicone while I painted the rest of the block. After spending a couple hours masking off all the bolt heads, open spaces, heads, lifter valley, crankshaft flange, and water pump I bagged it up and called it a night.
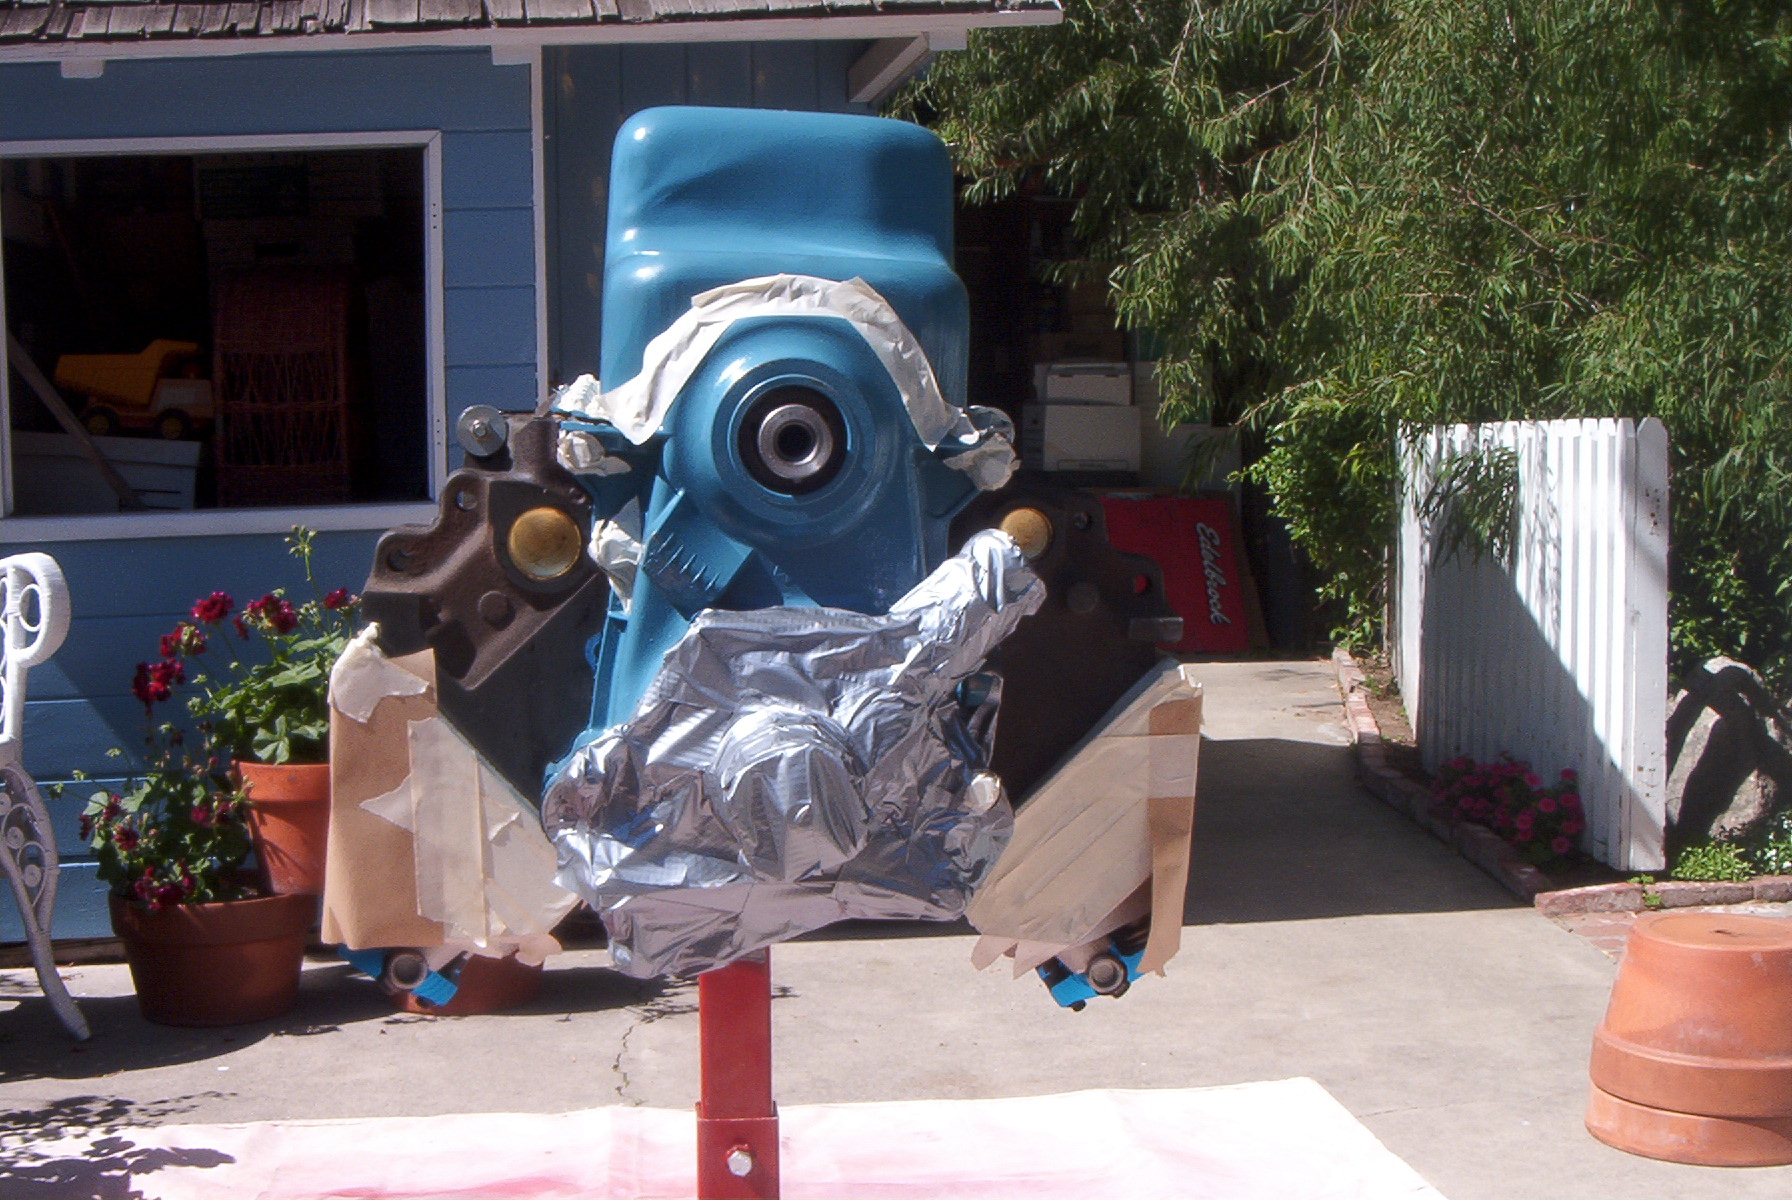
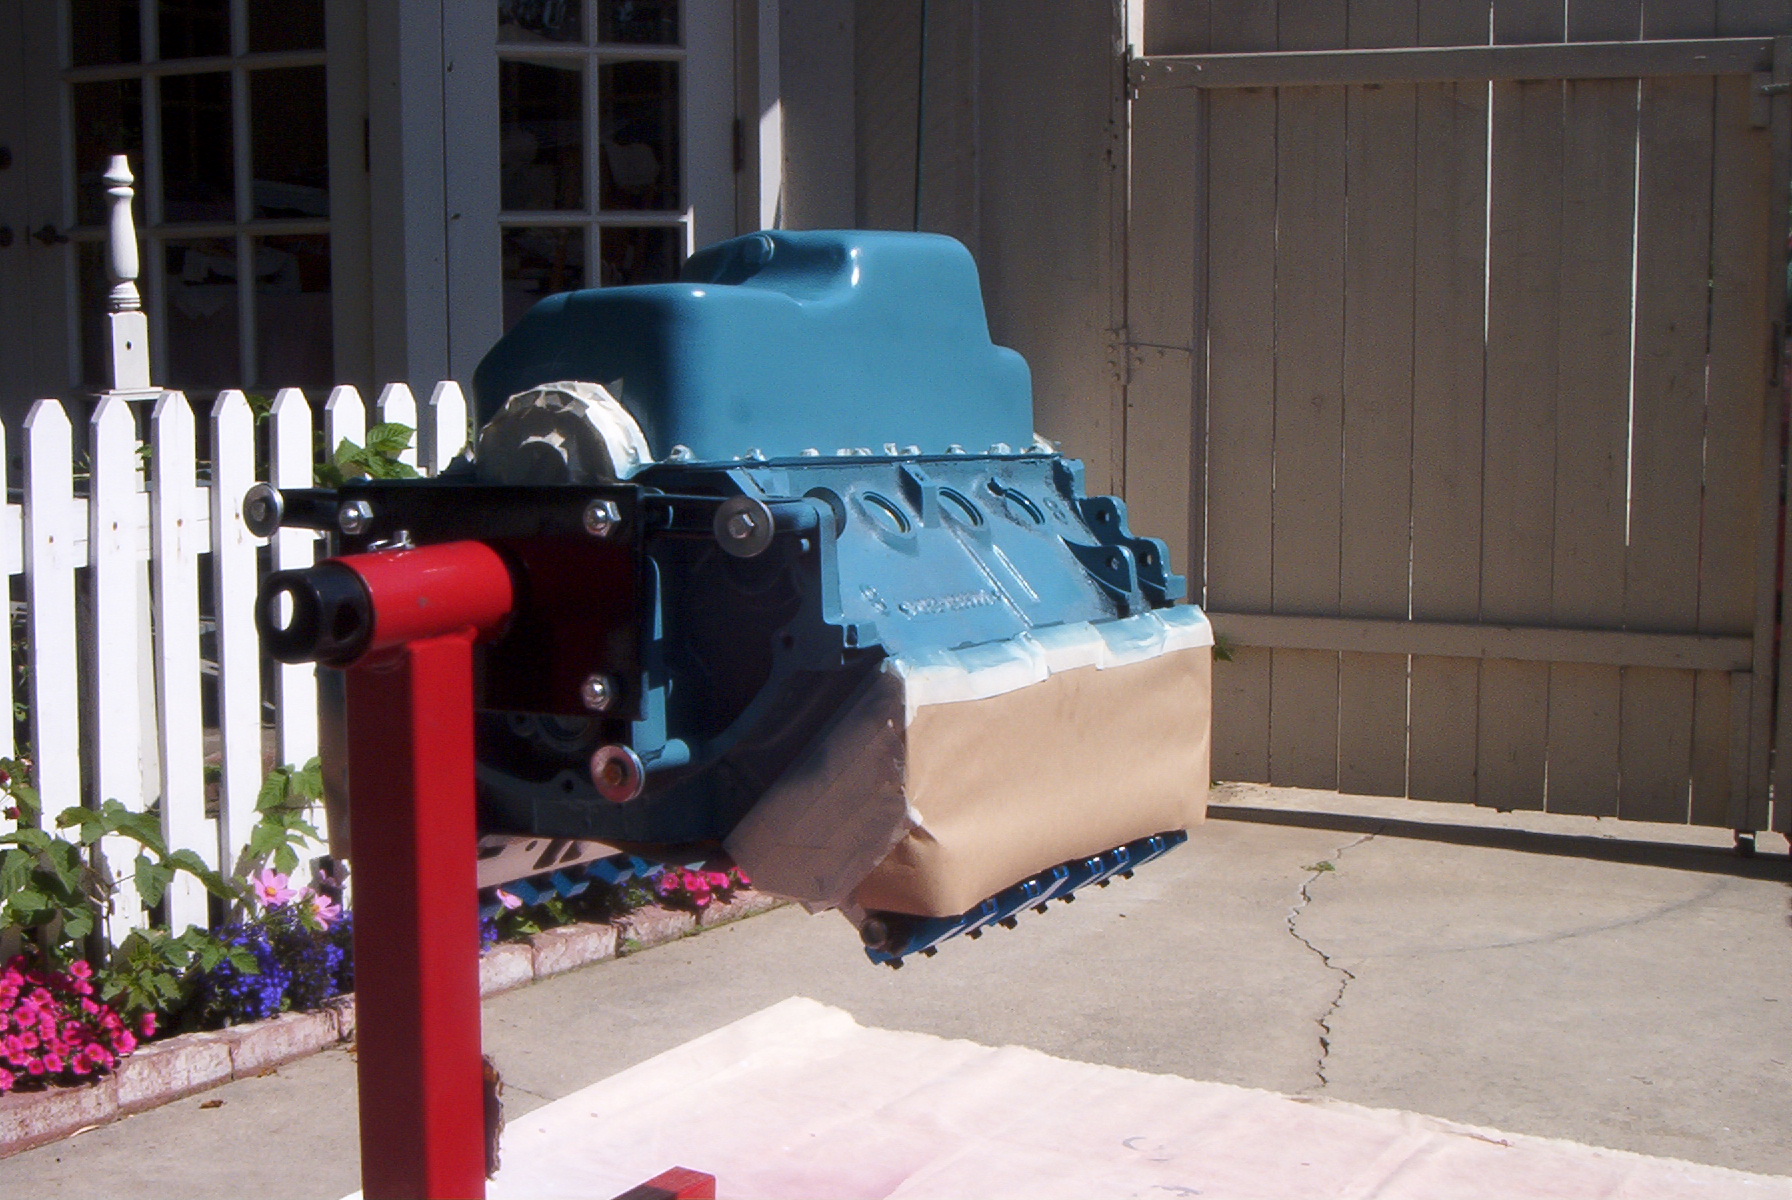
The next day I wheeled the motor outside to be painted. A light coat is misted on, allowed to set for a couple minutes, then the final coat is applied. A few touch-ups were necessary after it had dried, mostly in places where I couldn't see if the paint had reached. After drying for about fifteen minutes, I took off all the masking, installed the fuel pump, and then bagged up the motor to await new manifold gaskets.
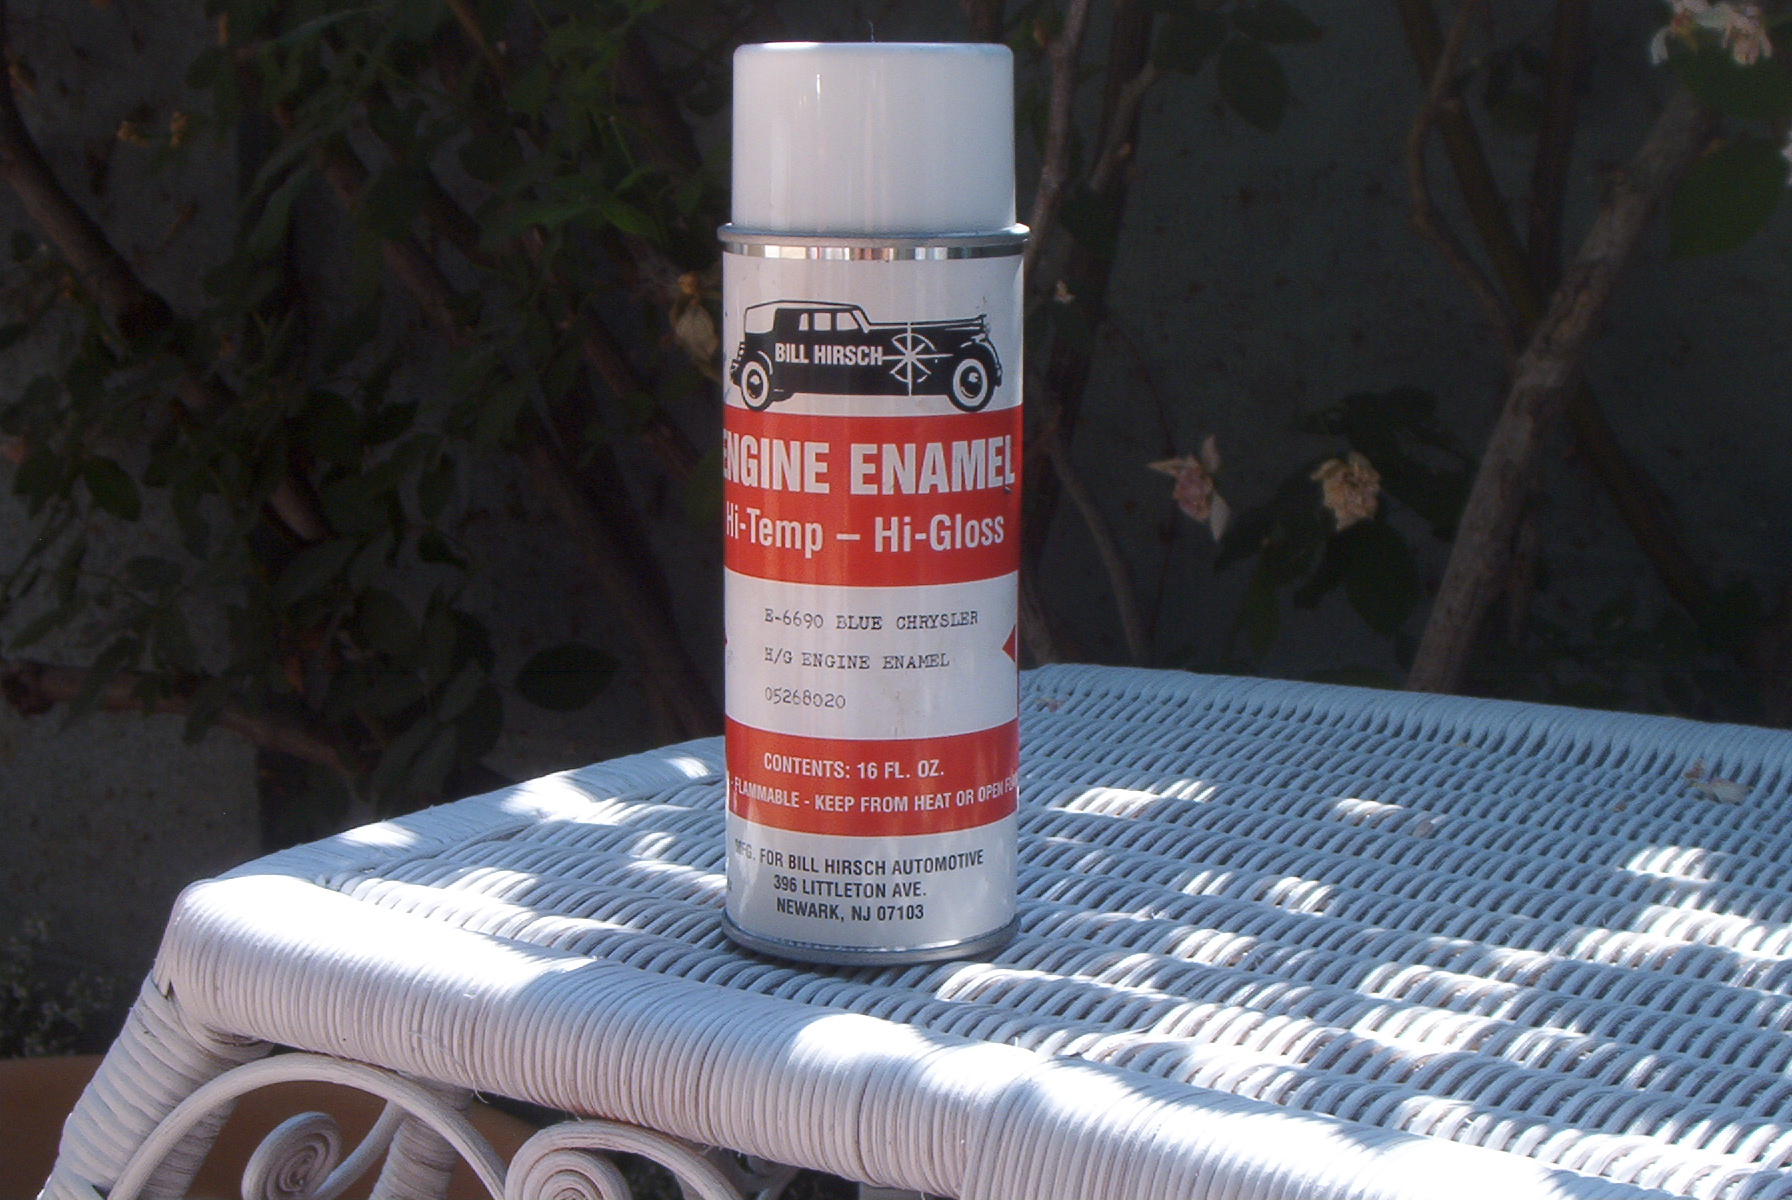 Bill Hirsch automotive engine paint, Chrysler blue. |
 The motor with masked off bits, ready for painting. |
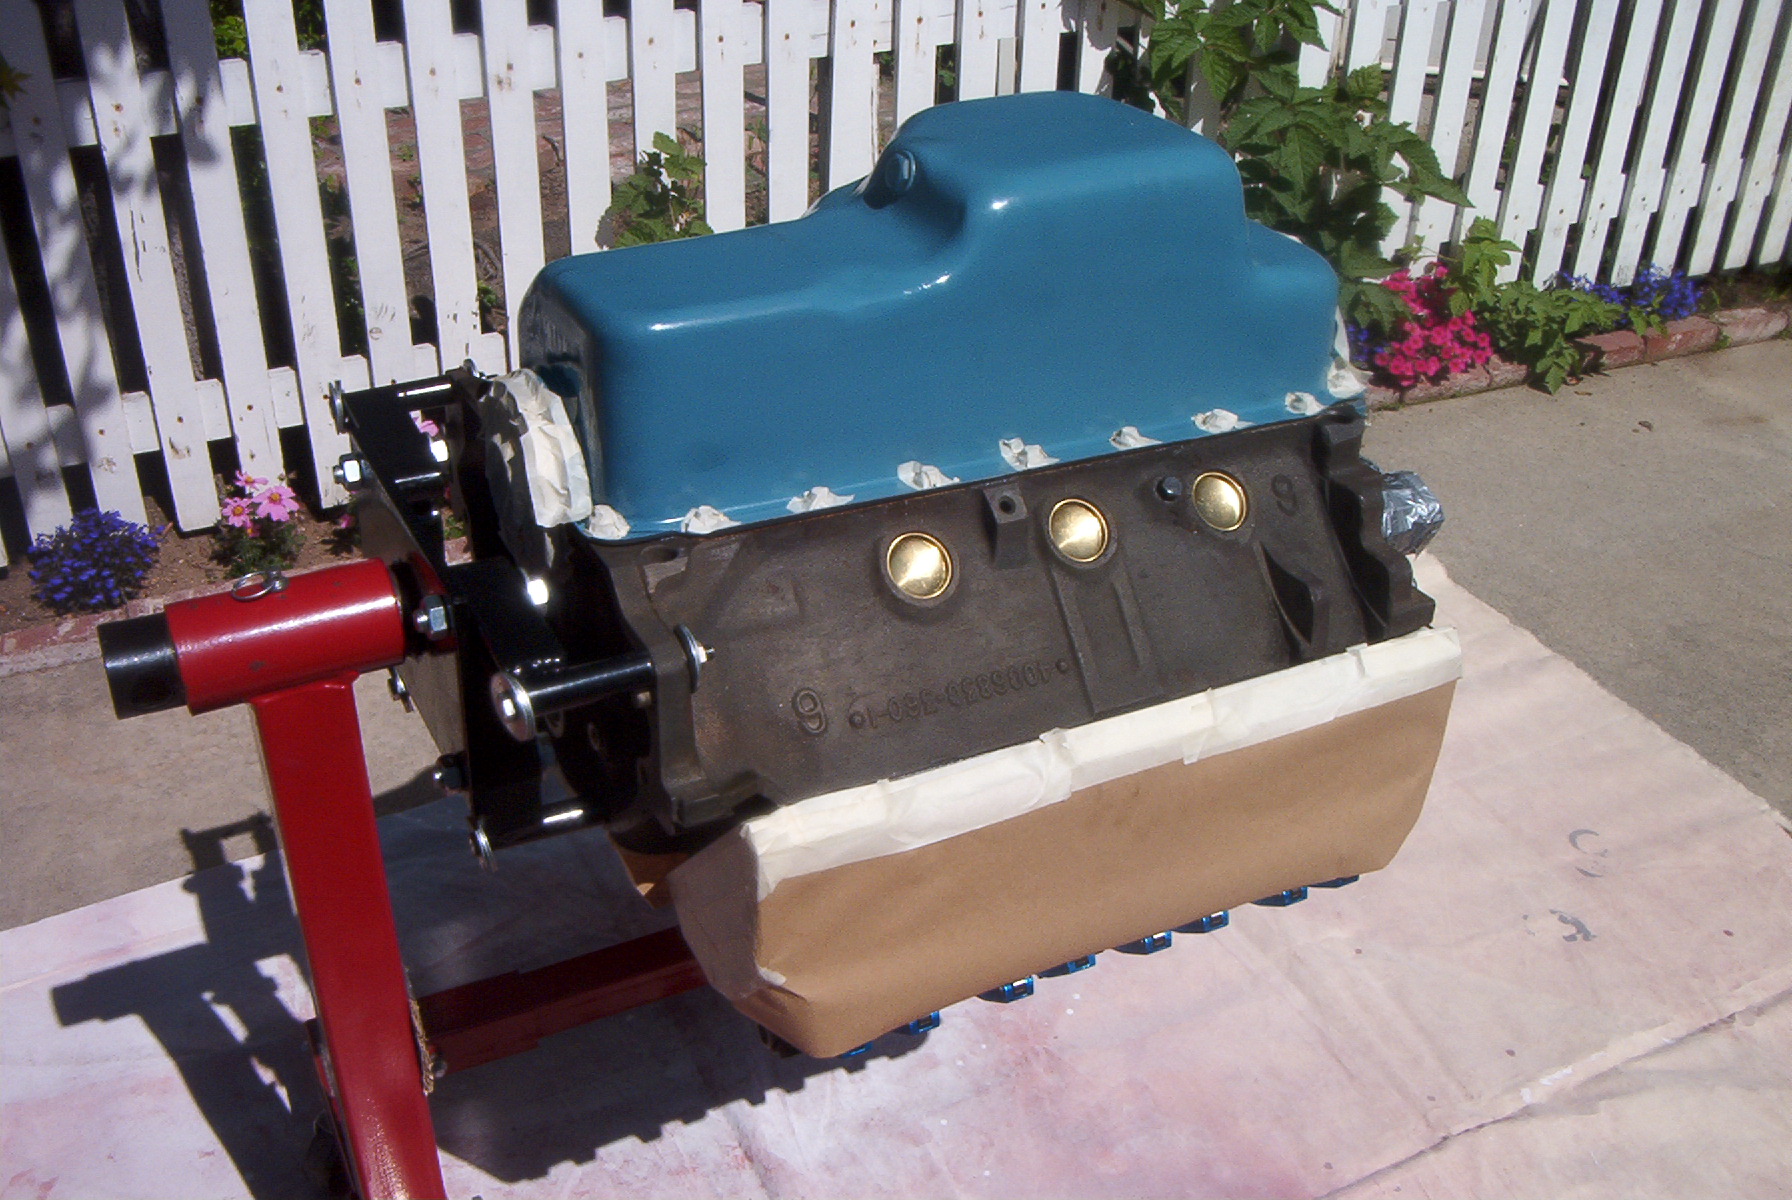 View of the masked off head. |
 Masked off water pump and front oil pan seal. |
 The light first coat. |
 Other side of light coat. |
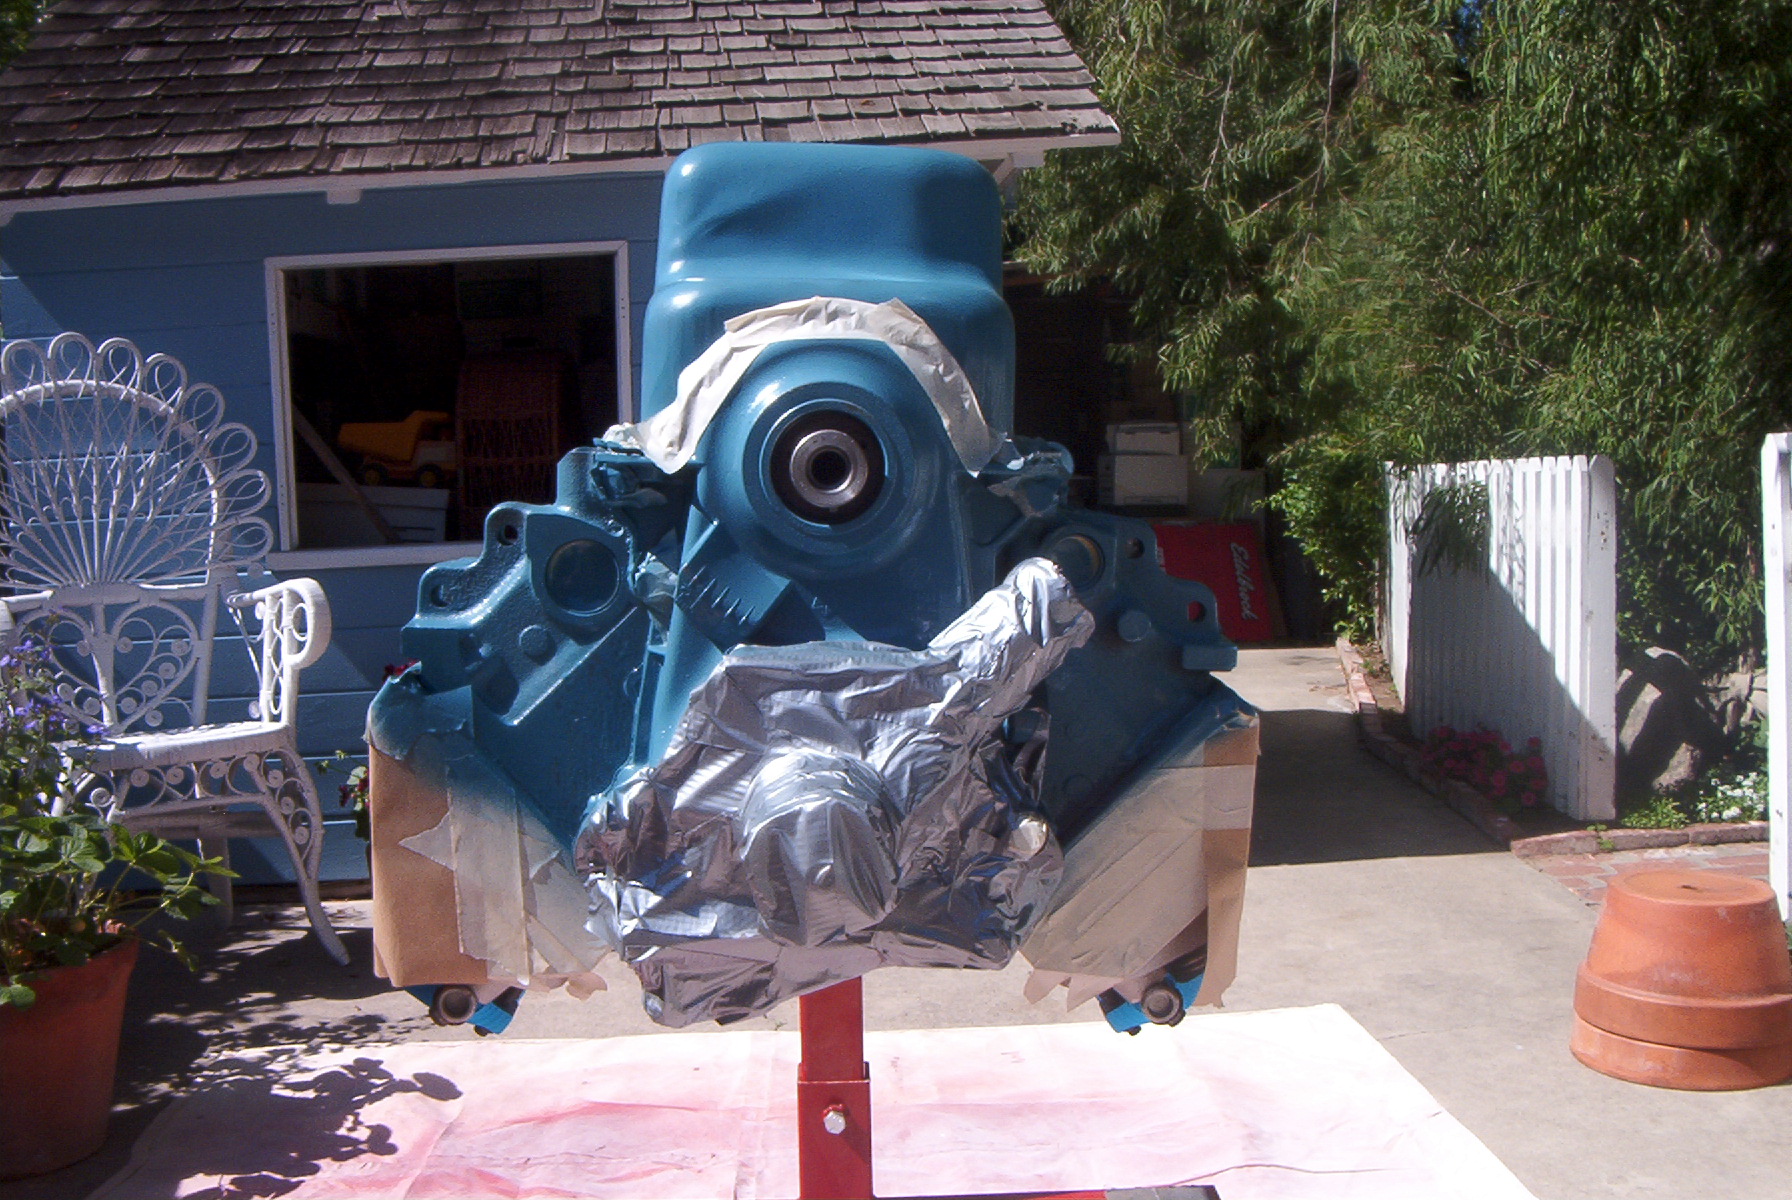 Front side of light coat. |
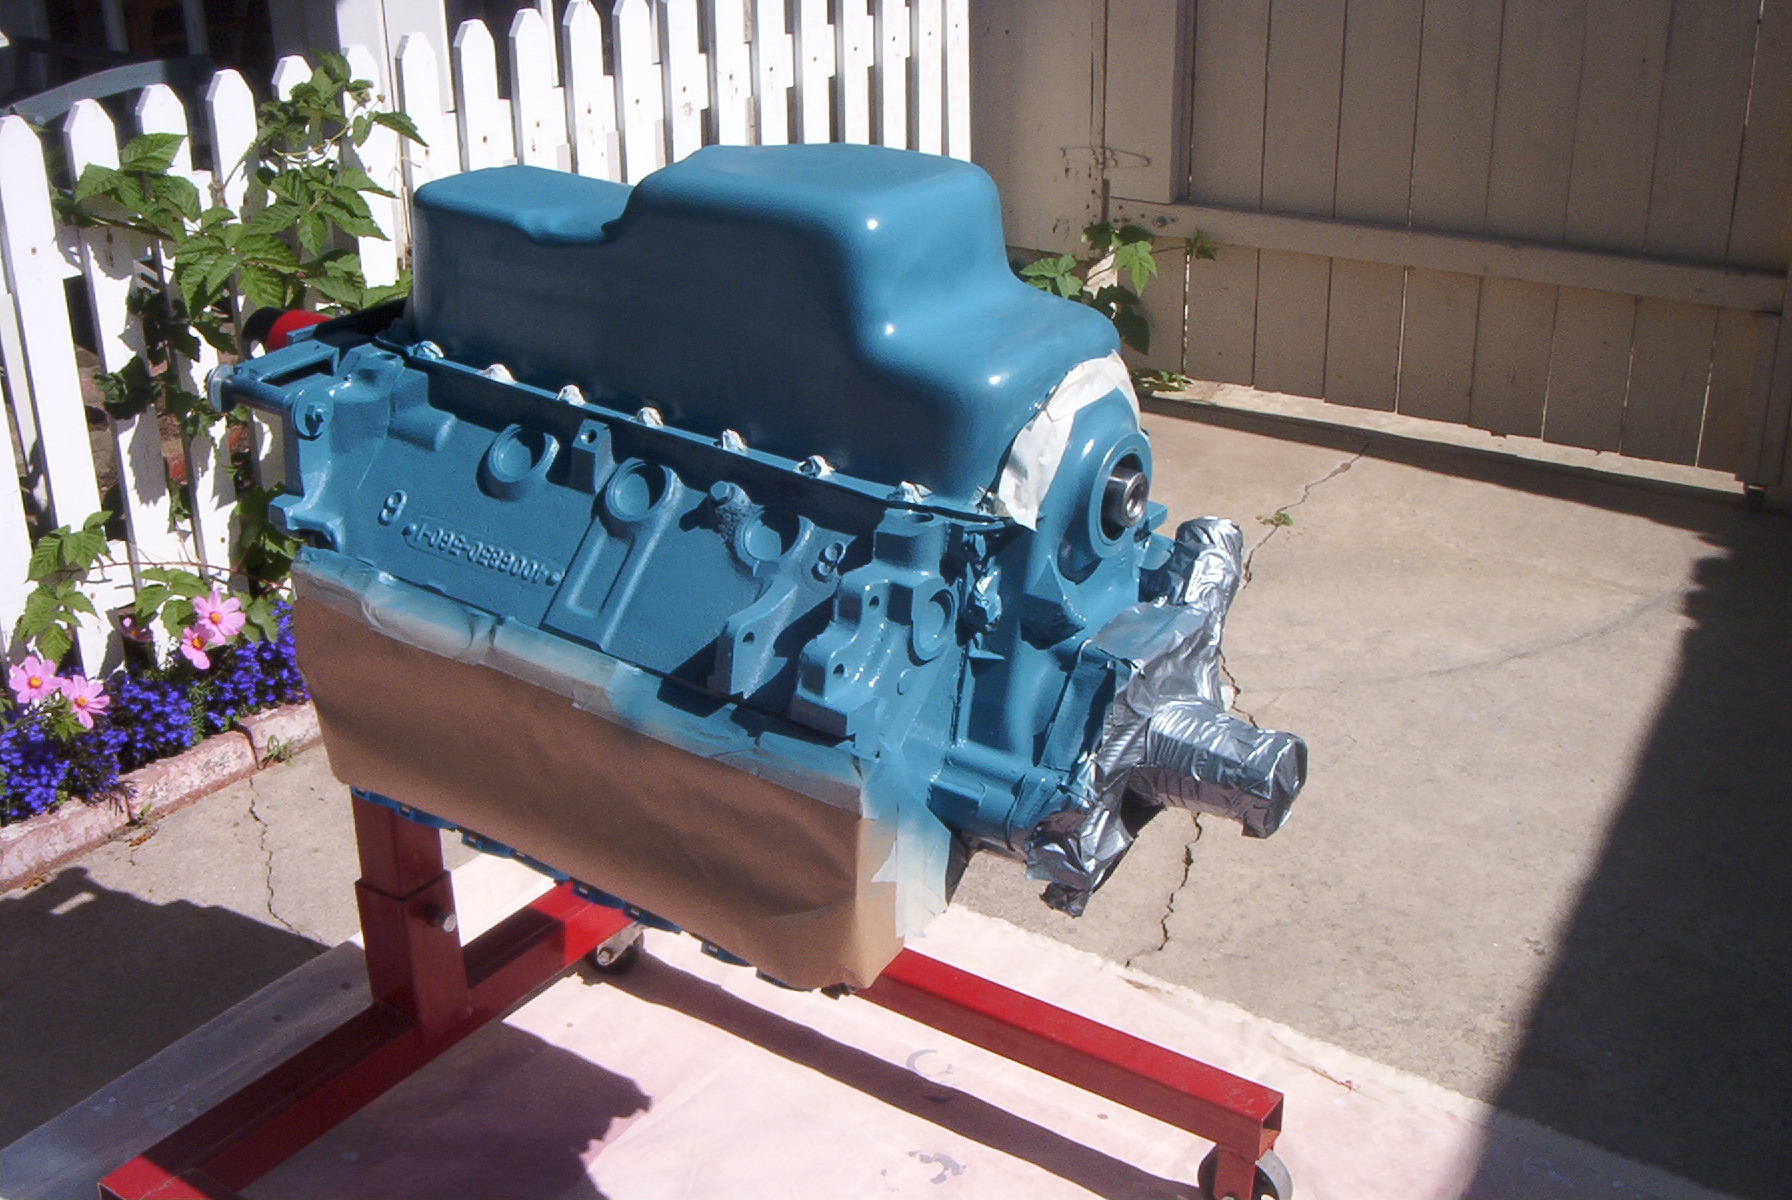
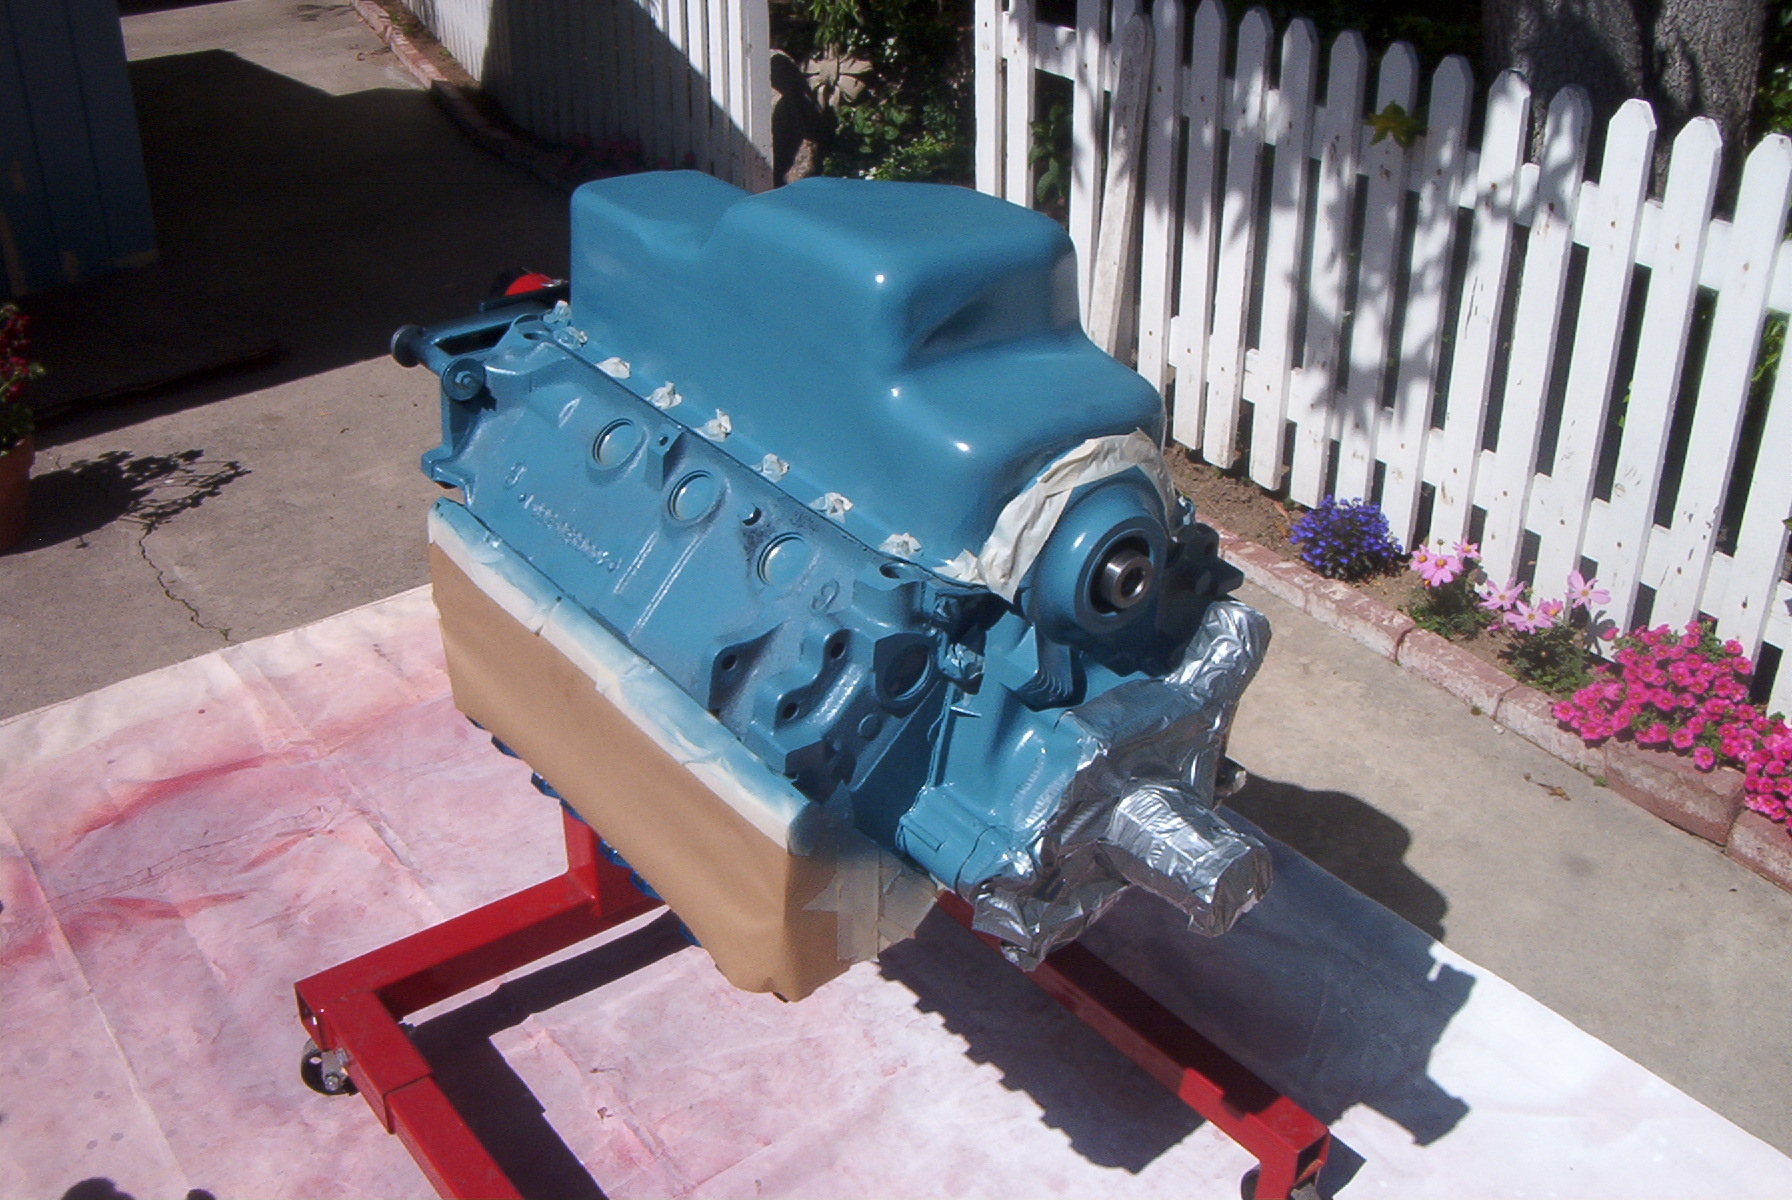 The second coat is applied. |
 Another view. |
 Other side. |
 The masking has been removed, and the fuel pump installed. |
 Other side. |
I also received a set of Weiand cast aluminum valve covers from a very nice lady in New York. Since they were used, I had to bead blast and hot tank them before mocking them up on the motor for installation. I have not yet decided if I want to paint them, or just clear-coat them and leave them au naturale, but I'm leaning more towards the clear-coat.
Since it's also a new school year, I have to do all the assignments over again. This means cylinder boring, honing, decking, and other assorted tasks on an entirely new motor. I have been looking for a 440 block, since I want to learn about big blocks, but all I have currently managed to find is one long block for five hundred dollars in Huntington Beach. However, my professor asked me if I was interested in doing a Chevy 383 stroker for a member of the college computer staff, and since I'm fairly broke, I accepted. That might have its own write-up, but I am not sure what my customer wants yet.
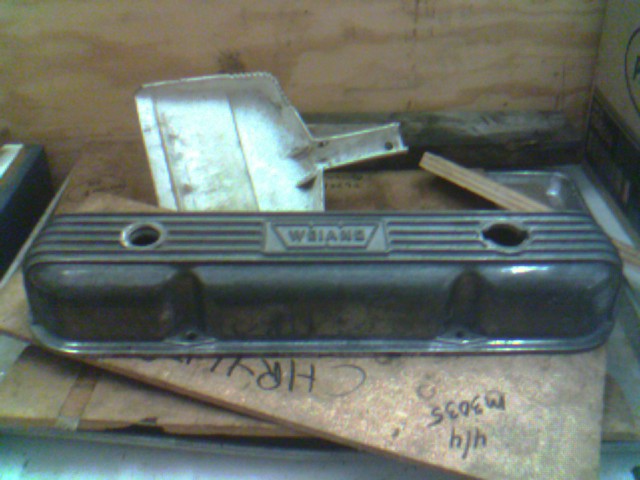 A valve cover as it arrived from New York, with no cleaning. |
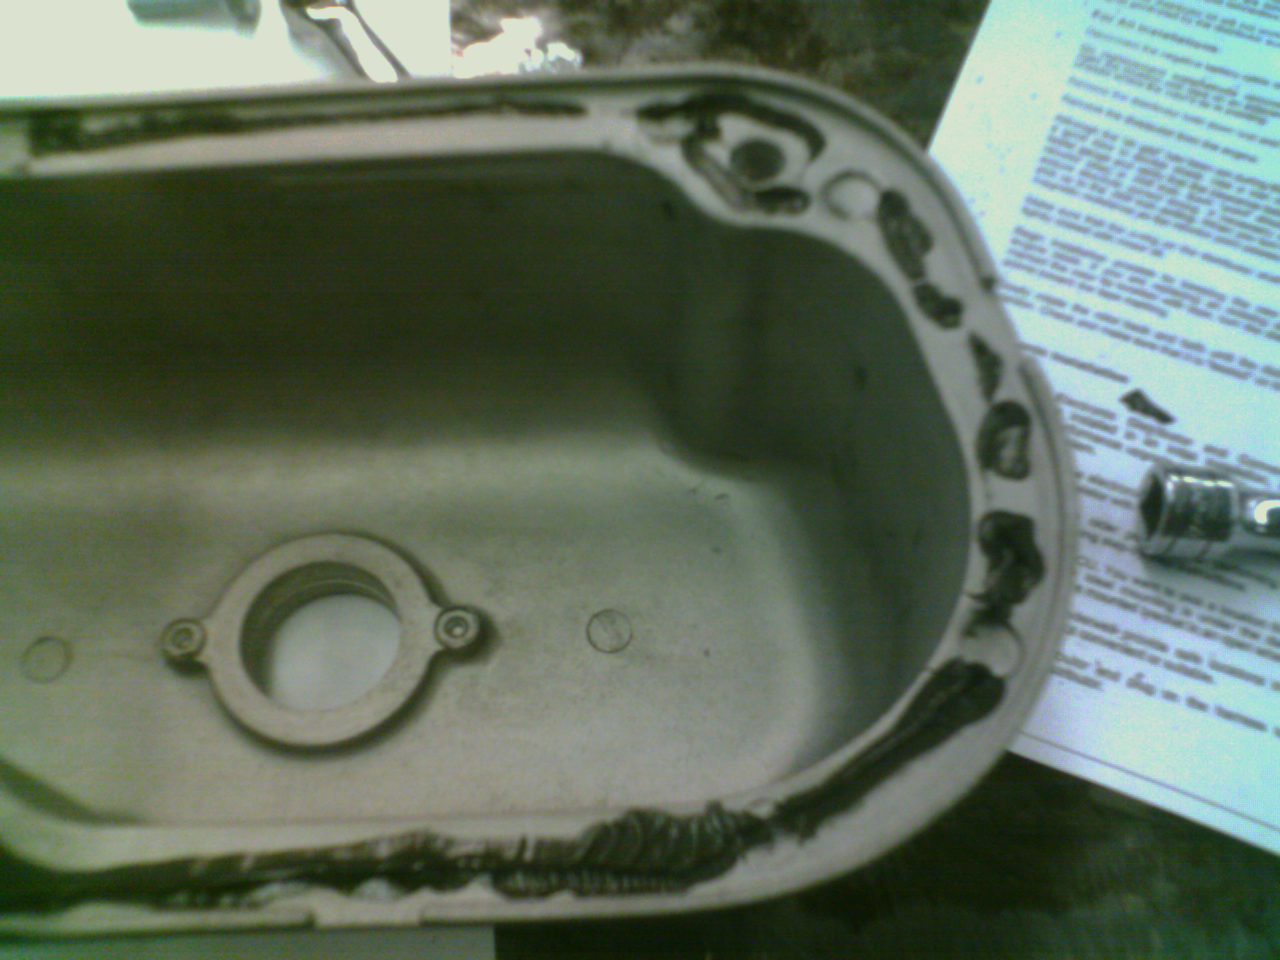
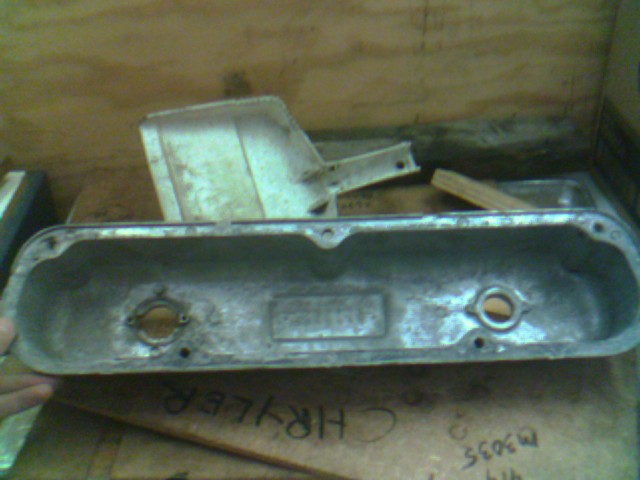 The inside of the valve cover. |
 Dirty Weiand! |
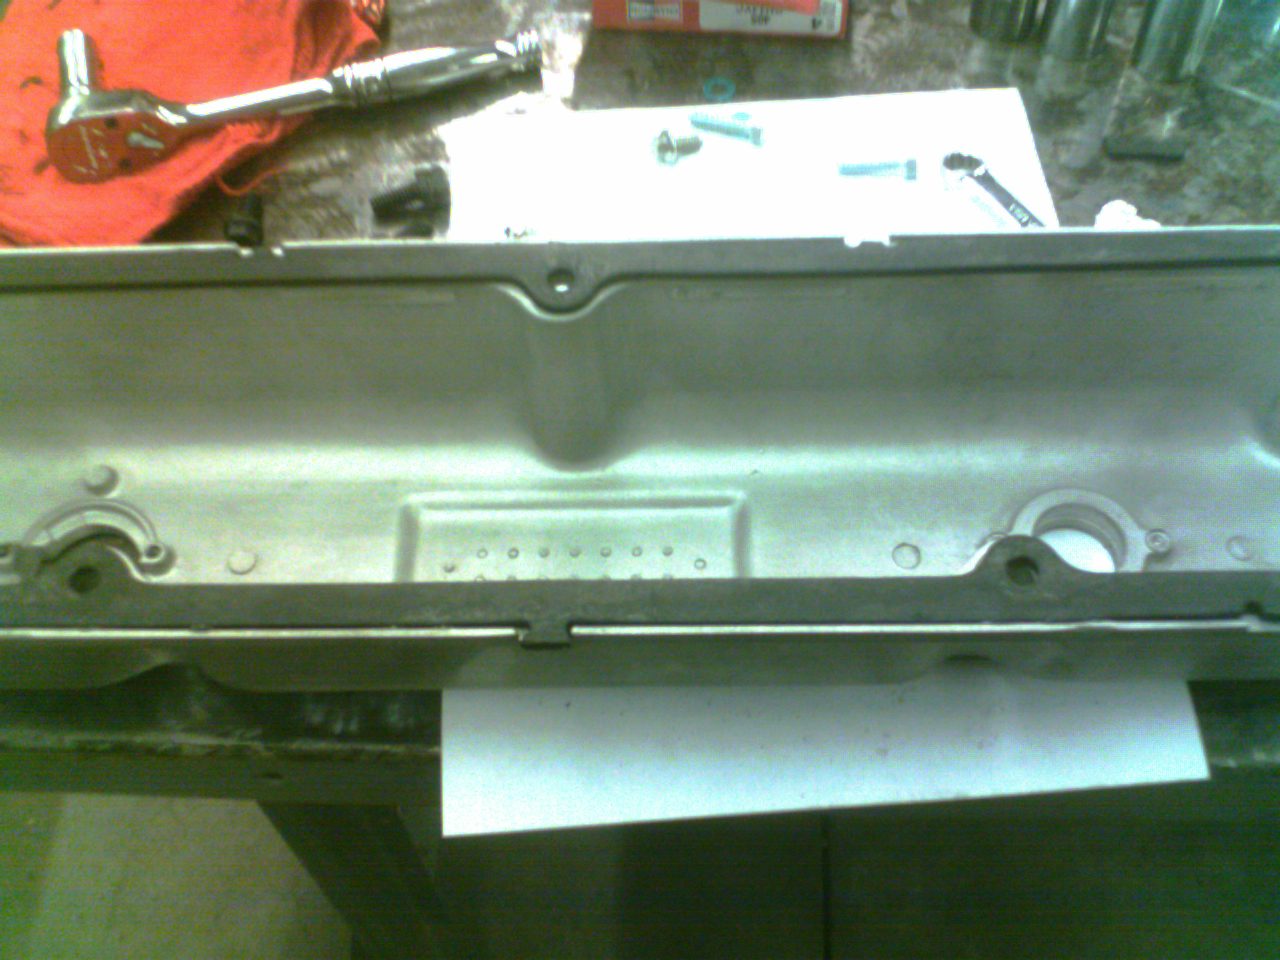
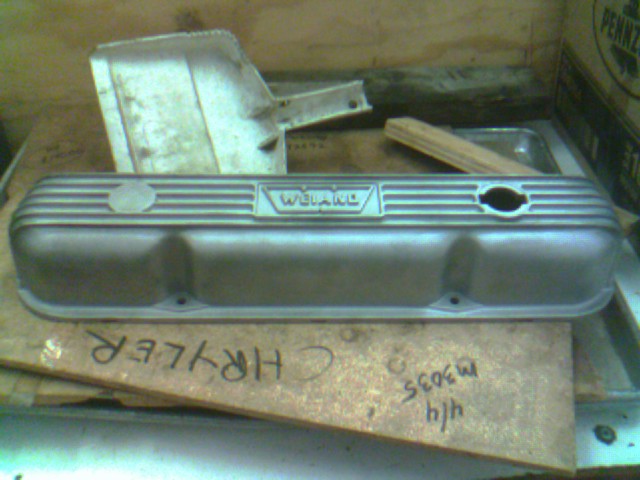 The other valve cover after getting a bead blasting. |
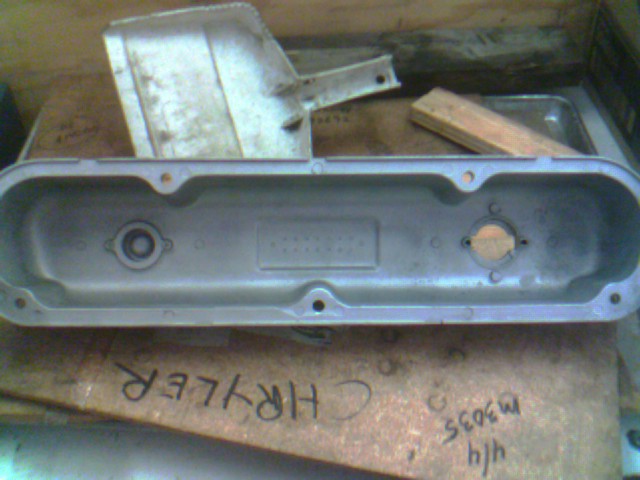 The inside of the blasted cover. |
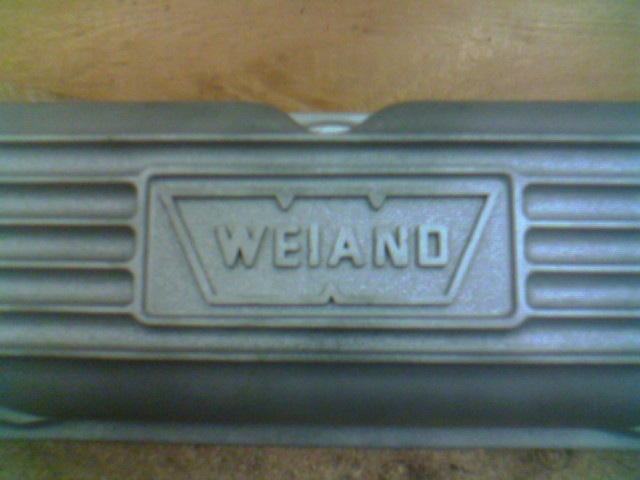 Clean Weiand! |
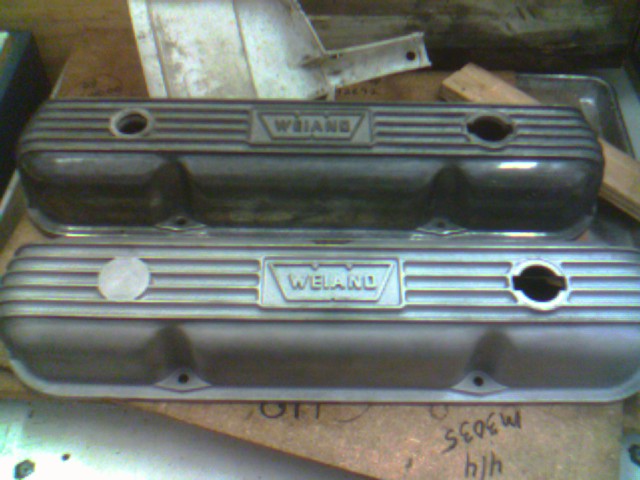 A comparison shot. |
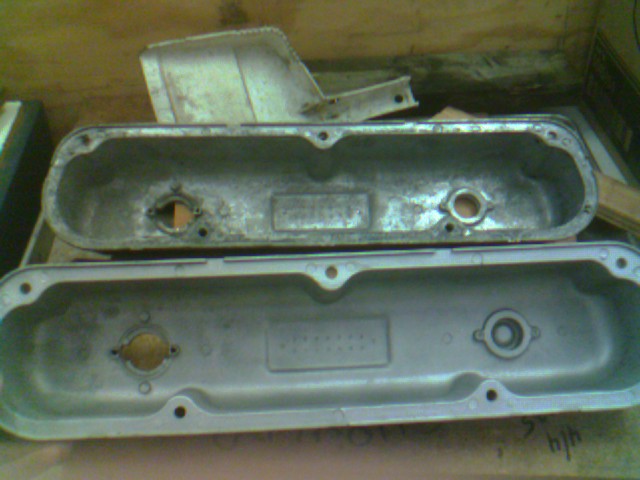 Inside the two. |
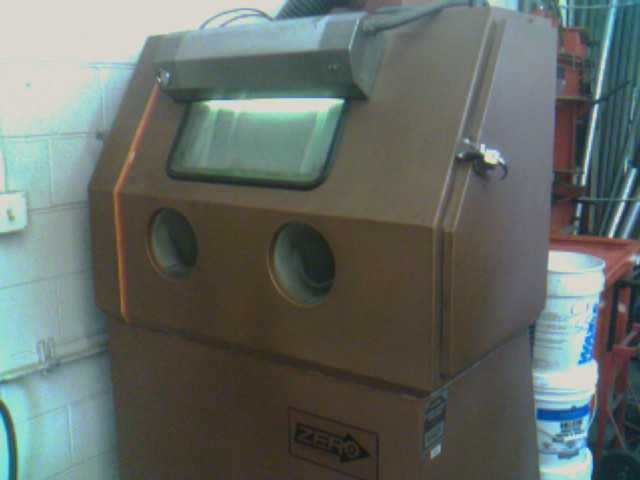 The most fun machine in the entire machine shop. |
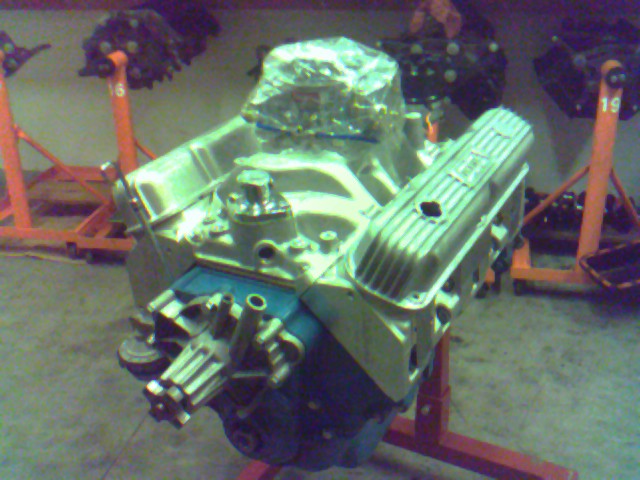 Both covers mocked up on the motor. |
 Other view. |
 Close-up shot. |
After dealing with the damper, I then installed a one-inch spacer under the carburetor. A spacer is a simple and inexpensive way of adding torque and horsepower, and also helps keep the fuel temperature down. While I don't think I'm going to have any problems with boiling fuel, I do like having a little bit of extra oomph and a slightly snappier throttle response, so for twenty-five bucks, it's hard to go wrong.
All that's left to do now is to purchase exhaust headers and spark plugs and attach the flywheel, and the motor will be ready for its first start-up.
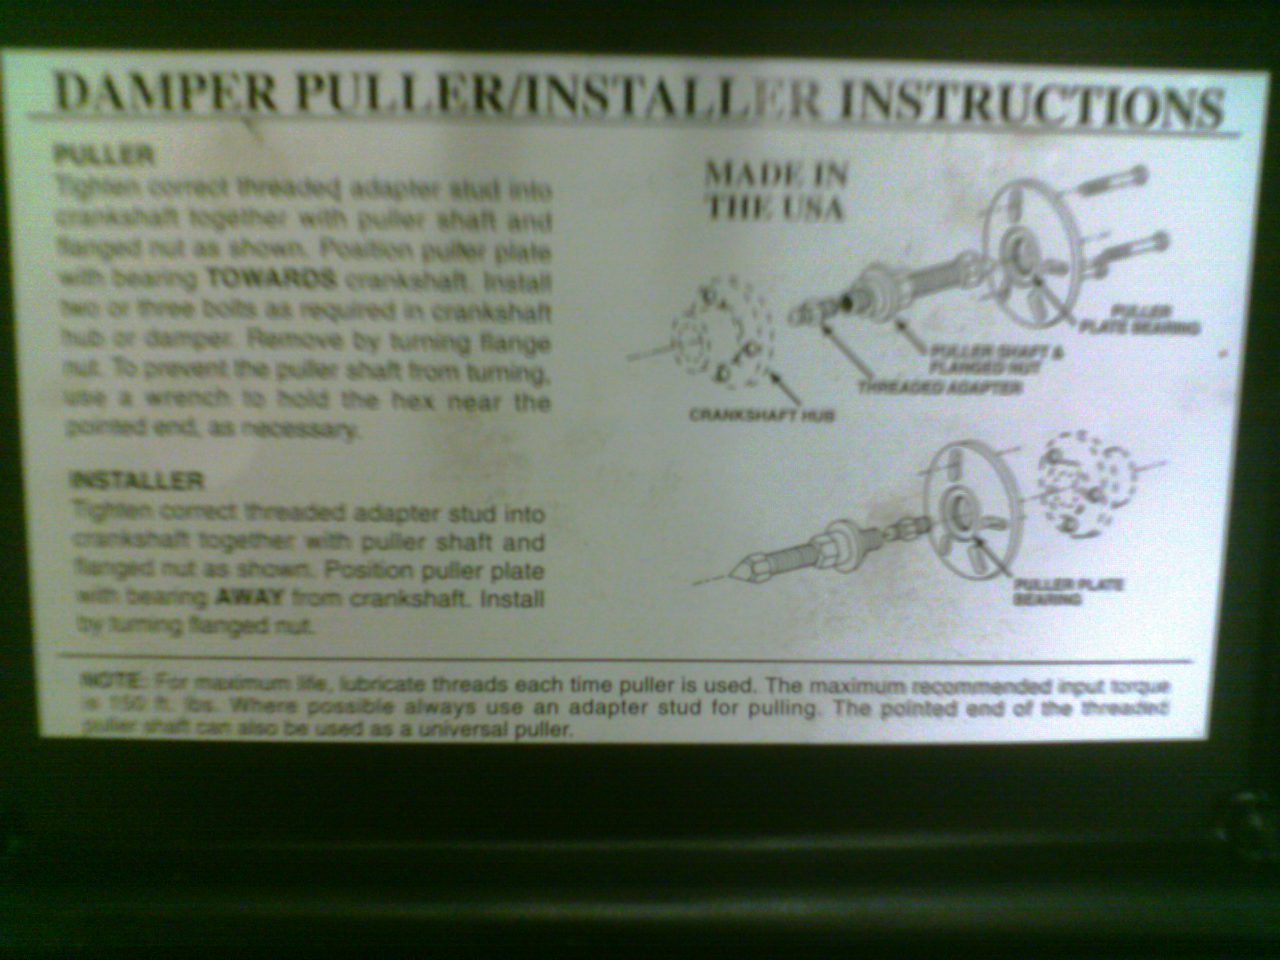 The instructions for the damper installation and pulling tool. |
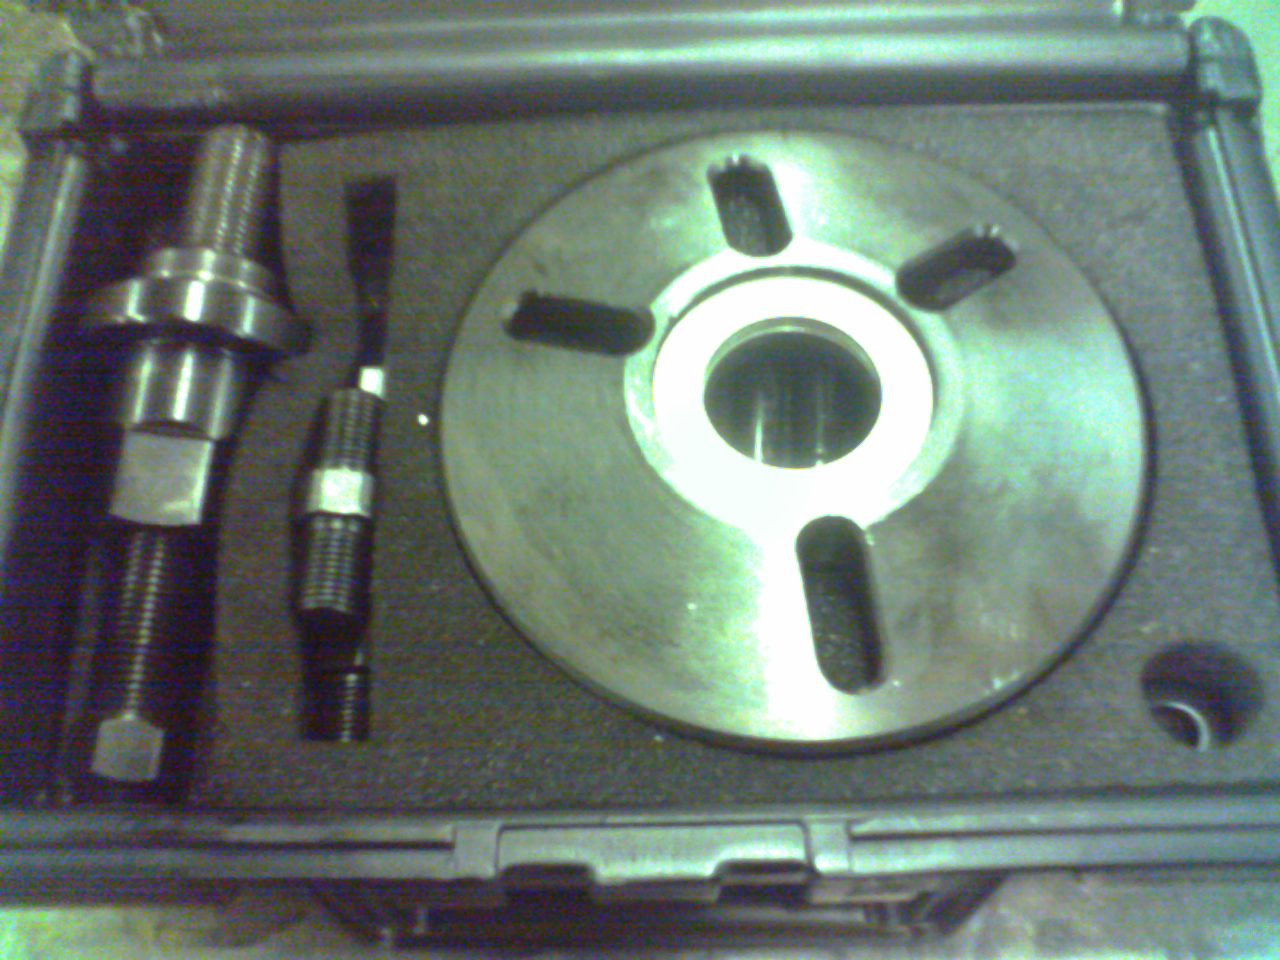 The tool itself. |
 Setting the tool up to press on a damper. |
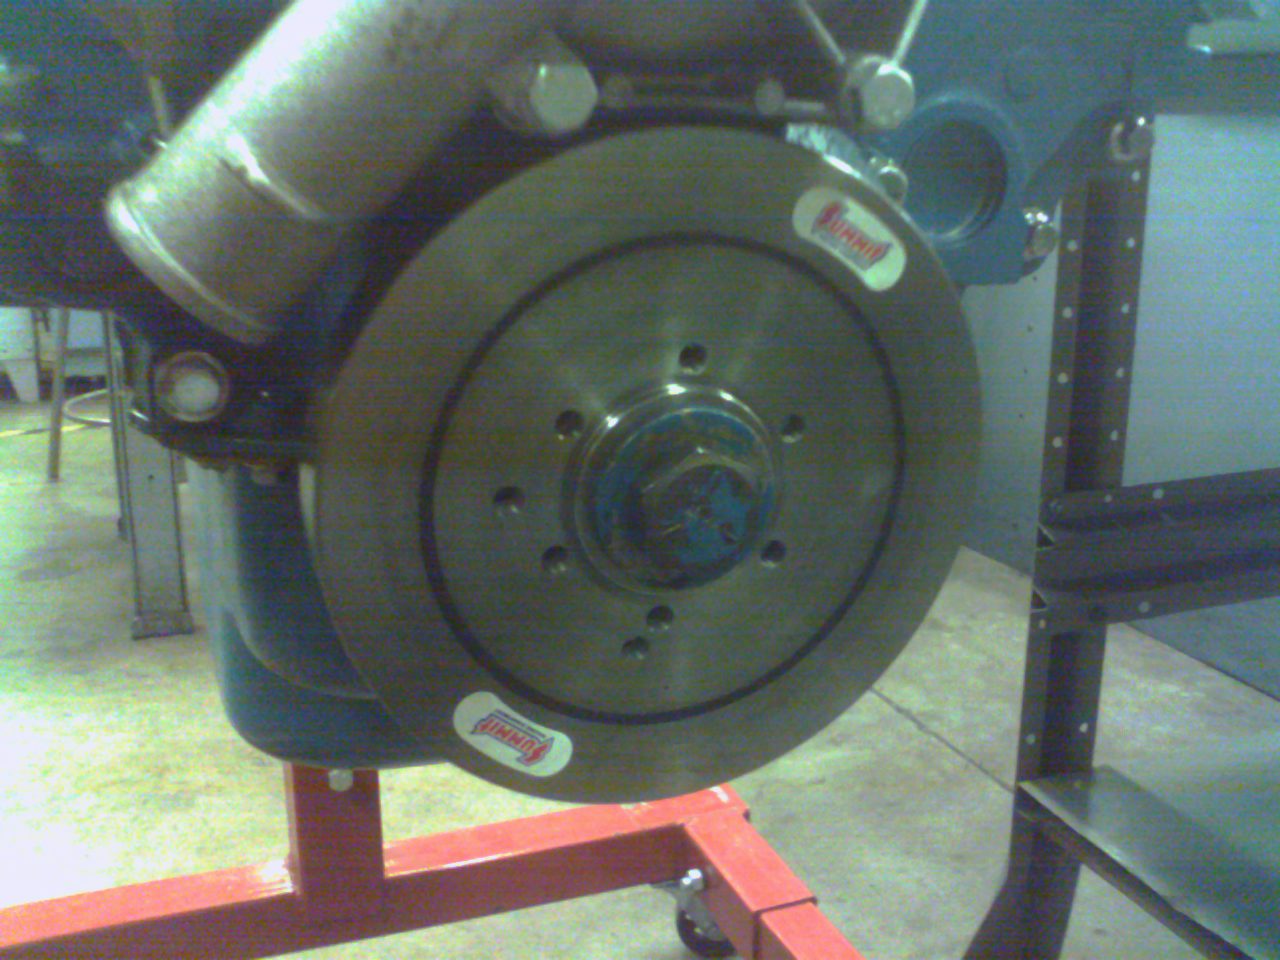 The damper, fully installed on the motor with retaining bolt. |
 The 1-inch aluminum spacer underneath the carb. |
After I bolted the headers to the motor and hooked up the reducers, I added valve cover gaskets and fastened the valve covers down. The ARP bolts that came in my kit last year again gave me problems, and were far too short to pass through both the cover flange and the rubber gasket, and I had to scrounge up ten quarter-inch bolts of about an inch in length in order to actually fasten the covers to the heads. Luckily I could use the ARP washers on the bolts, so my covers are still fairly protected from getting gouged or scuffed by a rotating bolt head.
When the valve covers were on, I attempted to install the spark plugs, but for some reason they will not fit in my Edelbrock heads. I'm able to thread them in about two-thirds of the way, and then the hex part of the plug comes into contact with the head, effectively preventing me from getting a spark plug socket in there or allowing the plug to do any further rotation. Extremely odd, since the Edelbrock heads are supposed to be the same exterior dimensions as a stock 360 head, and indeed, the plugs fit in my Doba's 360 motor. So apparently I need a smaller plug.
With the headers and valve covers on, all that's left is to get a new set of spark plugs, some header studs, a few pipe plugs to plug up some holes in the intake manifold, an oil filter, and an oil pressure sending unit. After that, it's only a matter of putting the motor on the run stand, installing the flywheel, bell housing, and starter motor, wiring up the distributor to the coil and ignition computer, getting the base timing set, filling it up with five quarts of Rotella 15w-40 diesel oil, priming the oil system, and finally firing it up.
It's almost a shame to see it come to an end.
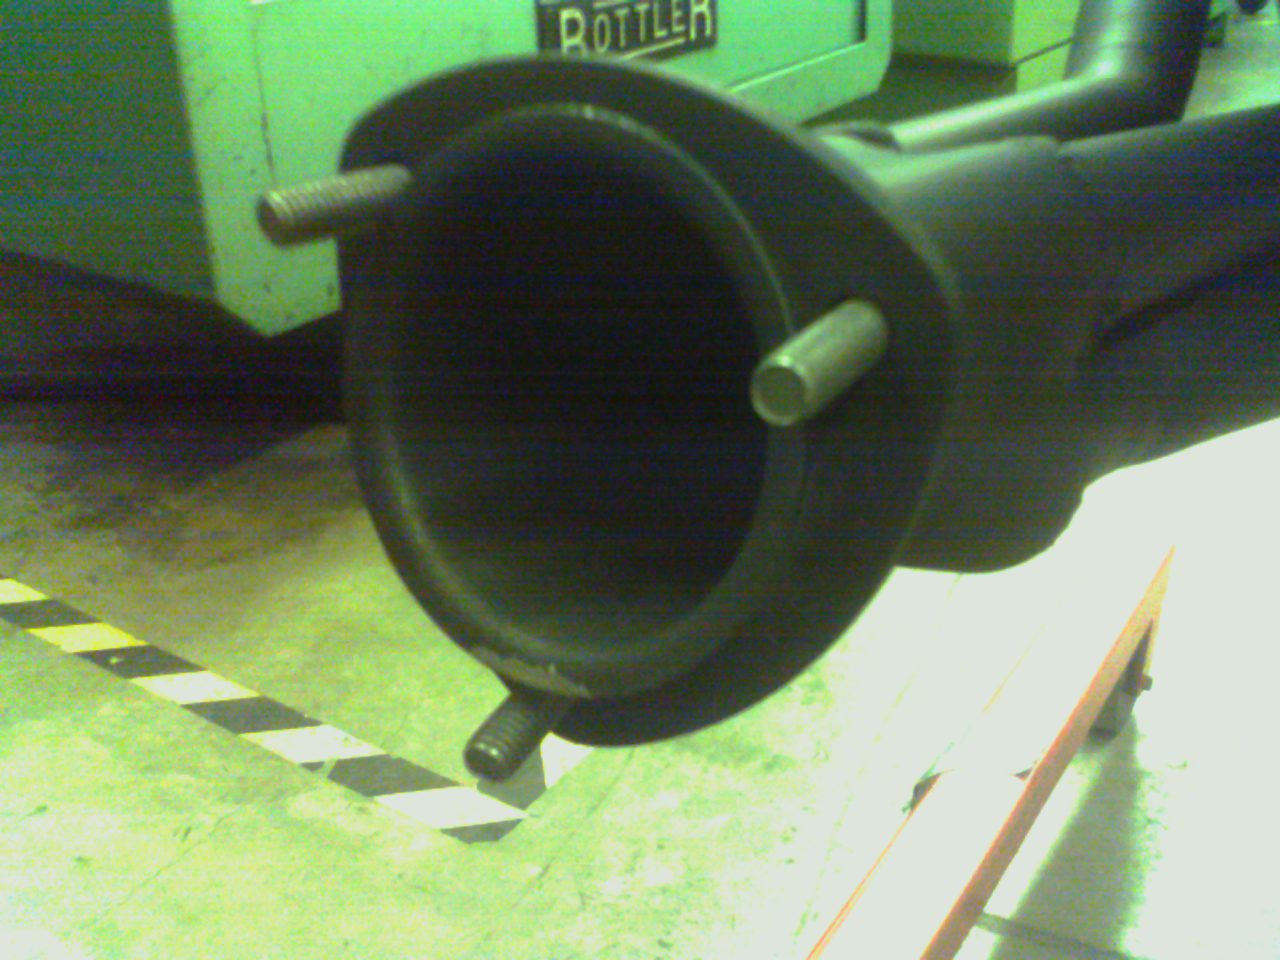
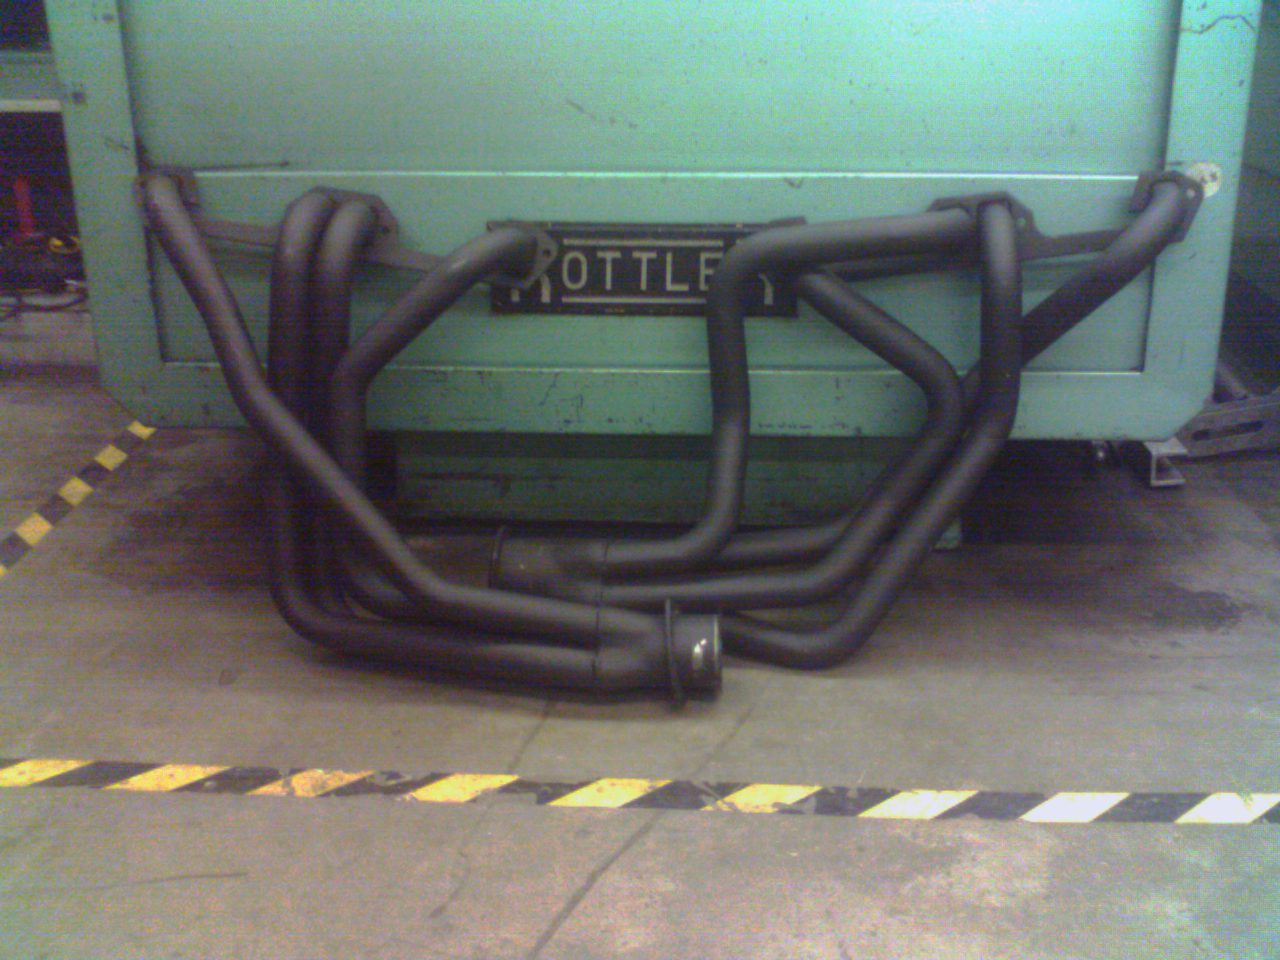 The headers, leaning against a Rottler cylinder hone. |
 The exhaust ports and manifold/header mating surface. |
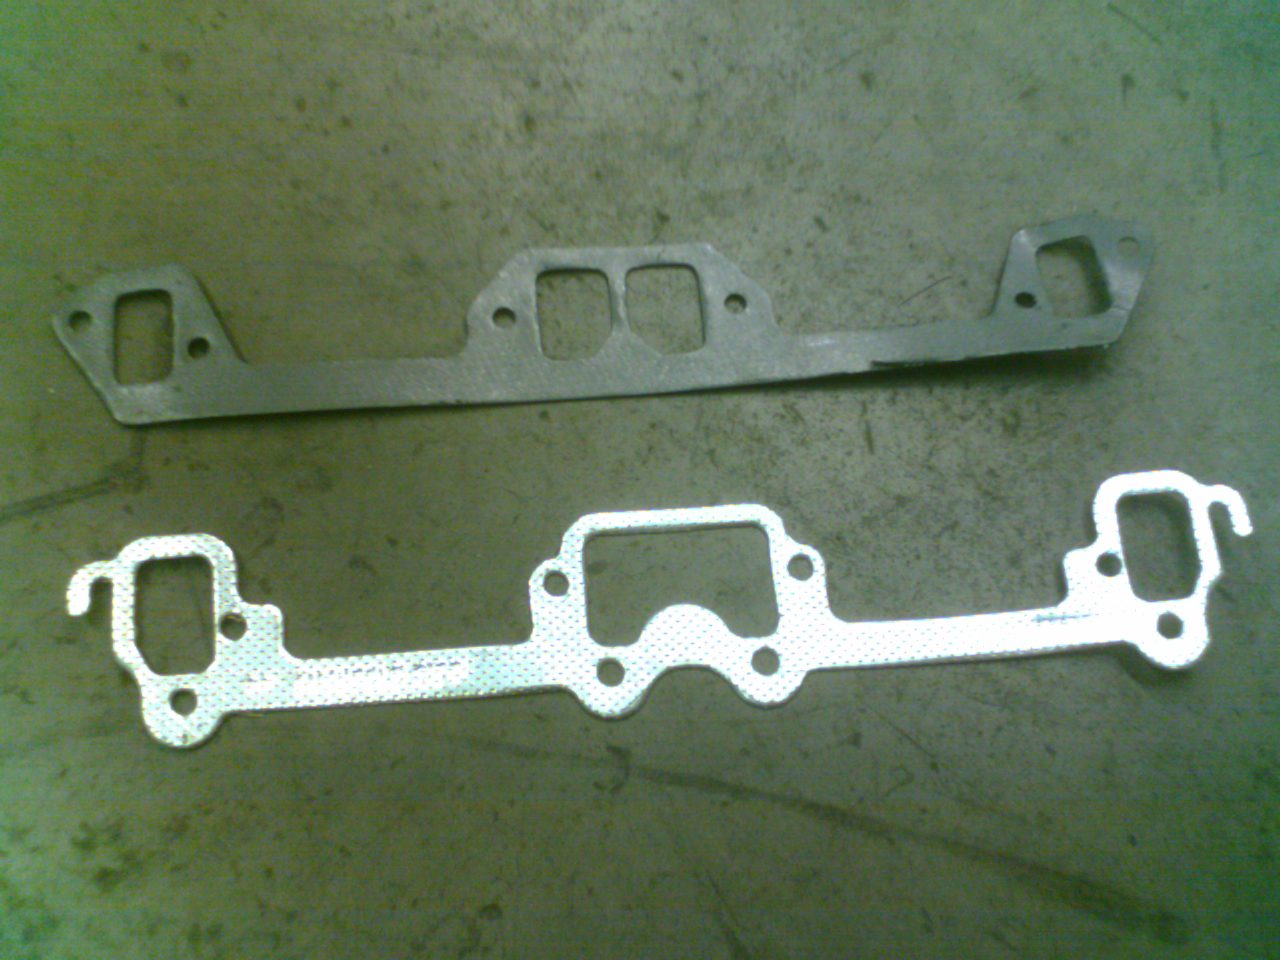 Summit brand gasket on top, Fel-Pro on bottom. |
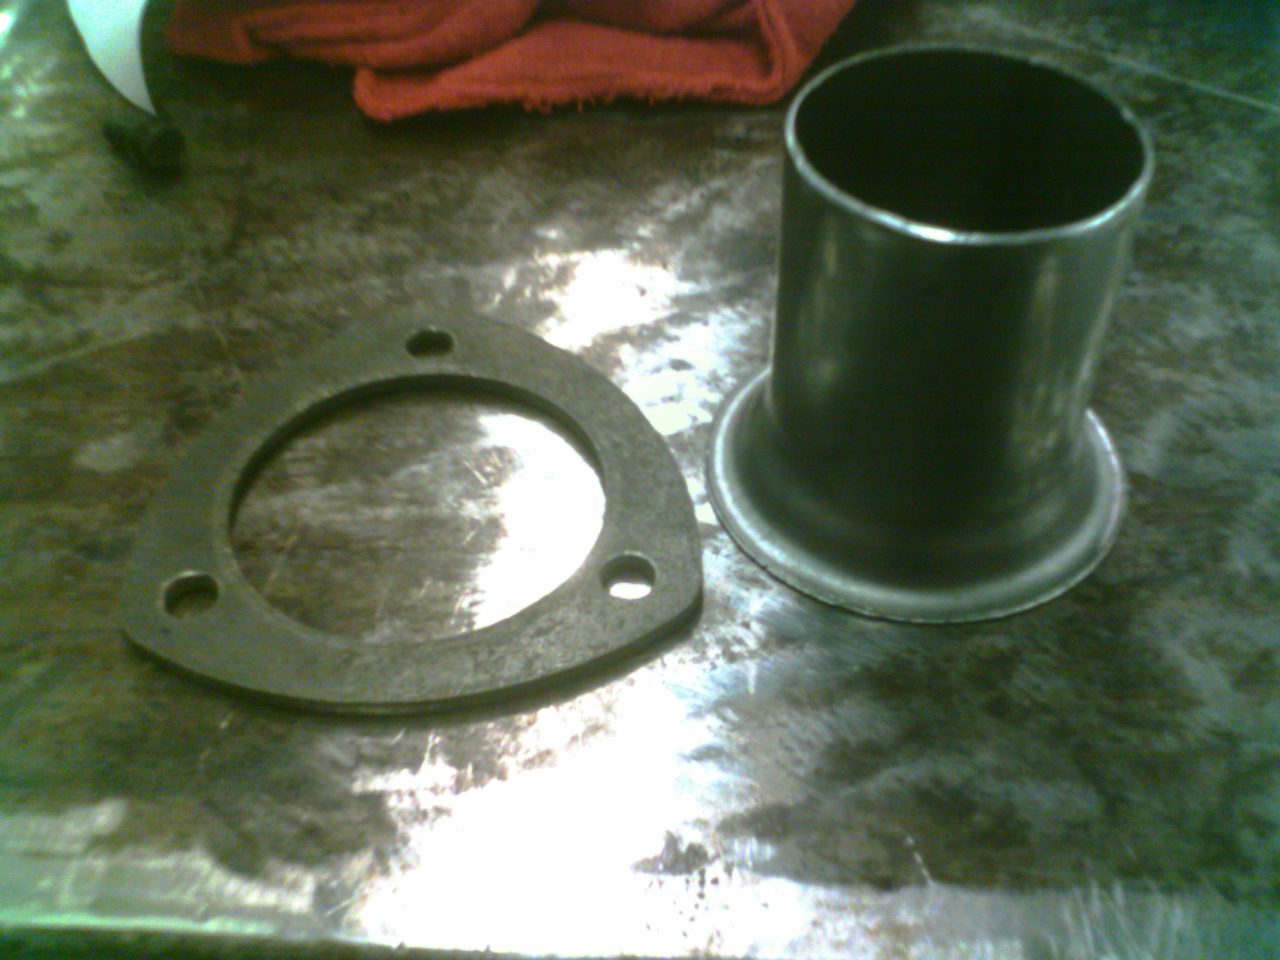 Reducer and flange. |
 The headers, mounted to the head. |
 The reducer flange with bolts. |
 The reducer, attached to the flange. |
 Silicone applied to the valve cover to hold the gasket. |
 The gasket, trimmed and fixed. |
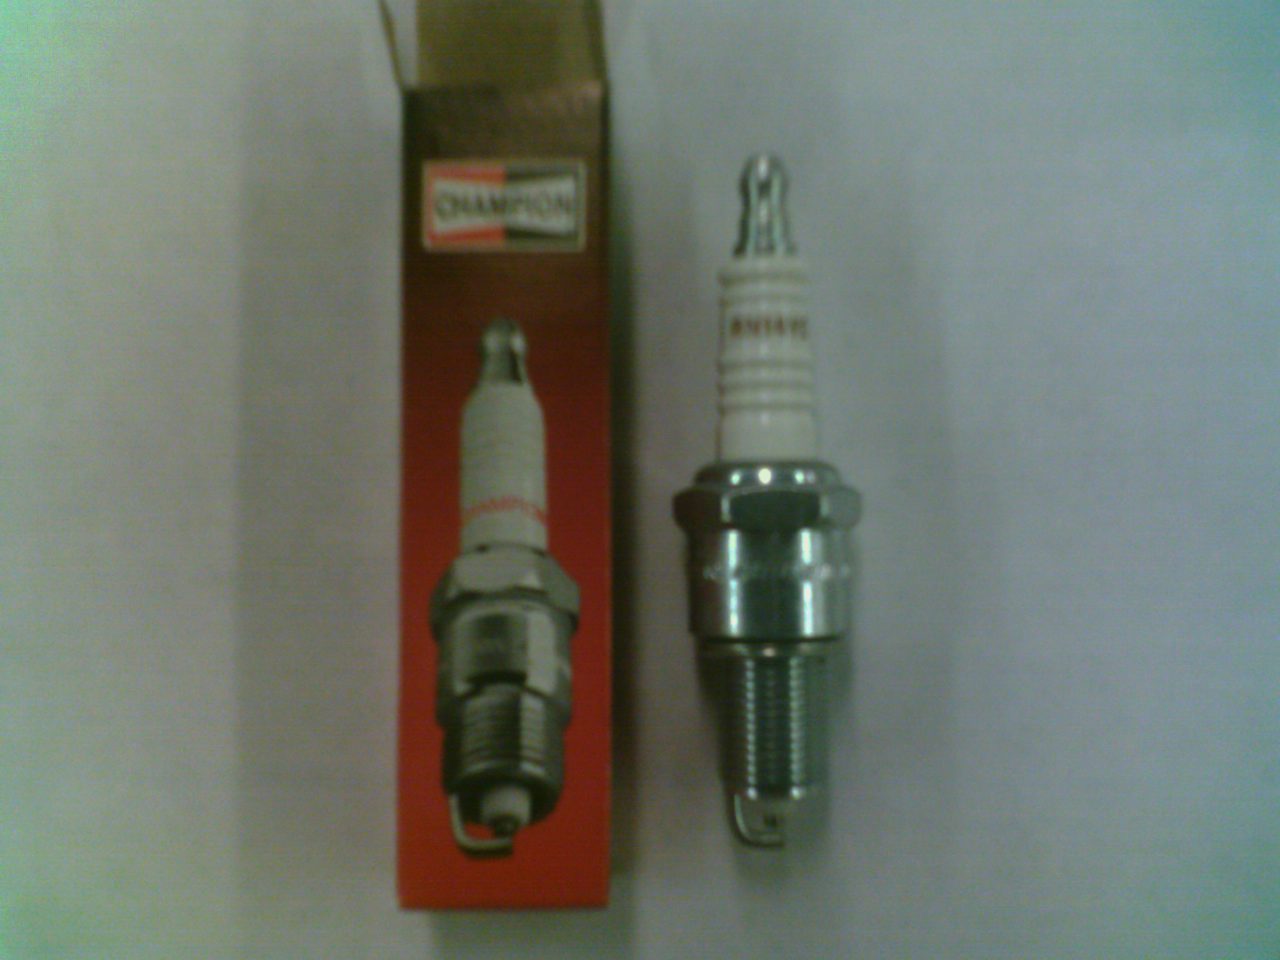 A Champion RN14YC spark plug. |
 The motor, with headers and covers. |
 Other side. |
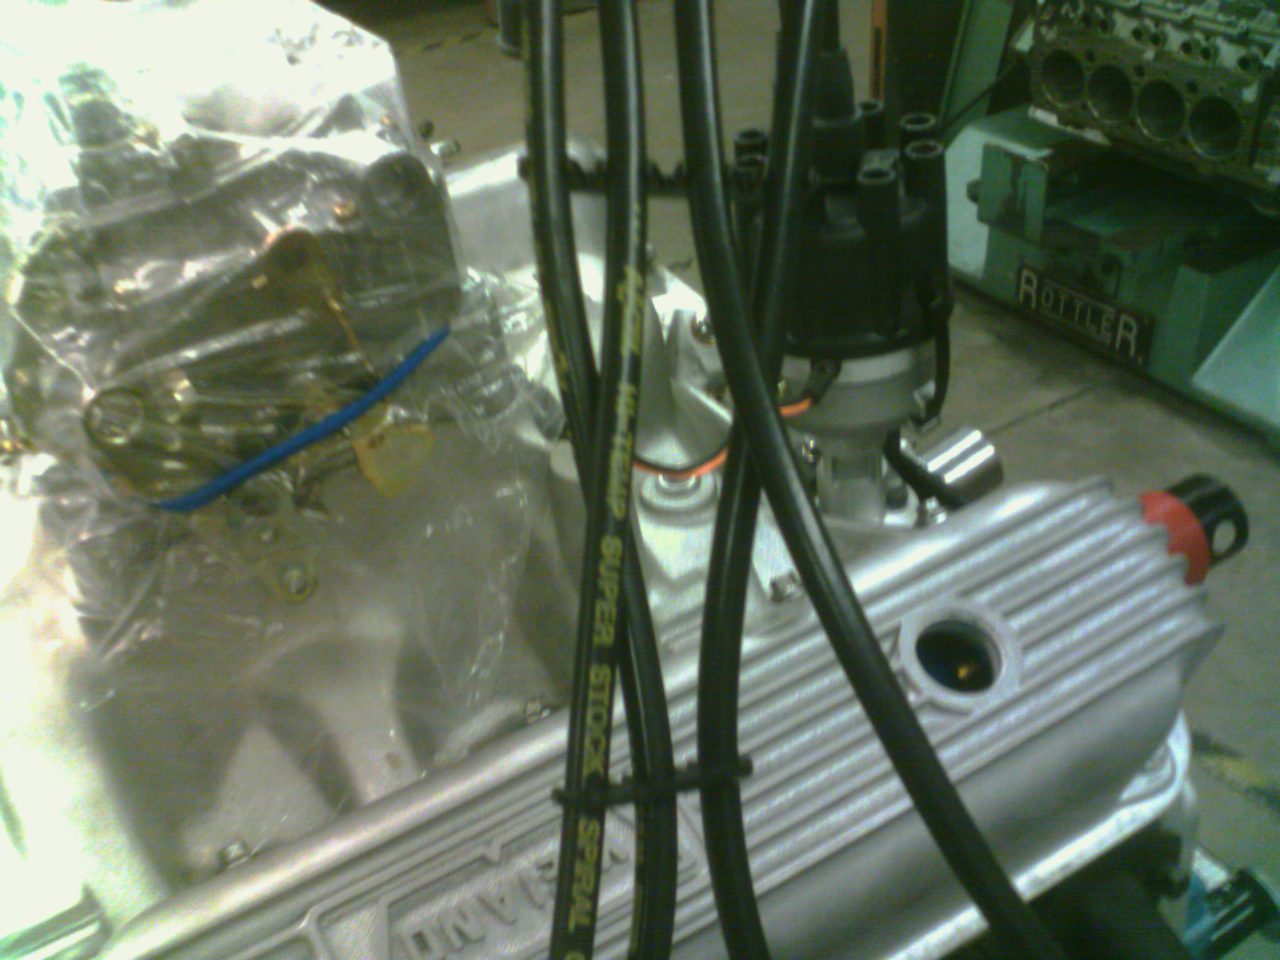
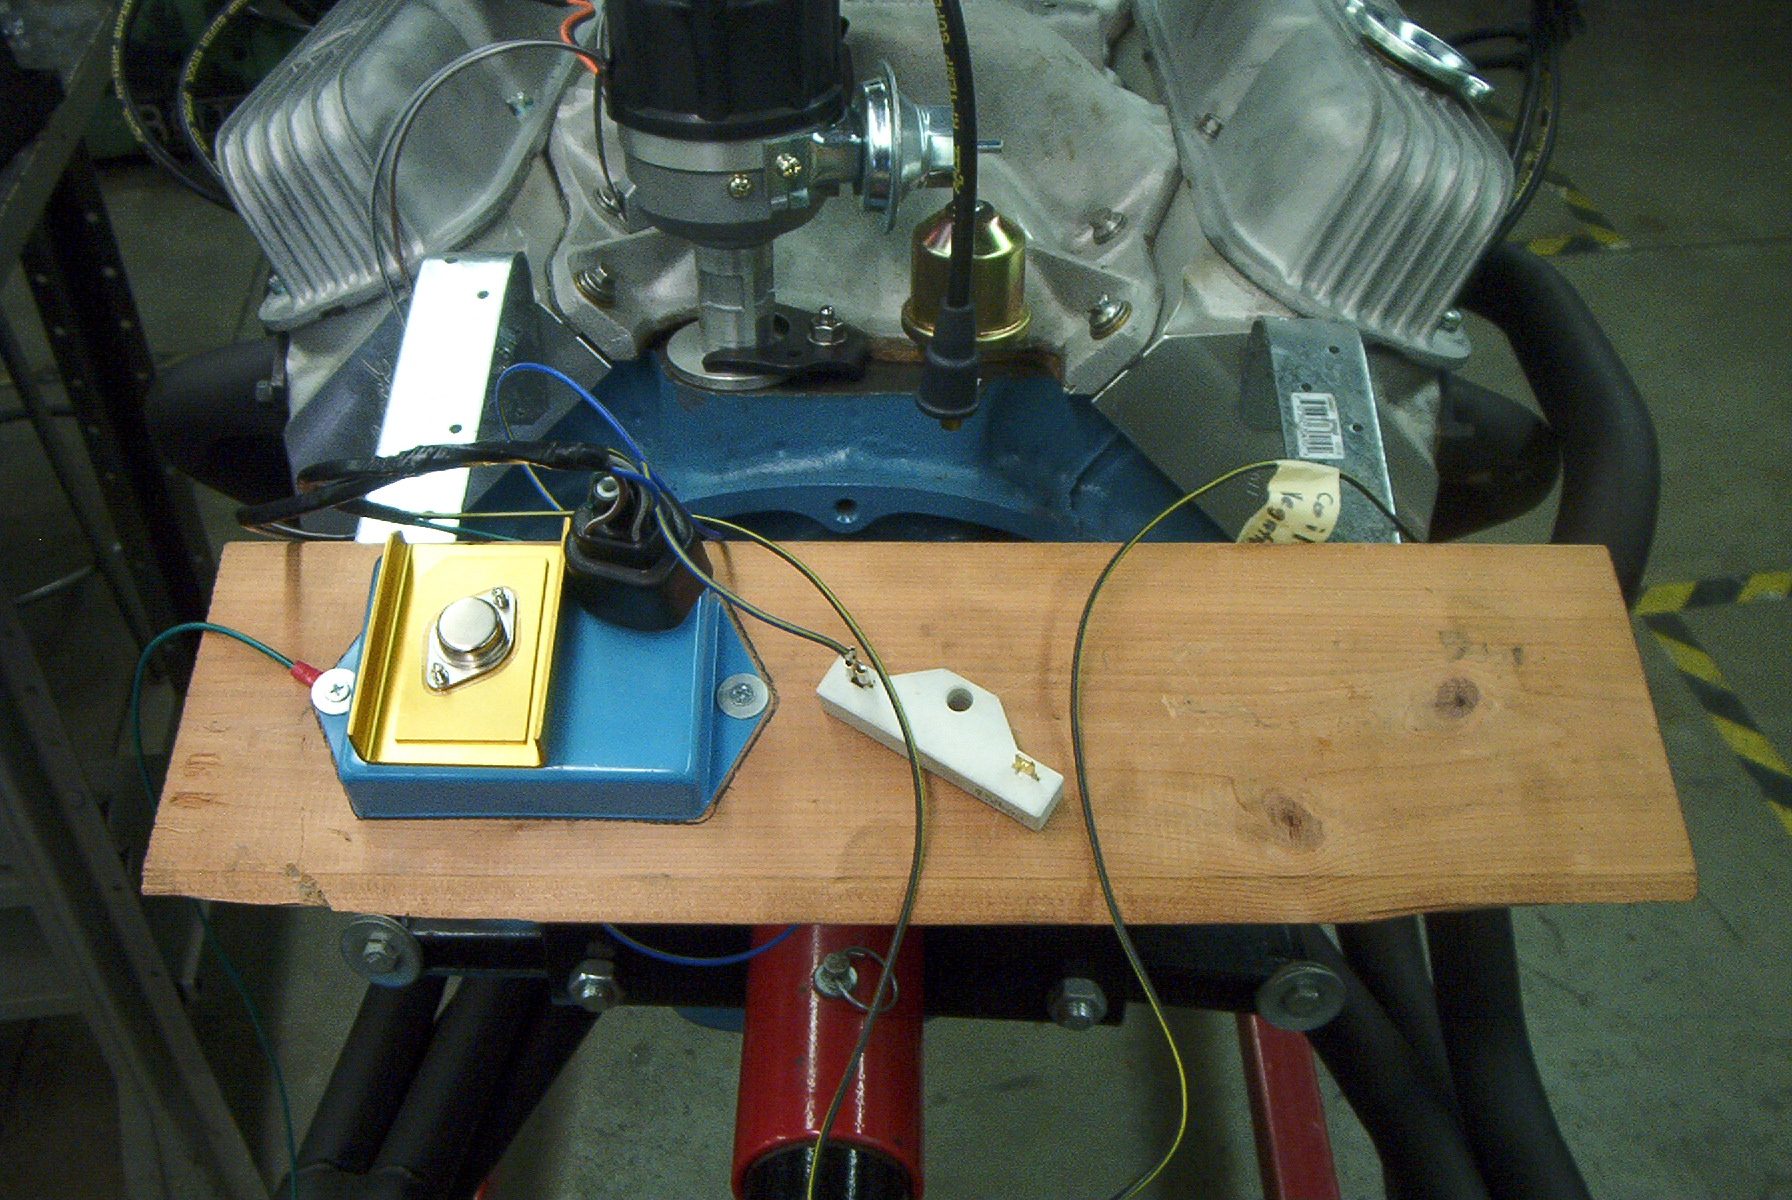
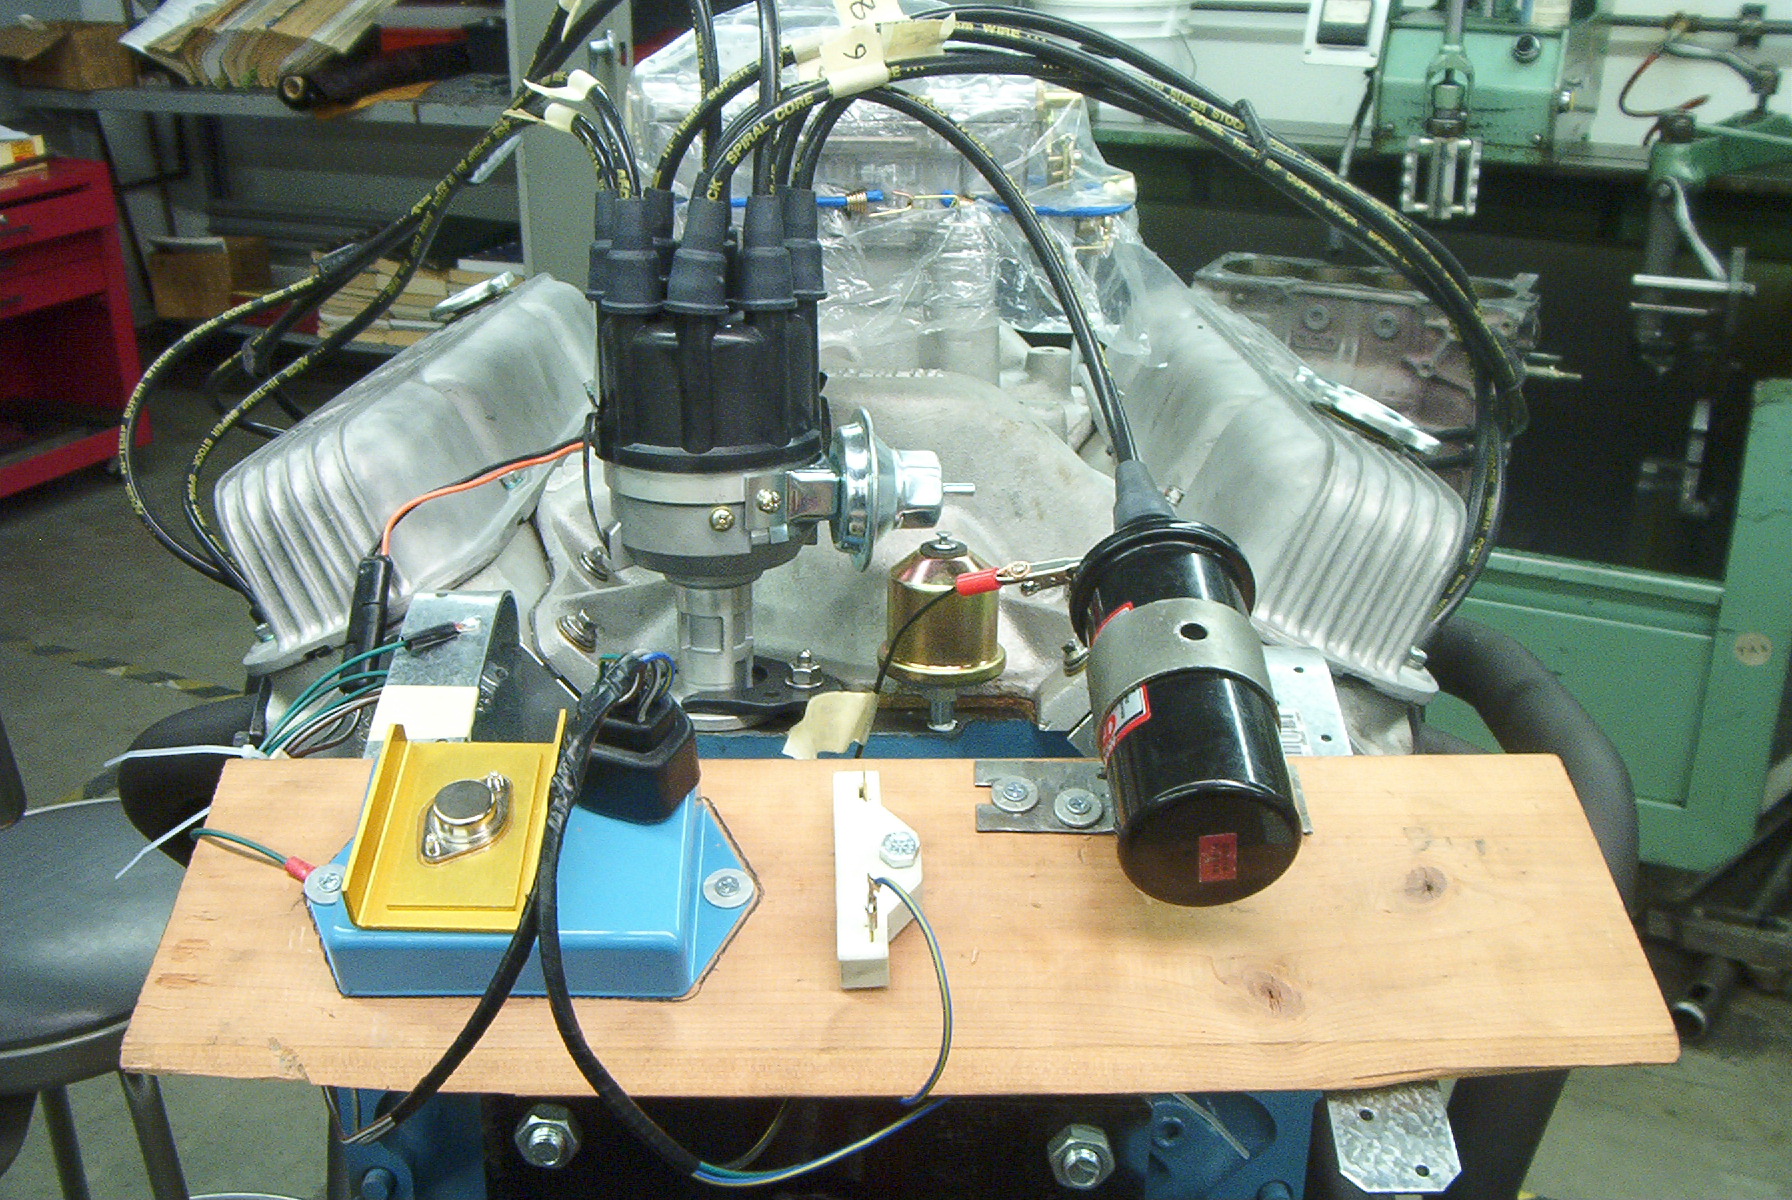
After installing the spark plugs, I started building the mount for the ignition computer, ballast resistor, and ignition coil. I bought a couple metal braces from Home Depot, drilled two 13/32 inch holes at one end of each, and bent them in the specific spots to get the right angle for mounting the board. Once the braces were properly shaped, I mounted the board to them with wood screws, mounted the computer with a grounding wire, and bolted the mount to the heads. I measured the coil wire, and mounted the coil so there would be just enough slack to allow engine movement without interrupting the ignition voltage. I then mounted the ballast resistor, did all the preliminary wiring, and tidied it up with zip-ties and masking tape. I then installed the temperature and oil pressure sending units, and called it a day.
All that's left now is to bring in five quarts of Rotella diesel oil, mount it on the run stand, and fire the bitch up.
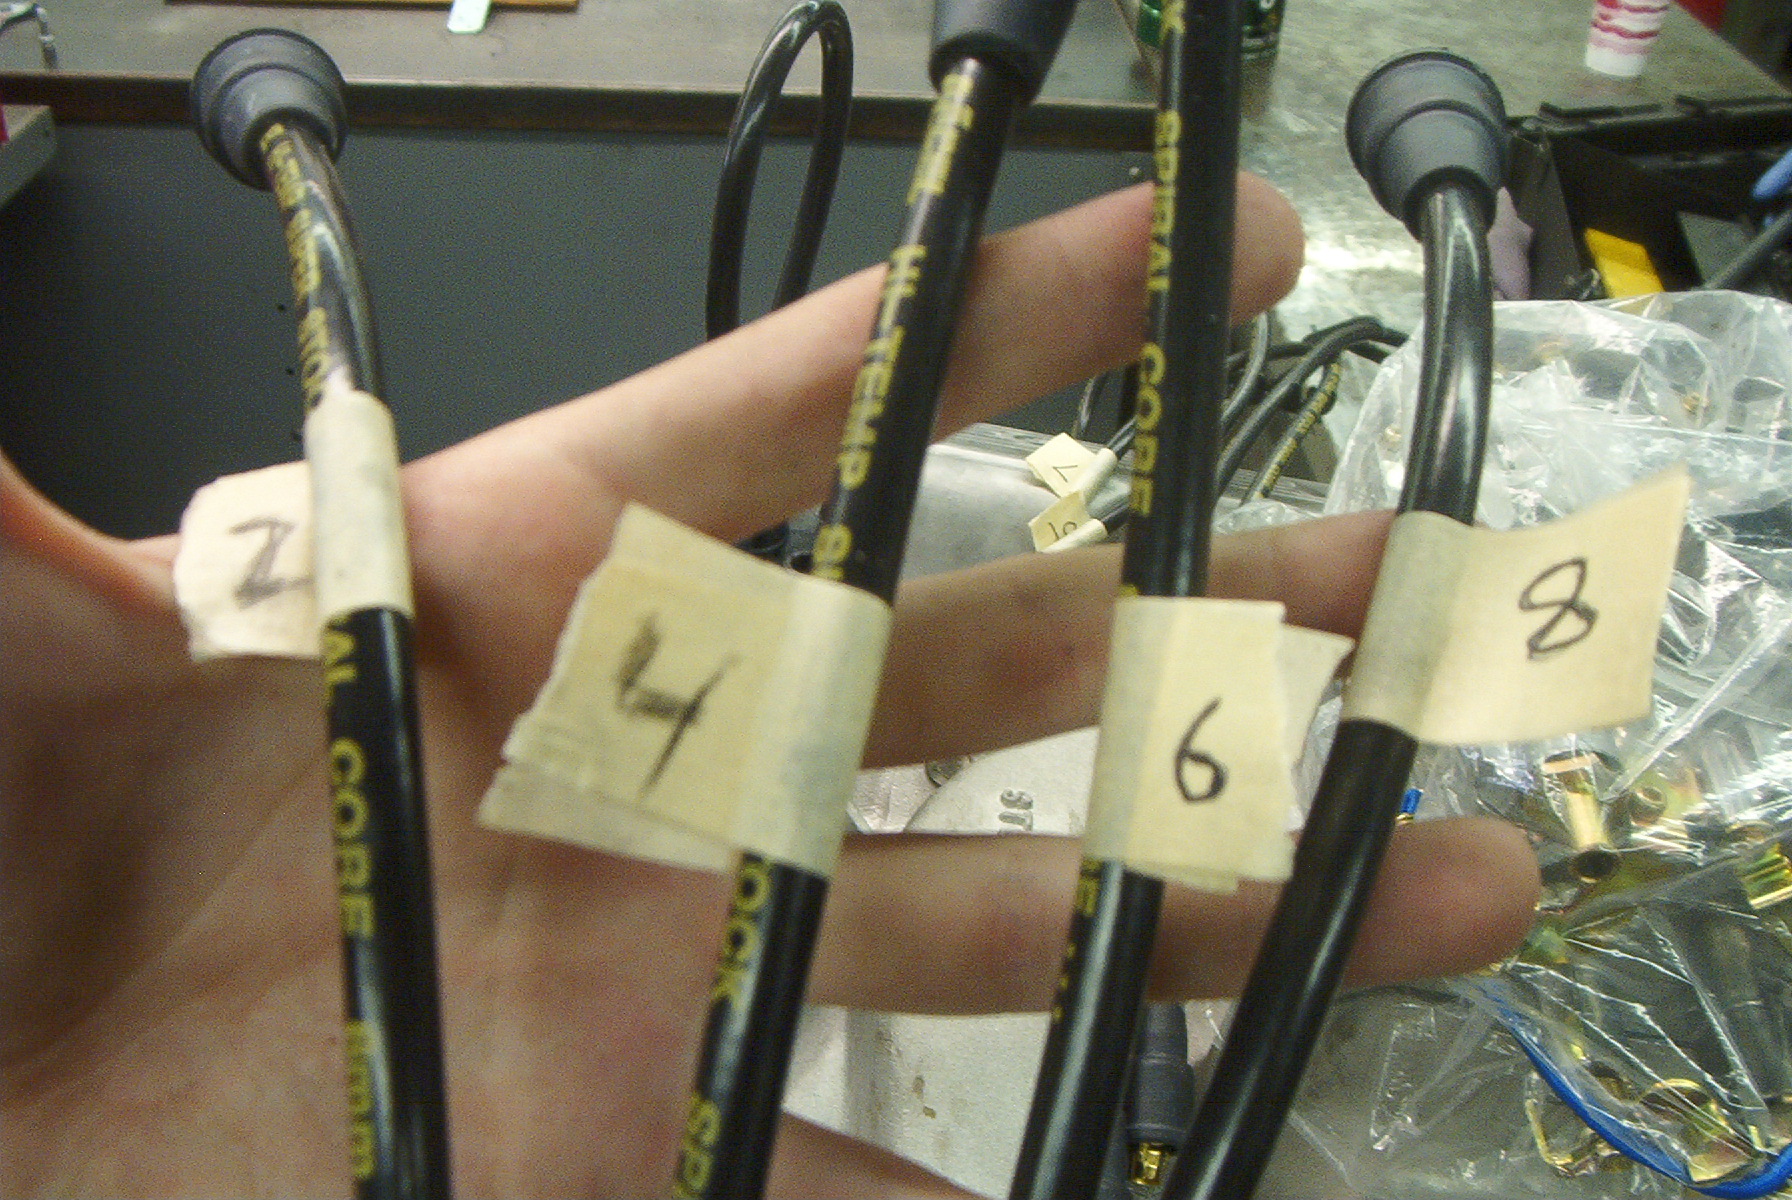 The labeled plug wires. |
 Routed wires, complete with criss-cross. |
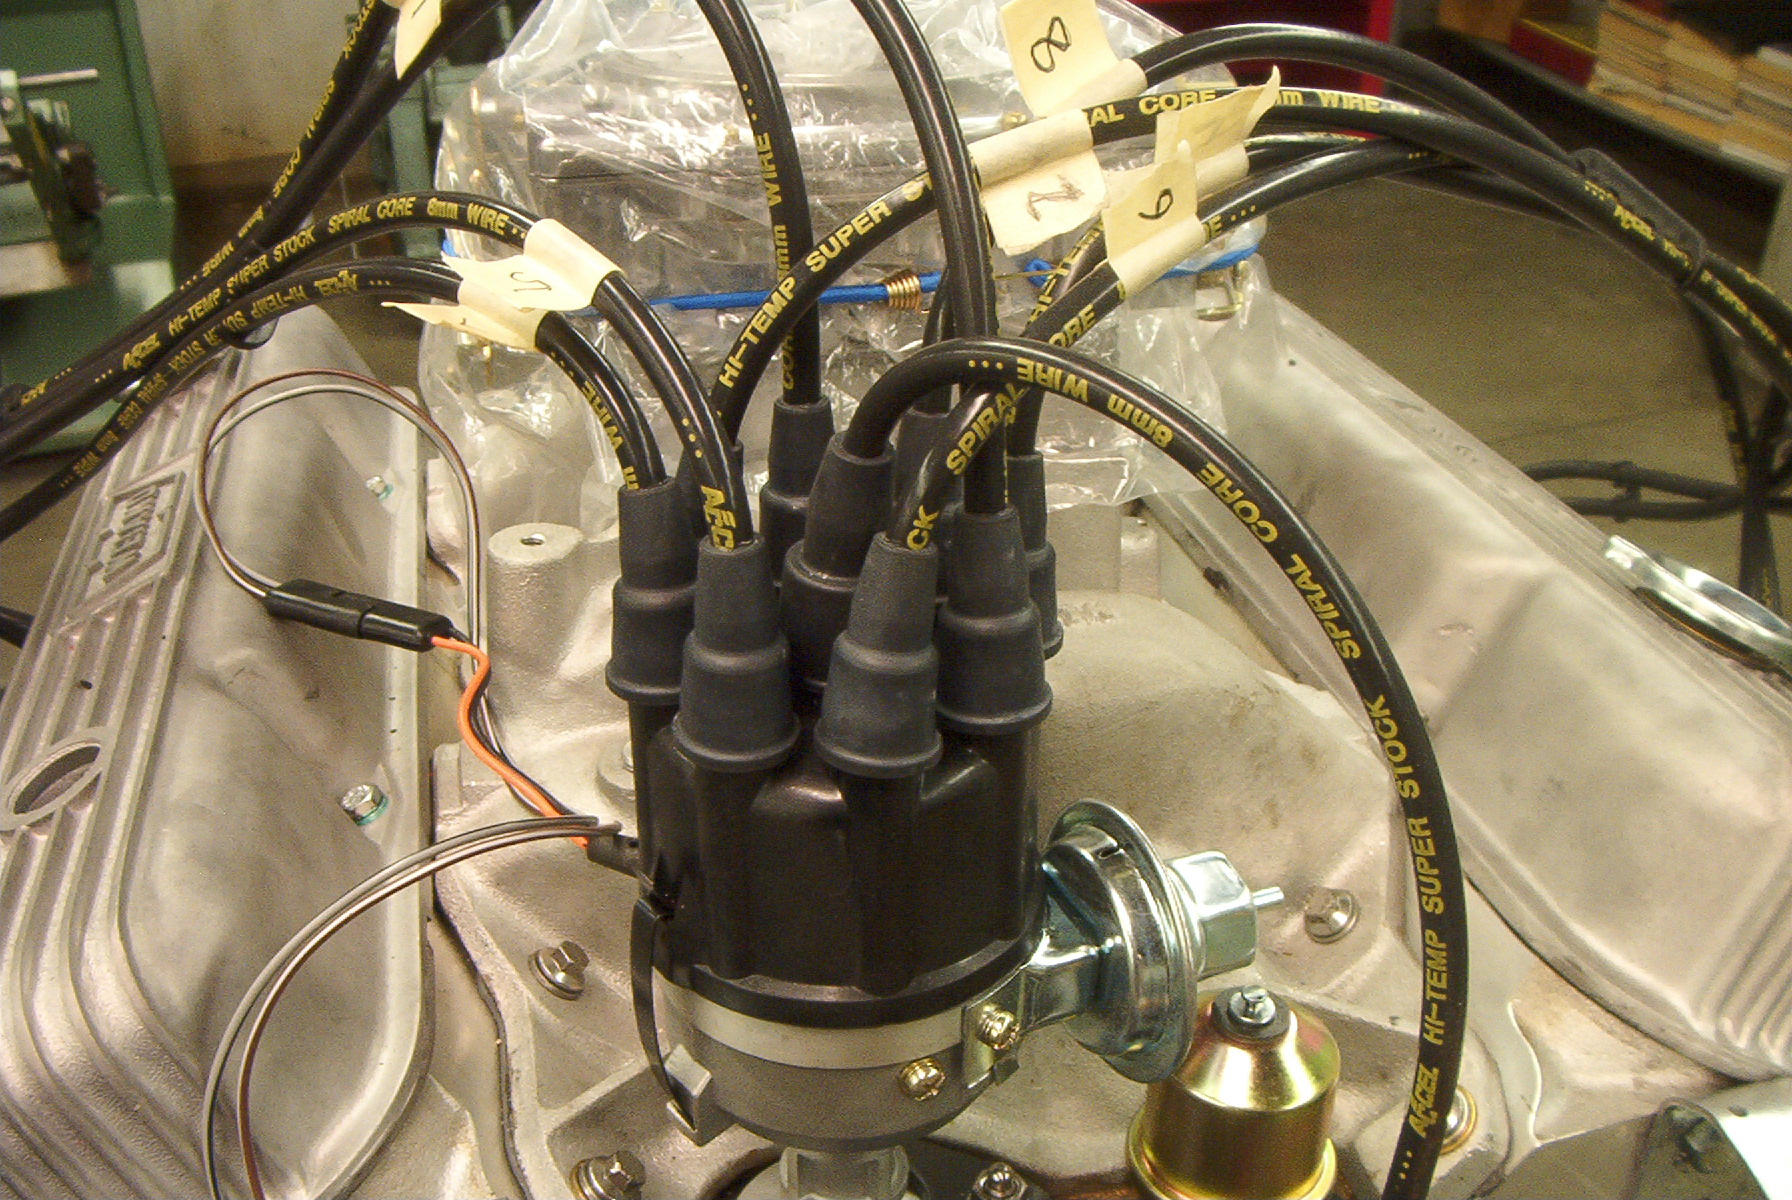 The wires plugged into the distributor. |
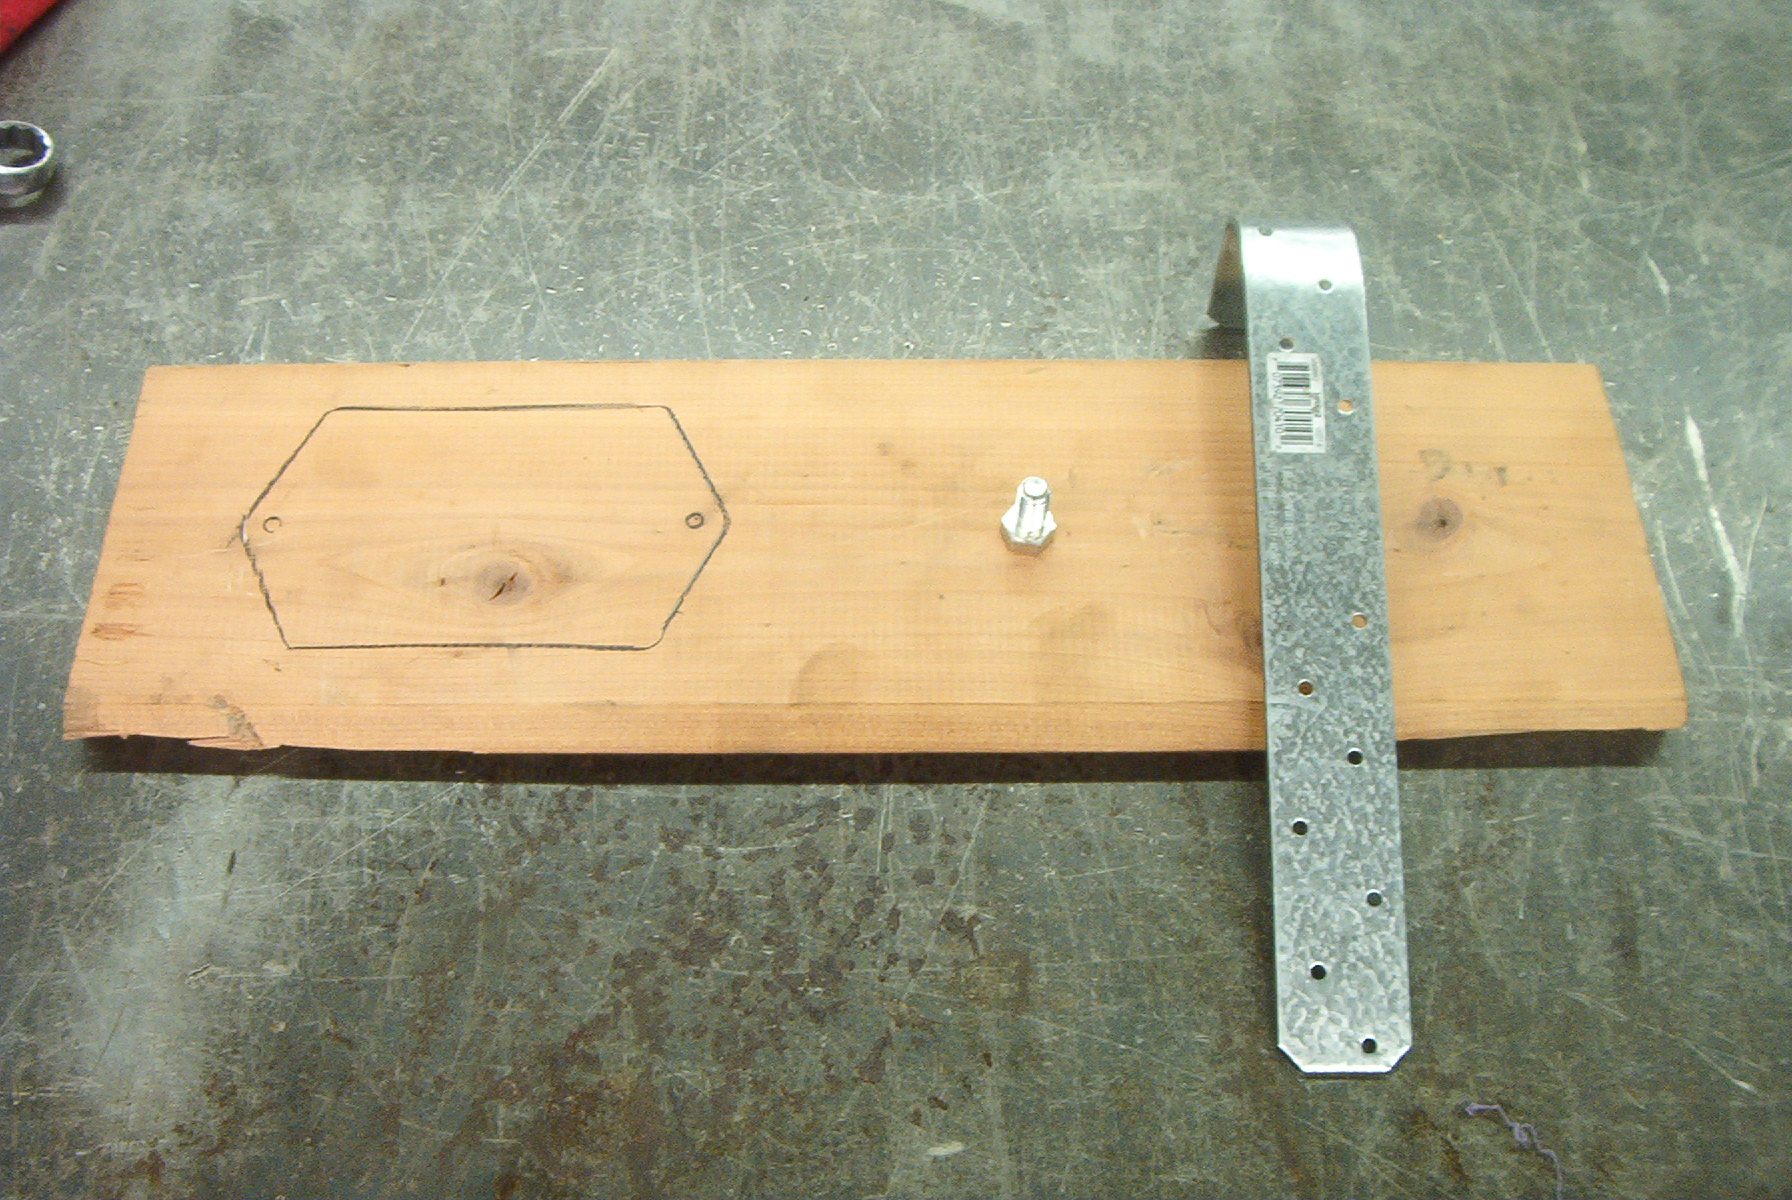 Materials for the ignition system mount. |
 The brace, bolted to the head. |
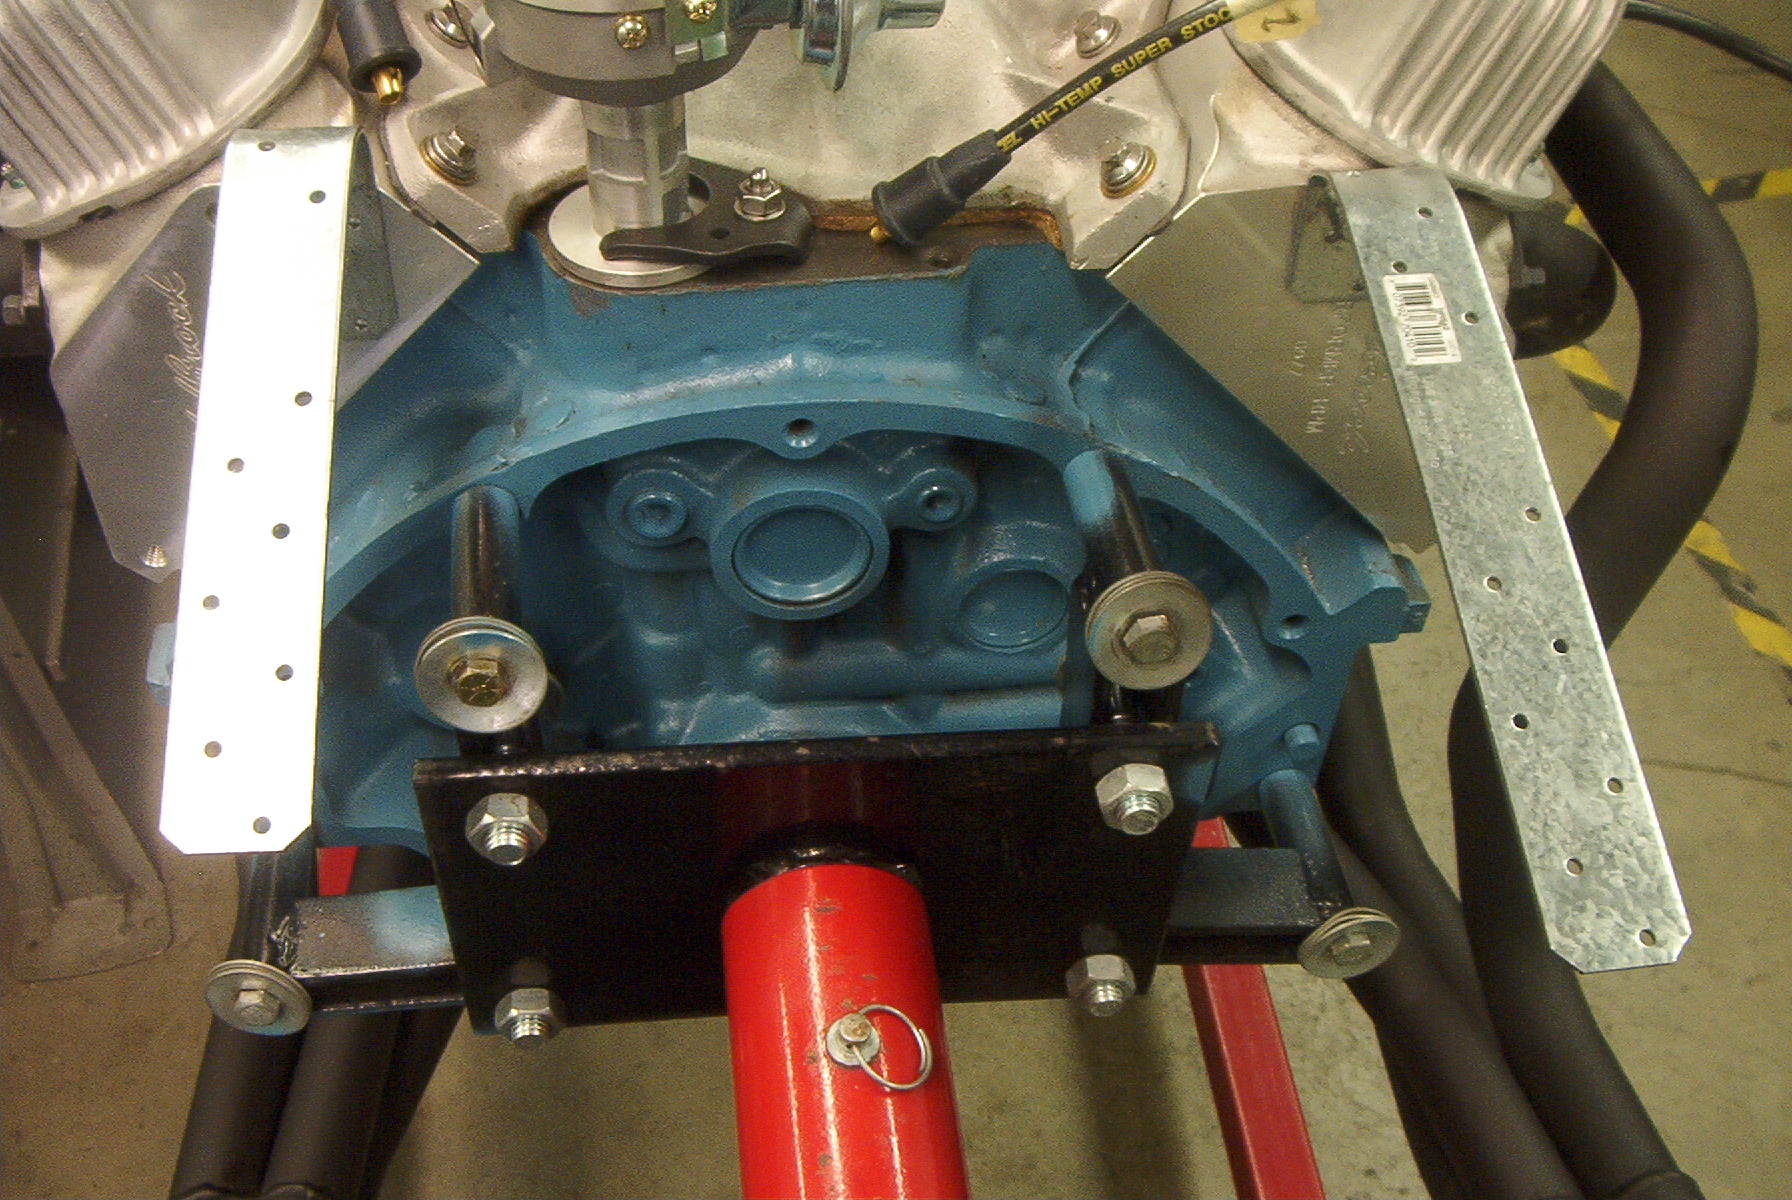 Both braces attached to the heads. |
 The computer's mounted with a ground wire. |
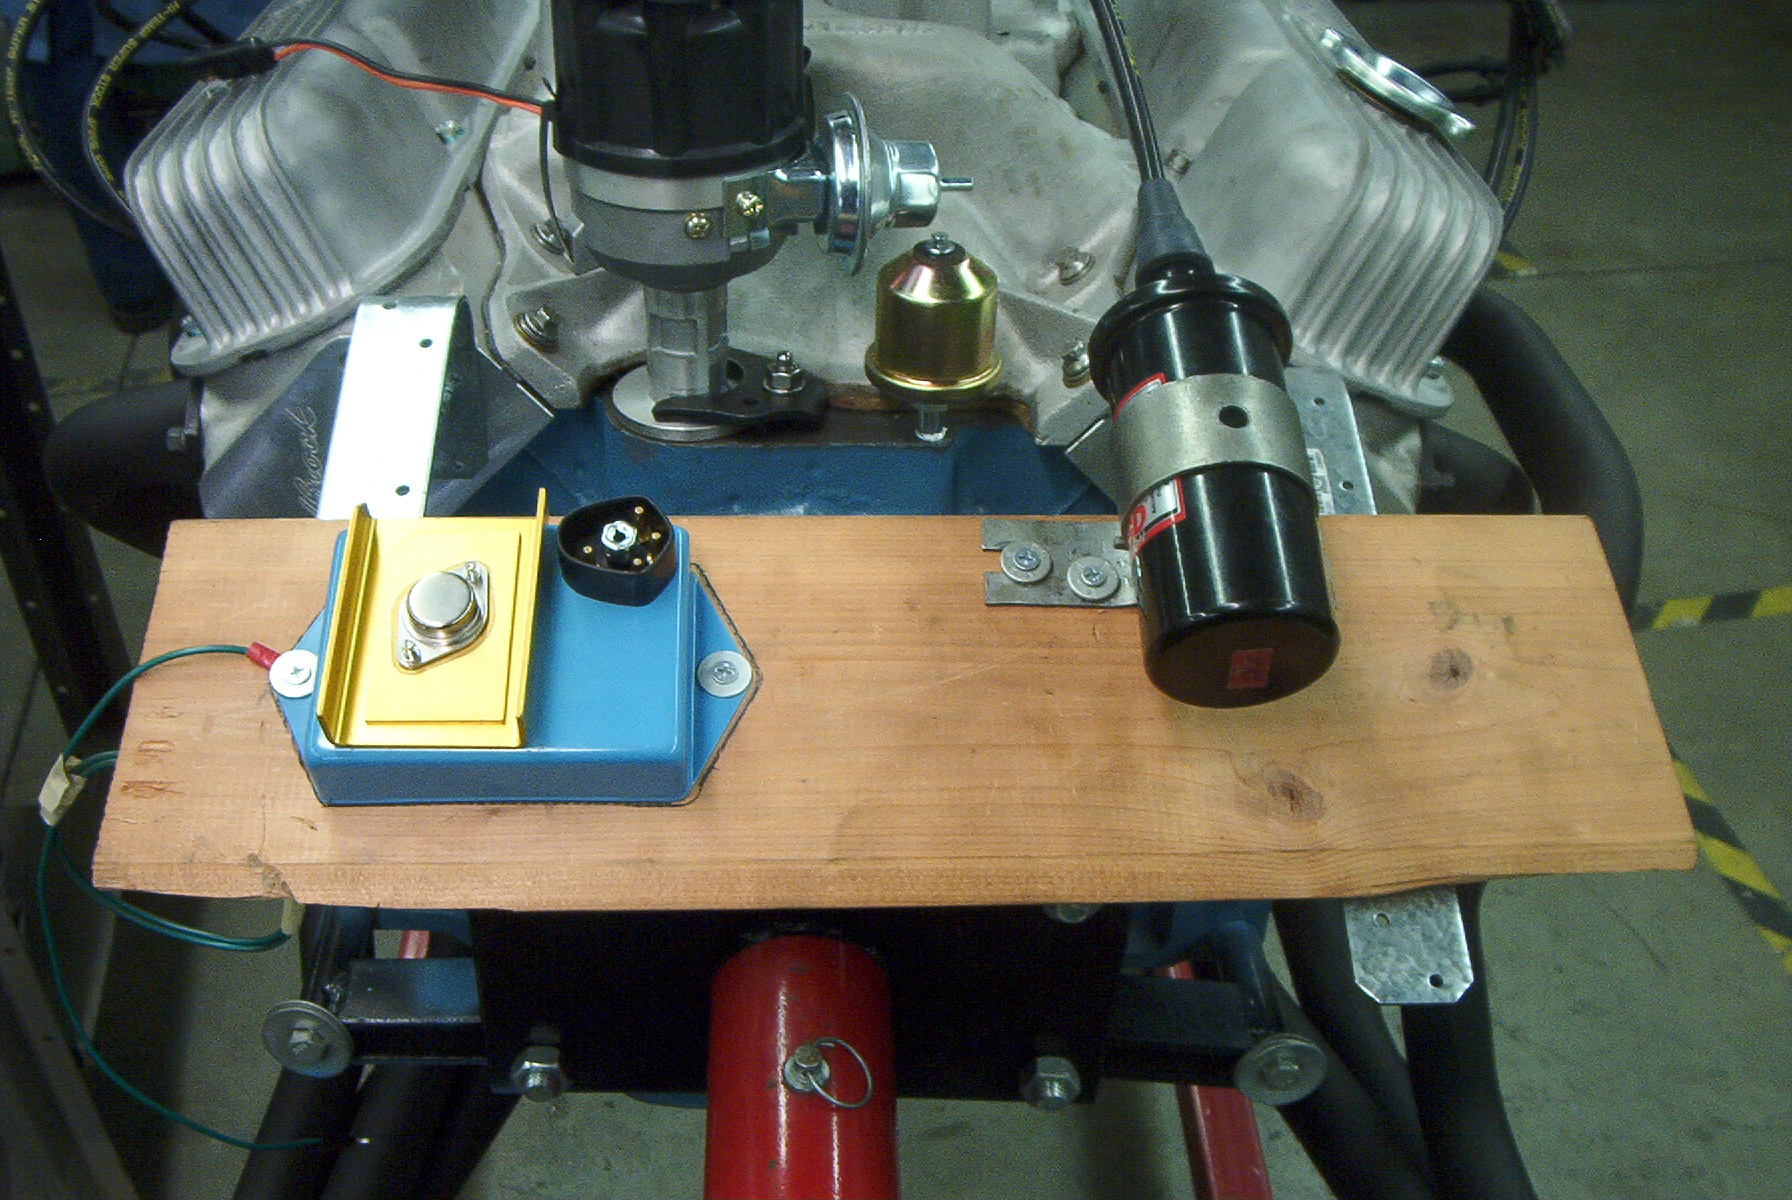 The coil's mounted in place. |
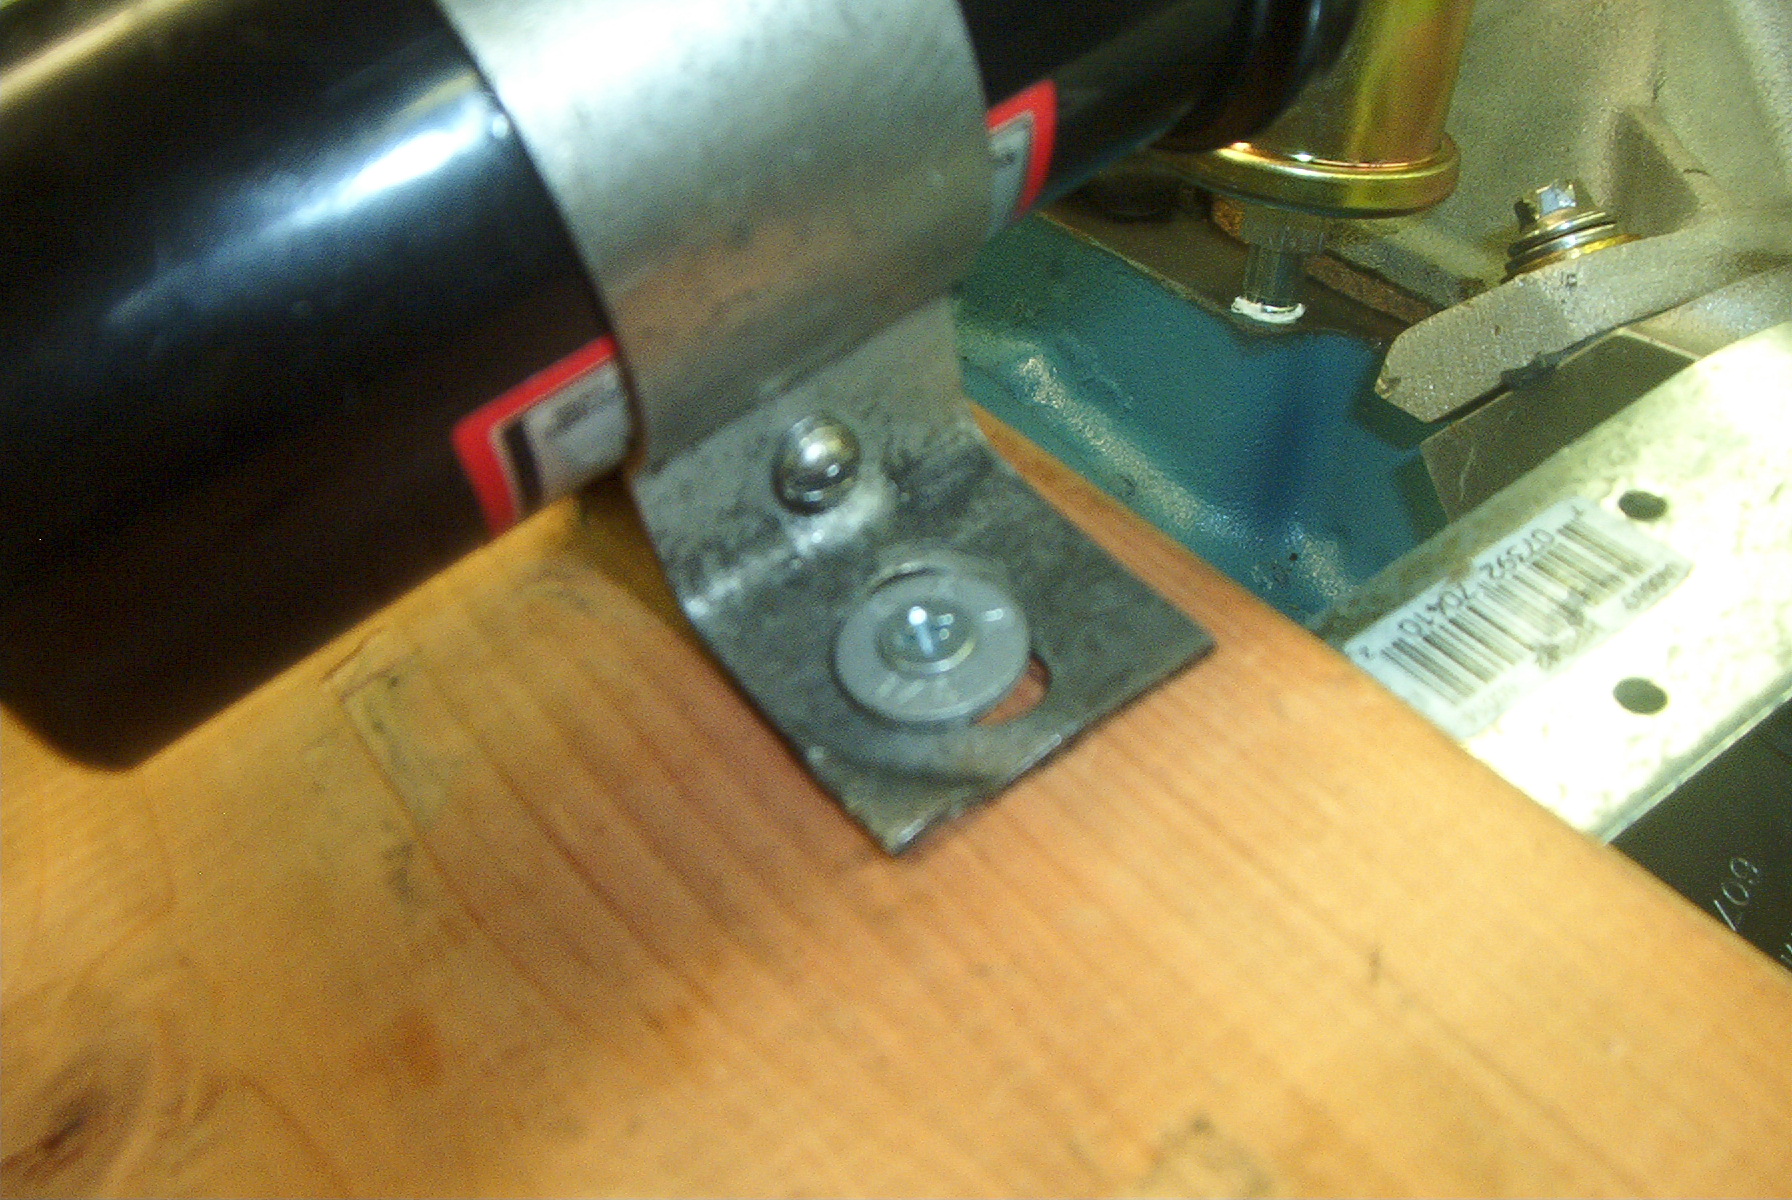 A shot of how the coil bracket's mounted. |
 The coil wire, leading to the distributor. |
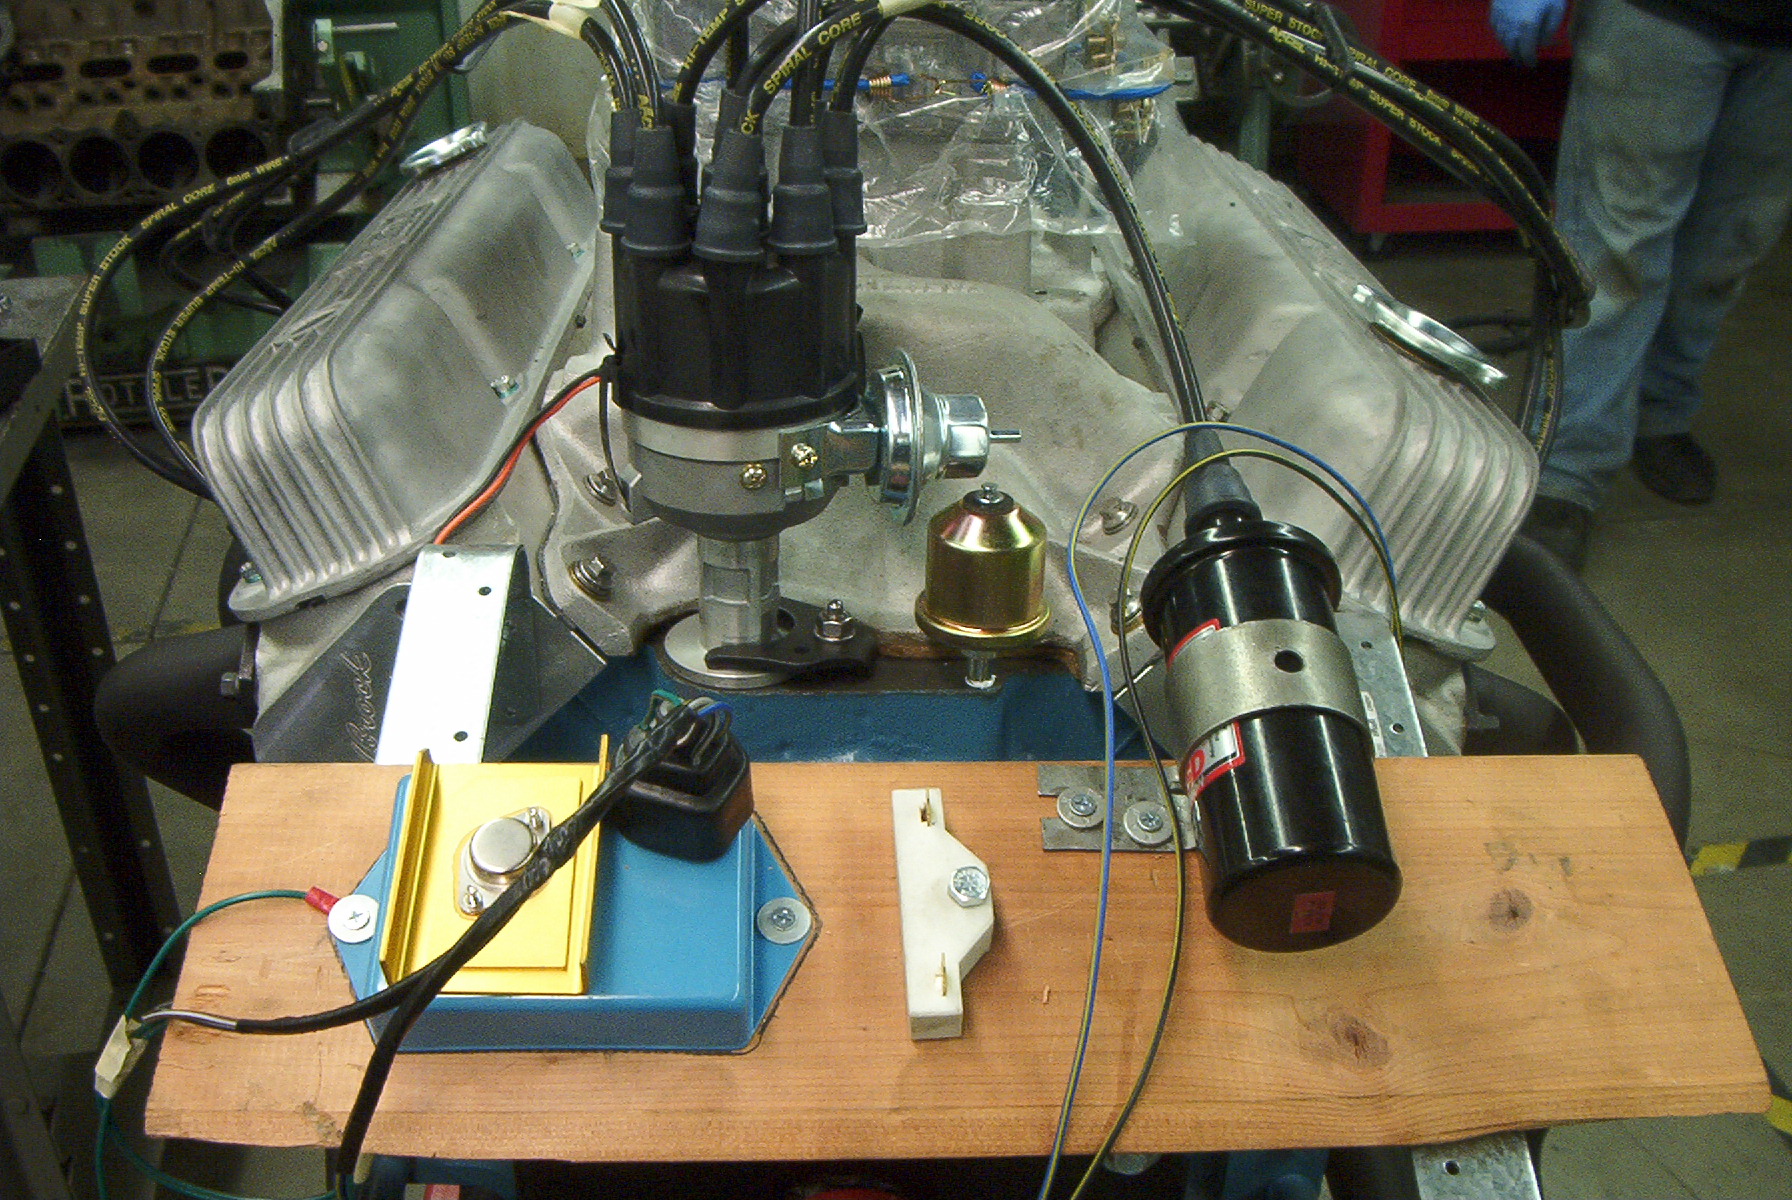 The ballast resistor gets mounted, and the wiring starts coming together. |
 All the basic wiring's completed and ready. |
 The whole she-bang. |
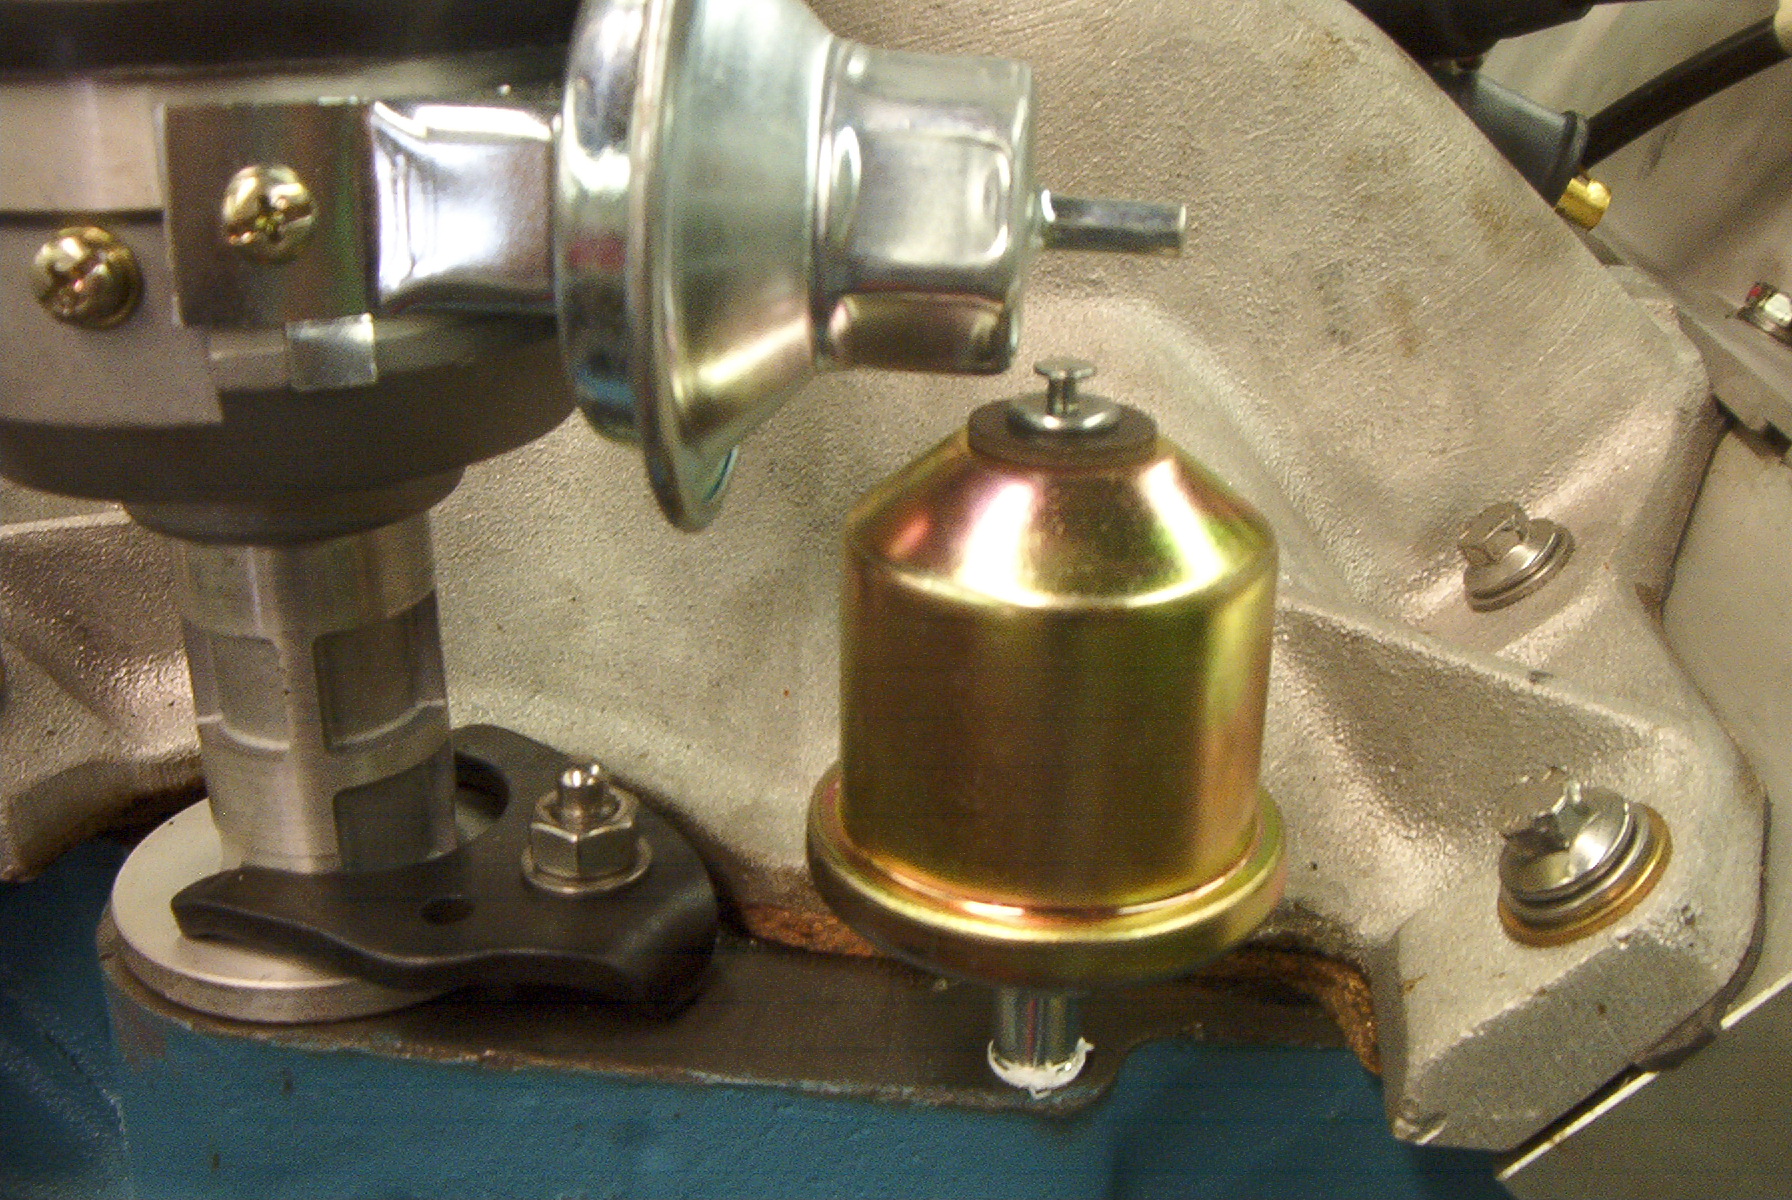 The oil pressure sender. |
 The temperature sender. |
After the motor was bolted to the stand at the mounts, I attempted to install the flywheel. At first, there was a problem with the holes not lining up. Mopar motors use a special bolt-pattern on their flywheels and flexplates, where one hole is offset from the others. Each hole must line up, otherwise the flywheel can not be installed. Mine was only lining up with four holes, not all six. Since it was near the end of the class period, I had to leave it for the next week.
At home, I thought about this problem some more. I didn't understand why it wasn't lining up, since the flywheel was made for Mopar motors. Then, while on the can, an idea hit me: why not use my old crankshaft to mock up the flywheel and see what's what? I hadn't had a great perspective with the motor at school, because I had to hold the flywheel with one hand and crane my head around in order to see, so having an unobstructed view of the flange and flywheel would be very advantageous. After finishing up, I got the flywheel from the car, and went out to the garage.
Turns out I was putting it on backwards.
The next week I tried again, this time with the flywheel properly oriented. Using a set of ARP bolts I had purchased, I tried to thread it into the hole. No-go. The bolt was too short, and would not even reach through the flywheel to the flange. I was enraged, because the problems I've had with ARP have now come to a head. I'm swearing off ARP forever, except for main, rod, and head bolts, where it's fairly easy to get it right. Otherwise though, I'm going with Mr. Gasket or some other brand.
After doing some other jobs that needed doing, I went home and ordered a set of Mr. Gasket bolts.
After receiving the bolts, I tried again. This time, the bolts were too large in diameter. Turns out that Summit's online catalog system had listed a set of Pontiac bolts as also working for my Mopar. Obviously, this was incorrect. I finally went down to Freeway Auto Supply and purchased a set of Help! brand bolts for six bucks. Of course, these worked perfectly. It's always the cheap stuff that works, while the expensive stuff fails to live up to its name.
After buttoning up the bellhousing and installing the starter motor, I poured in five quarts of Rotella diesel oil and started to prime the system. Almost immediately oil started hemorrhaging out around the oil filter adapter plate. After cleaning it up and asking my professor what the deal was, I learned there is a gasket that goes between the block and the plate, which I had not known about. Neither book I bought or the shop manual mentioned this gasket, and I thought the circular rubber gasket in my set was just a left-over. So another week goes by without a start-up.
The next week I install the gasket and prime the system, checking for leaks. This is the extent of my work for that week, since I knew we would have a guest speaker in class and I had not planned on starting it up. The motor sits dormant.
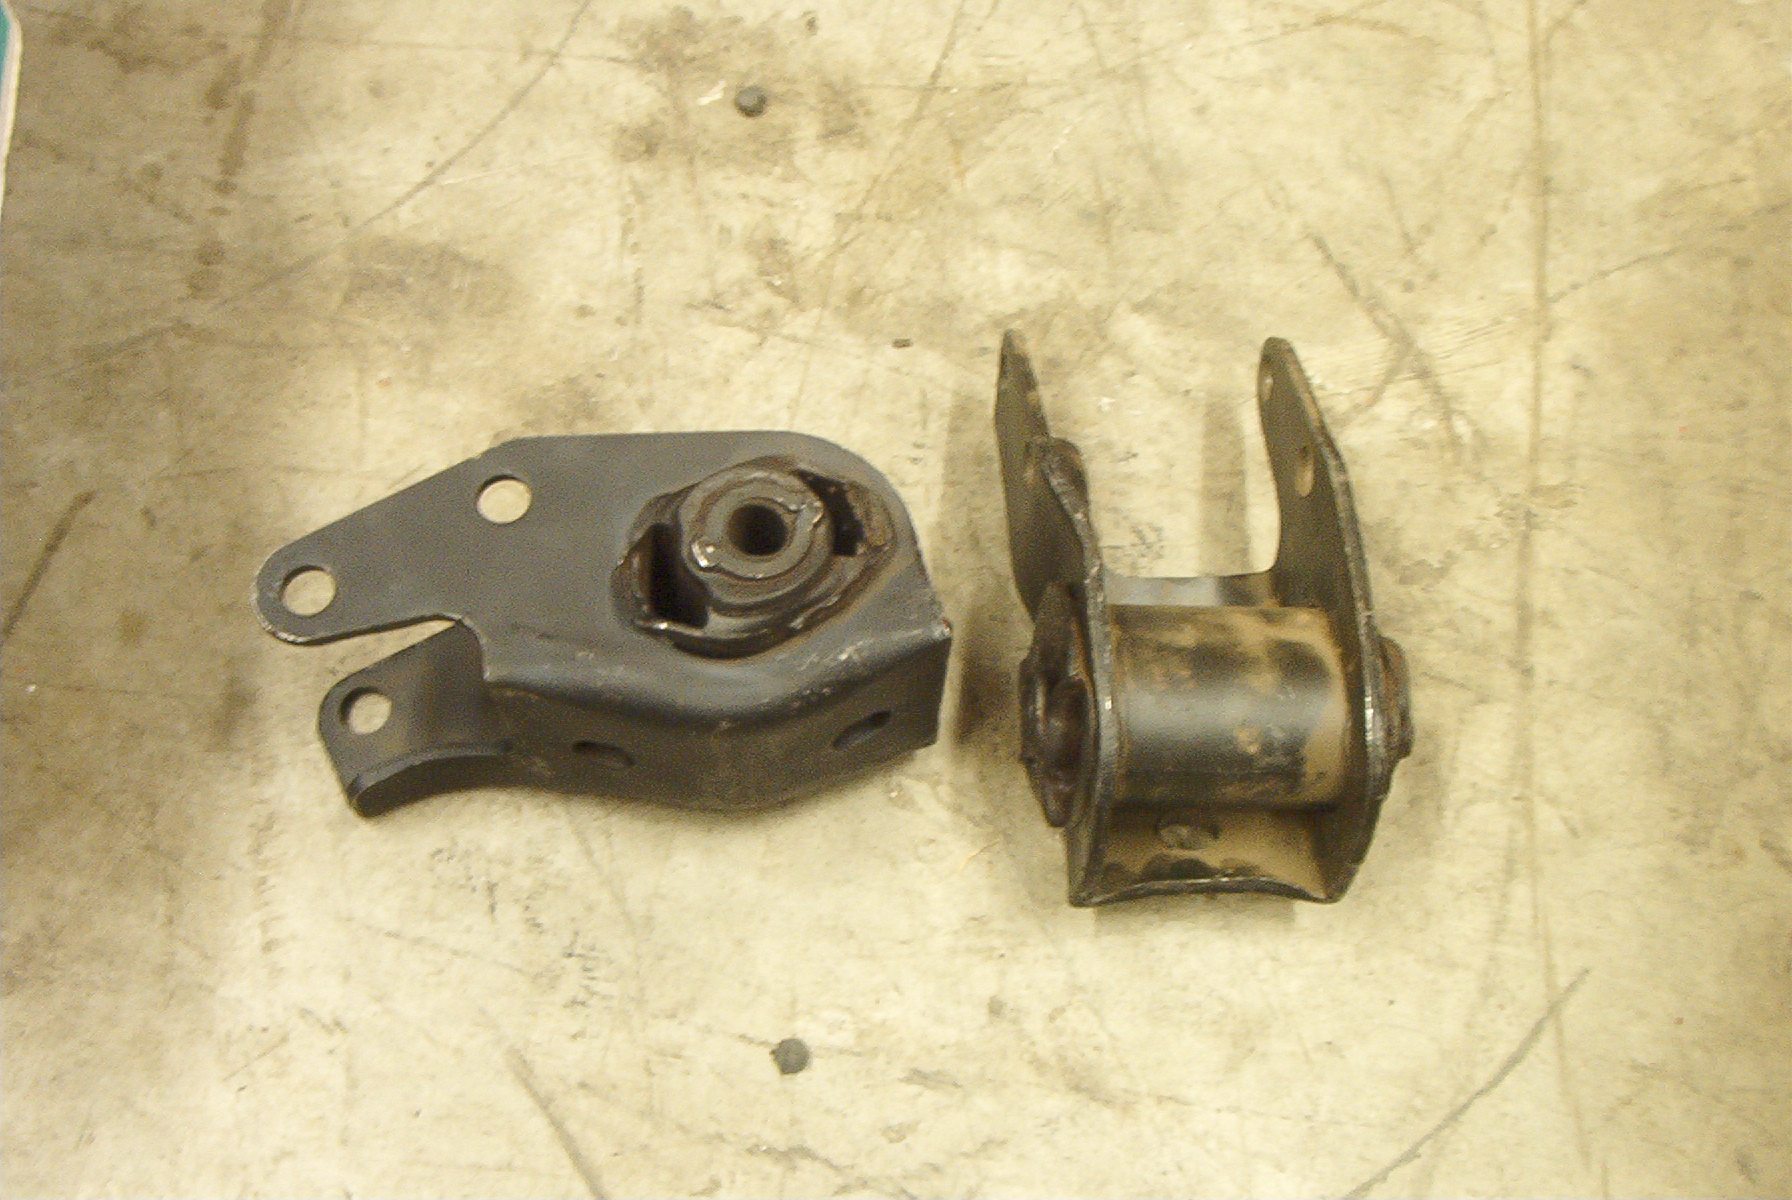 The improper mounts. |
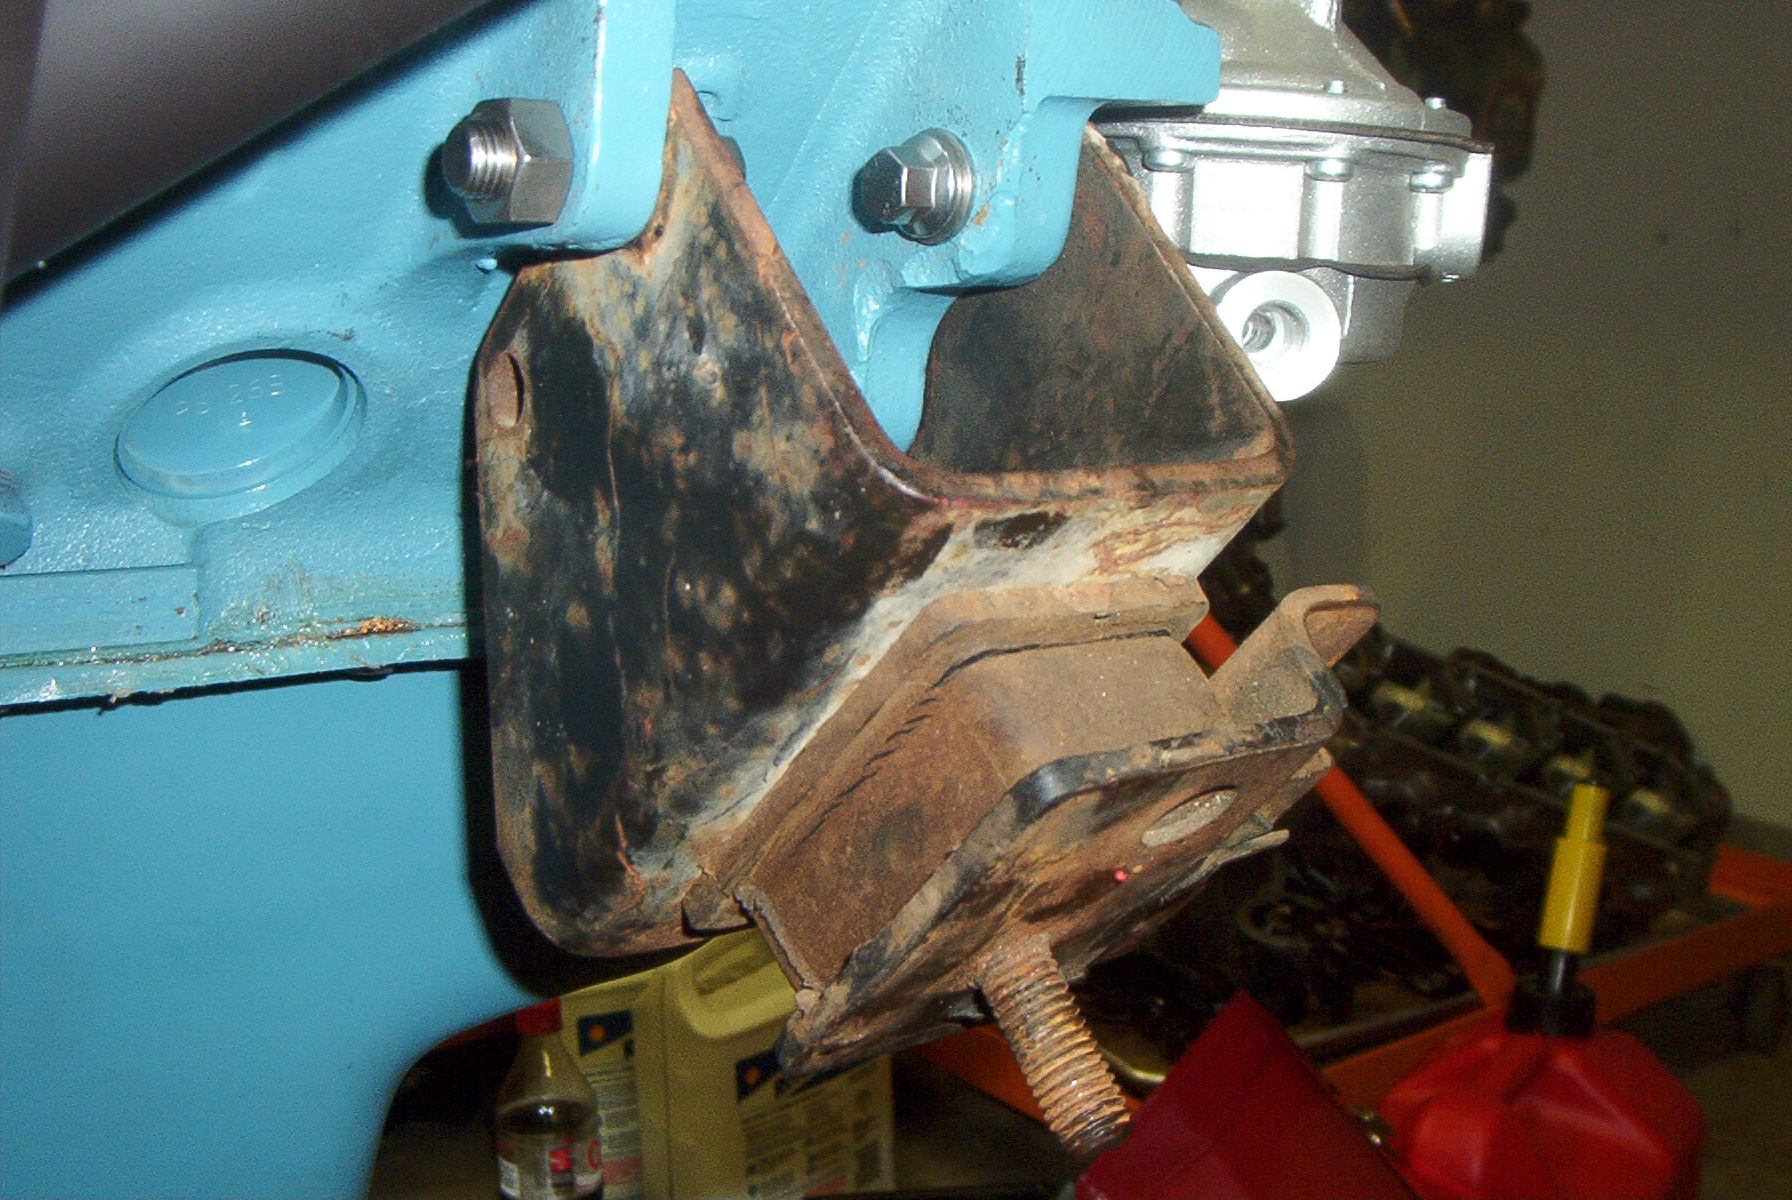 A truck mount bolted to the block. |
 The crankshaft flange. |
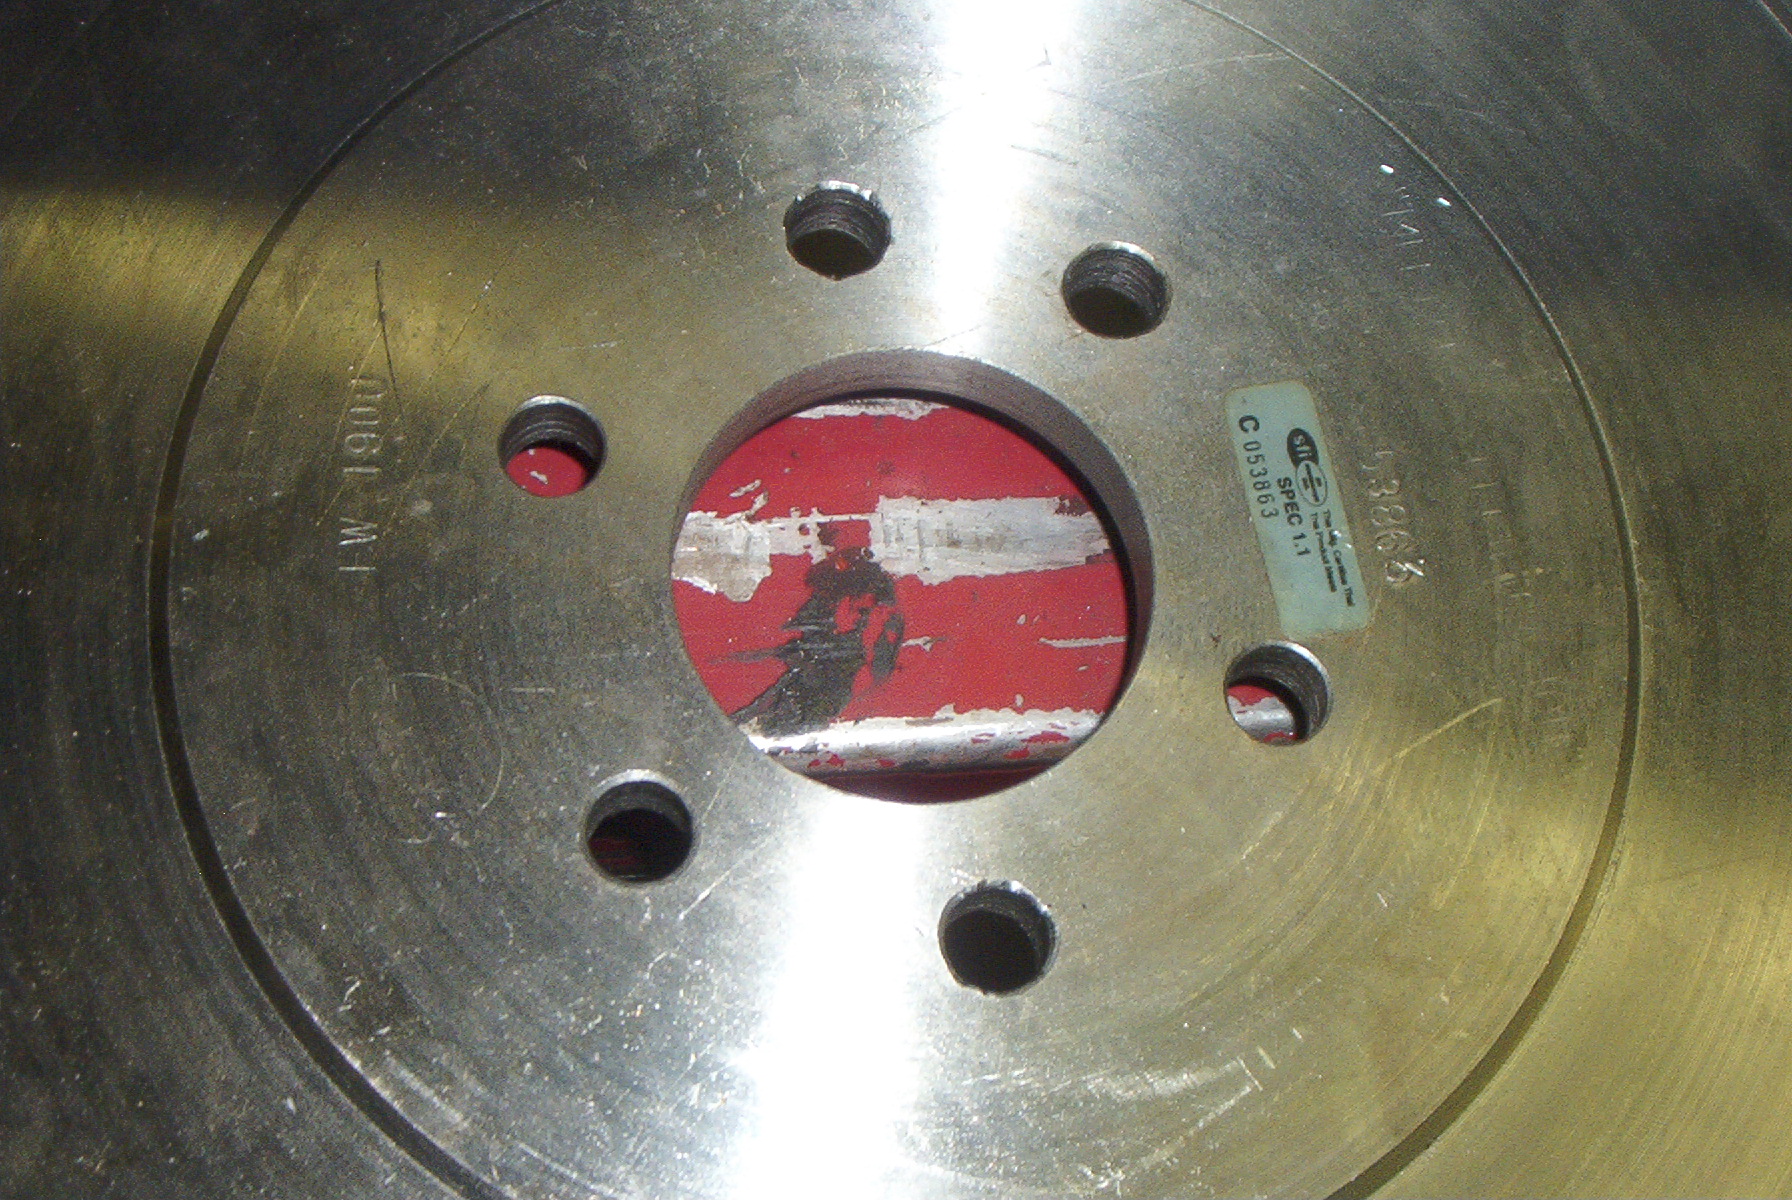 The flywheel. |
 The bolts. |
 The motor, almost ready to go. |
After all the connections have been made, I prime the oiling system by bringing pressure up to around forty pounds of pressure for about three minutes, ensuring every nook and cranny in the oil system has been lubricated. Then I reinstall the distributor driveshaft, align it, and install the distributor, making sure to align it properly as well. Once all buttoned up, I turn on the water and watch for it to come out the return hose.
It doesn't.
Instead, it comes out from the back of my intake manifold. Apparently, one of the bolts holding the manifold to the heads had bottomed out without actually bringing the manifold into good contact with the head, while another was a bit too loose. After shimming the one bolt and tightening the other, I tried the water again. Still leaking, but not so much. Then my buddy suggested removing the thermostat.
After removing the thermostat, the water flows way it should: in through the pump and out through the water neck. With everything working properly I then fill the fuel tank with some 91 octane gasoline, and attempt to start it.
At first it would not start. The starter would turn the motor over, but it wouldn't fire. The cause was simply a lack of spark, due to not flipping the run switch to "On." After correcting that problem, I tried again.
It still would not start, but we were getting ignition. However, it was through the exhaust. I was 180 degrees out, even though I had followed the book precisely. A simple correction, as I just had to loosen the distributor, rotate the rotor, and reinstall it. The cap was snapped back on, and I tried again.
After a couple burps and belches, the motor roared to life. I quickly brought it to around two thousand RPM, and my professor played around with the idle settings and throttle screw in order to keep it there. After getting it all set, I let it run for ten minutes to seat the rings and break in the camshaft, then shut her down.
She sounded strong, really strong. At idle there's just enough throat to sound menacing, while it's subdued enough to not raise suspicions from any would-be racers. With open headers she sounds like a monster; I figure with a good set of mufflers she'll sound like a trained attack tiger.
Now to just find a car to put it in.
 All the hoses connected up. |
 Close-up of the hoses. |
 The motor hooked to the battery. |
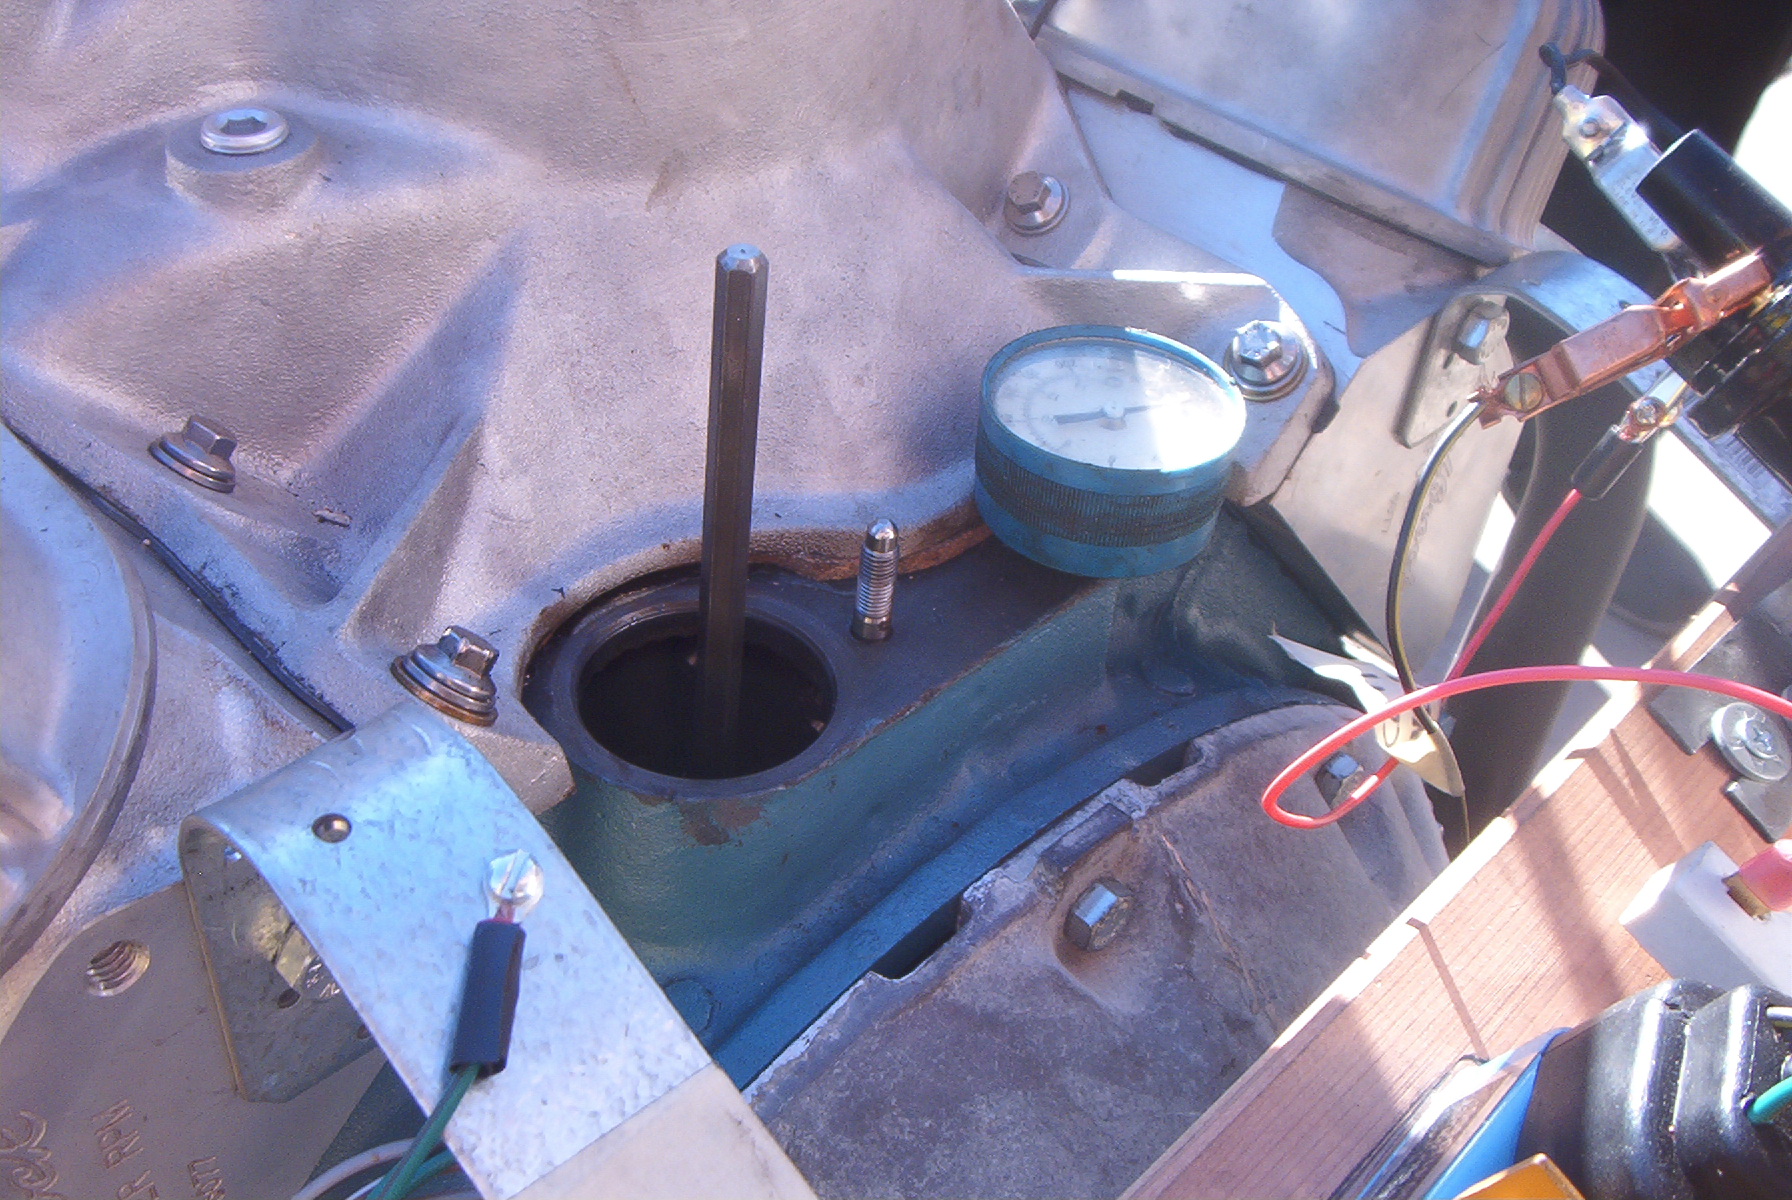 The oil priming tool and pressure gauge. |
|
The first attempt. |
The second attempt. |
|
The full break-in procedure. | |
High Quality Video
First attempt
Second attempt
Final break-in
There were other problems with ARP's bolts as well. A couple intake manifold bolts were too long, though this might be the fault of the heads. The heli-coil inserts at a few locations in the heads might not be properly installed, or at the wrong depth. The head studs were also missing two extra long studs for the Edelbrock heads, though this is more of a fault of Summit Racing's online catalog system, as it did not show the proper stud kit for Edelbrock heads. In place of sending the kit back, I simply used a bolt Edelbrock provided with each head, and used the proper stud in the location indicated.
The largest problem with the ARP bolts, aside from the front cover, is that the exhaust header bolts are too short to bolt a stock exhaust manifold onto the heads. This, and the poor labeling of their bolts, has caused me to rethink going with ARP for future motors.
The other major problem I encountered with this motor was with the harmonic balancer. I ordered the balancer off eBay, and while it is a quality balancer, the inner diameter of the hub is six thousandths undersized. When I called C.A.T., they told me to heat up the hub and press it on. Given the massive undersize of the hub, this is not an acceptable method of installing the damper, as it would be impossible to remove the damper after installation, if it could even be installed in the first place without destroying the damper in the process. However, their website states that using any method other than heating the hub will result in voiding the warranty. To me this is unacceptable, and C.A.T. will not be getting my business in the future.
Another annoying problem was the water neck. The one made by Mopar Performance was not wide enough, and would not fit on my Weiand intake manifold. I do not know if this is the fault of Mopar Performance for making a shoddy water neck, or Weiand for having a non-standard thermostat hole, but I am more inclined to believe it is the fault of Mopar Performance, as a Summit brand water neck fit perfectly.
The other problems I encountered with building the motor were very minor, and are probably avoidable by anyone who is more organized than I was with this motor. All the parts were ordered in bursts, according to how much money I could afford to spend, and in the process it became fairly disorganized. Because of this, I have learned that I need to wait until I know I can afford to purchase the vast majority of parts at once, and not just piecemeal it together over the course of many months.
I also learned that I should bead blast anything small enough to fit in the bead blaster, engine internals and new items excepted.
Books:
- How to Rebuild Mopar Small Blocks, Don Taylor and Larry Hoffer, HP Books, 1982. ISBN: 0895861283
- How to Build Big Inch Mopar Small Blocks, Jim Szilagyi, Cartech, 2005. ISBN: 1932494065
- Motor Auto Repair Manual 1974-1976, Motor Information Systems, 42nd Edition, 1985. ISBN: 0910992681
Parts:
- Summit Racing
- CNC-Motorsports
- Hirsch Automotive Products
- Fast Engine Parts
- eBay
- eToolCart
- Overstock.com
- Freeway Auto Supply
- Kragen Auto Parts
Other Resources:
- All Cars Auto Parts, 2200 W. 5th Street, Santa Ana, CA. (714) 547-1611 - Salvage Yard
- Burlington Engineering, 220 W. Grove Avenue, Orange, CA. (714) 921-4045 - Metal treatment and chemical dipping
| Part | Part Number | Price |
| Mopar 360 cast iron engine block, 1976 casting (Complete long block) | N/A | $350.00 |
| Eagle crankshaft, 4340 forged steel, 4.000" stroke | ESP-436040006123 | $692.15 |
| Scat H-beam rods, 4340 forged steel, 6.123" length, floating pin | 2-360-6123-2124 | $334.95 |
| Keith Black forged stroker pistons, 4.030" | KB745 | $365.36 |
| Speed-Pro Plasma-Moly rings, 4.030" | SLP-R9902030 | $99.95 |
| Clevite 77 rod bearings | CB-481H | N/A |
| Clevite 77 main bearings | MS-1051P | N/A |
| Federal-Mogul cam bearings | FEM-1484M | $33.39 |
| Brass freeze plug kit | PE-113-BR | $10.89 |
| Bronze distributor bushing | DCC-1737725 | $6.95 |
| Bronze distributor bushing | DCC-1737725 | $6.95 |
| Fel-Pro complete engine gasket set | FEL-KS2109 | $70.99 |
| Fel-Pro front cover gasket set | FEL-TCS6563-1 | $28.39 |
| Comp Cams camshaft and lifter kit, grind XE268H-10 | CCA-CL20-223-3 | $179.95 |
| Crane Cams pushrod set, ball and cup | CRN-69691-16 | $77.88 |
| Cloyes True Roller timing chain set | CLO-9-1103 | $41.88 |
| Melling hardened oil pump driveshaft and distributor gear | MEL-IS-72 | $30.39 |
| Melling high volume oil pump | MEL-M72HV | $47.88 |
| Melling oil pickup | MEL-72-S2 | $17.95 |
| Milodon windage tray | MIL-32230 | $45.95 |
| Mopar Performance stock replacement oil pan | DCC-5249059 | $112.95 |
| Chromed oil dipstick and tube | TRD-9224 | $11.88 |
| Mopar front timing cover, used | N/A | $15.51 |
| Mopar Performance water pump, six blades | DCC-5249558 | $56.95 |
| Carter fuel pump | CRT-M6902 | $65.95 |
| Crankshaft key | MRG-983G | $2.95 |
| Crankshaft key | MRG-983G | $2.95 |
| Front main seal | $8.95 | |
| Front main seal | $8.95 | |
| Rear main seal | FEL-BS40240 | $15.69 |
| Edelbrock Performer RPM cylinder head, assembled | EDL-60779 | $614.50 |
| Edelbrock Performer RPM cylinder head, assembled | EDL-60779 | $614.50 |
| ROL Manufacturing hi-temp cylinder head gaskets | HG31030HT | $32.00 |
| Proform roller rockers with hardened chromed rocker shafts, 1.5:1 ratio | PRO-66869 | $199.95 |
| Mopar Performance chromed water neck with gasket | DCC-4452025 | $11.95 |
| Summit brand water neck with gasket | TRD-4987 | $12.88 |
| Thermostat, 180 degree operation | DCC-4876307 | $10.69 |
| Weiand Stealth intake | WND-8022 | $208.88 |
| Edelbrock 750CFM carburetor with manual choke | EDL-1407 | $245.88 |
| MSD Ford Duraspark 45,000 volt ignition coil | MSD-8205 | $39.88 |
| Ballast resistor, 1 ohm resistance | DCC-5206436 | $7.95 |
| Ballast resistor, 1 ohm resistance | DCC-5206436 | $7.95 |
| Summit brand distributor with blue ignition computer and ballast resistor | SUM-850003 | $169.95 |
| Autolite spark plug wires, 8mm core | ACC-5047K | $49.69 |
| C.A.T. fluid filled harmonic balancer, internally balanced | HBF-318 | $85.00 |
| ARP main studs for windage tray | ARP-240-5501 | $59.88 |
| ARP head studs | ARP-144-4001 | $81.88 |
| ARP accessory bolt kit | ARP-544-9601 | $129.88 |
| ARP thread lubricant | ARP-100-9903 | $6.88 |
| ARP thread sealer | ARP-100-9904 | $7.88 |
| Mopar Performance front cover bolt kit | DCC-4529256 | $36.95 |
| Hirsch aerosol engine enamel, Chrysler Blue, one 14oz. can | N/A | $14.00 |
| Rebuilt mini-starter | N/A | $49.02 |
| Flexplate, 7 inch | N/A | $10.00 |
| CAT Power flywheel, 130 tooth, 11 inch, SFI approved, internally balanced | FW1900 | $109.99 |
| Mopar bell housing for A833 manual transmission, 10.5-11" flywheel opening | P-3743859 | $70.00 |
| Summit brand internally balanced damper | SUM-163273 | $80.69 |
| ARP torque converter bolts | ARP-240-7301 | $7.88 |
| Parts Total | $5,533.26 | |
| Tools | Model Number | |
| How to Rebuild Mopar Small Blocks book | 0895861283 | $12.89 |
| How to Build Big Inch Mopar Small Blocks book | 1932494065 | $12.89 |
| Motor Repair Manual, 1974-1979 | 0910992681 | $10.00 |
| Engine stand, 1000 pound capacity | $59.99 | |
| Miller Special Tools distributor bushing driver and reamer | C-3053 | $111.29 |
| Mopar Performance oil pump primer | DCC-4286800 | $6.88 |
| Summit damper installer and remover tool | SUM-G1025 | $94.95 |
| Tools Total | $308.83 | |
| Grand Total | $5,856.57 |
*Total does not include shipping costs or applicable taxes.*